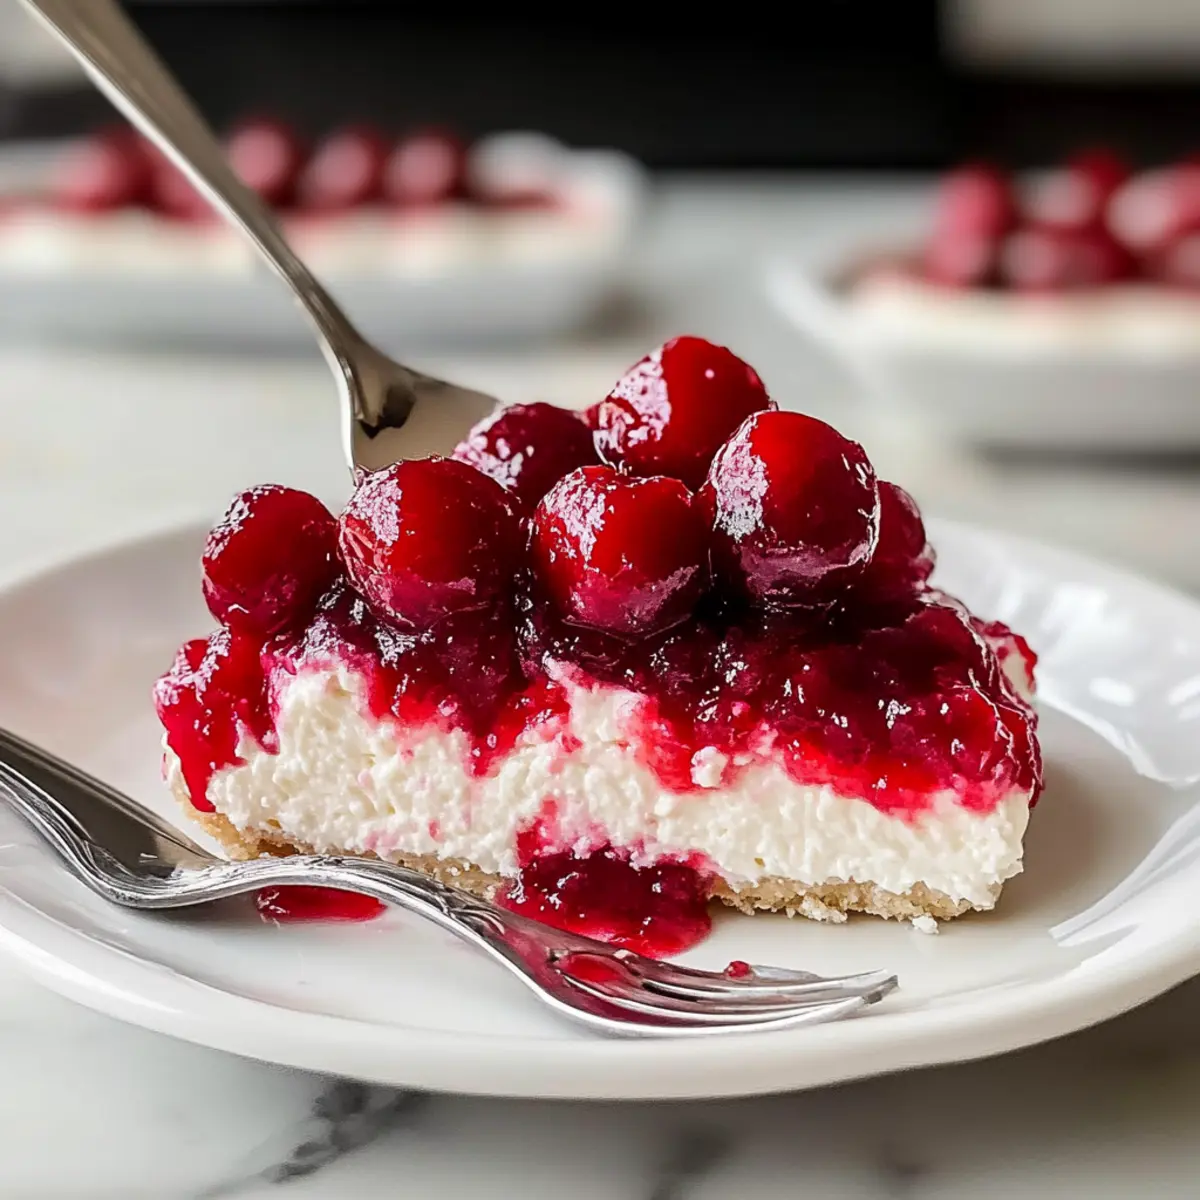
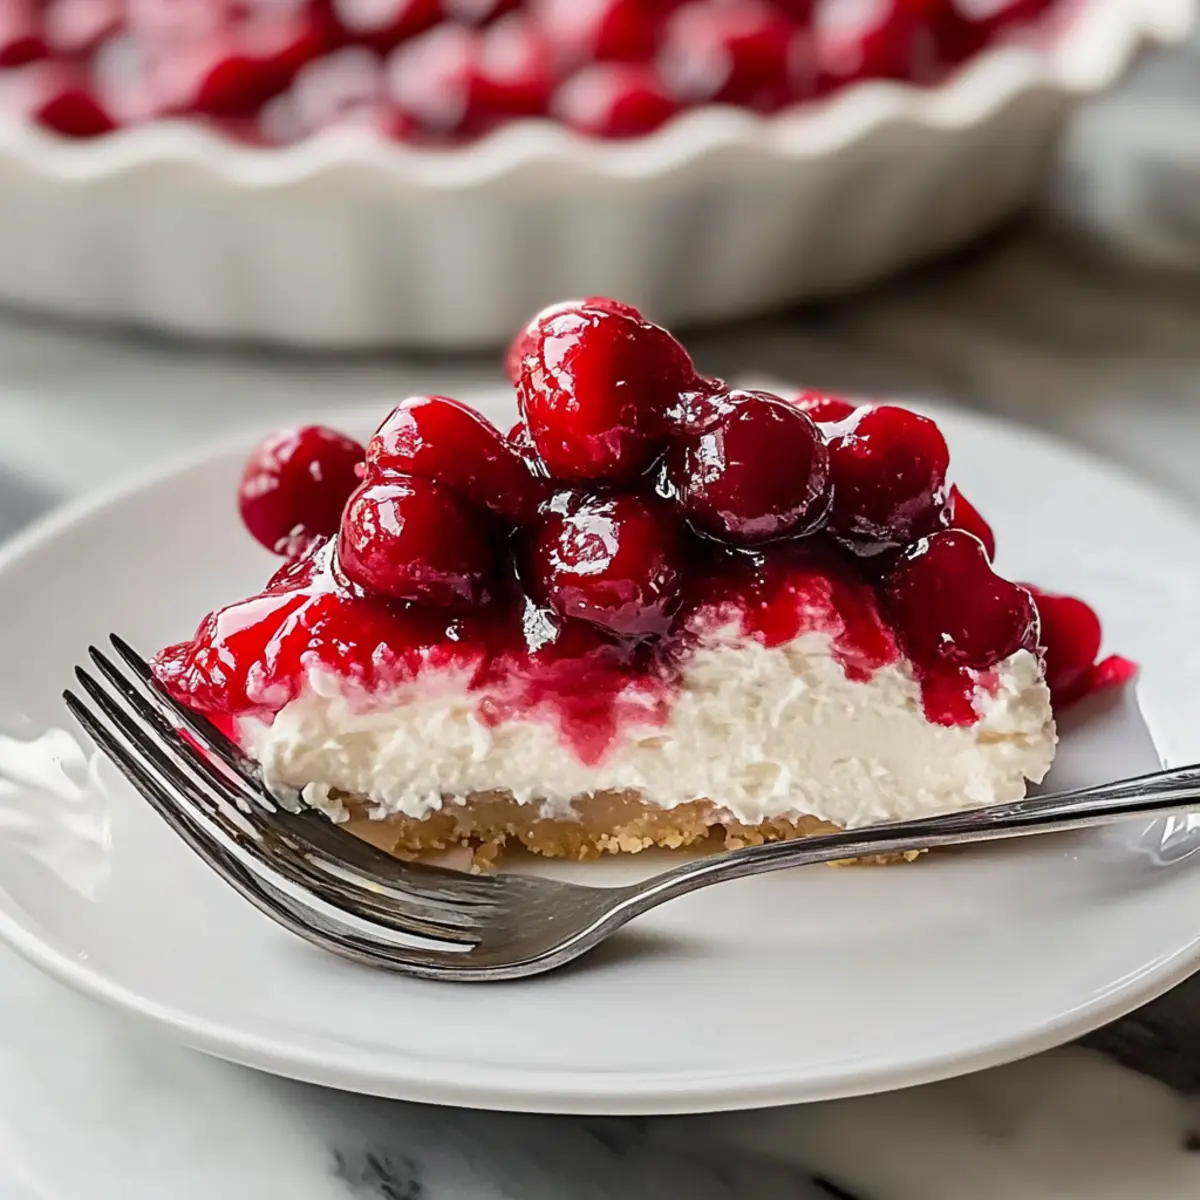
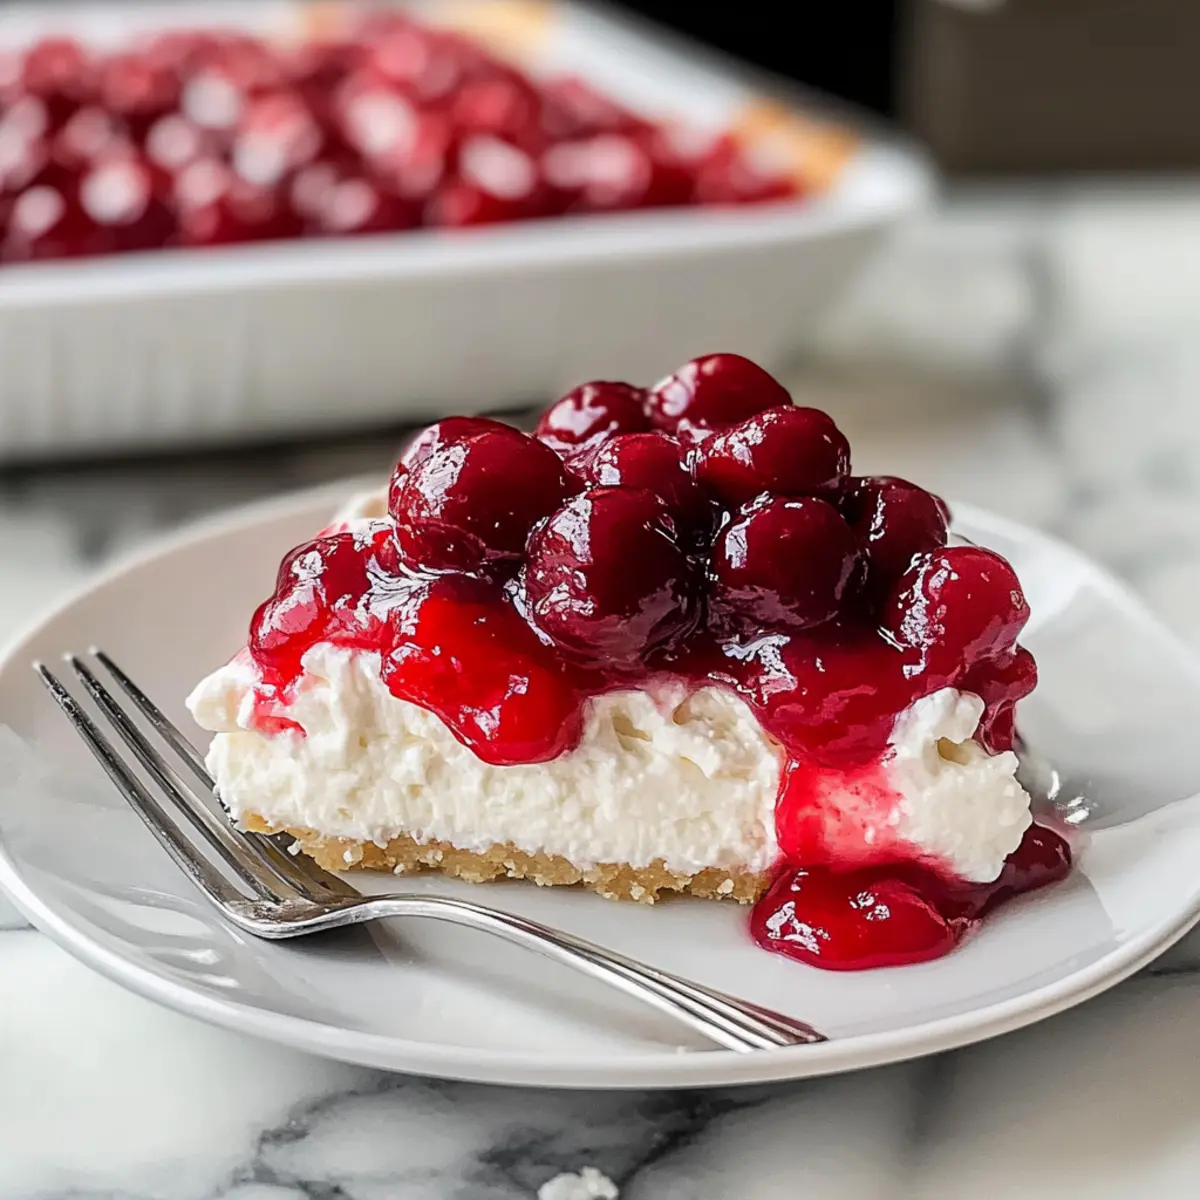
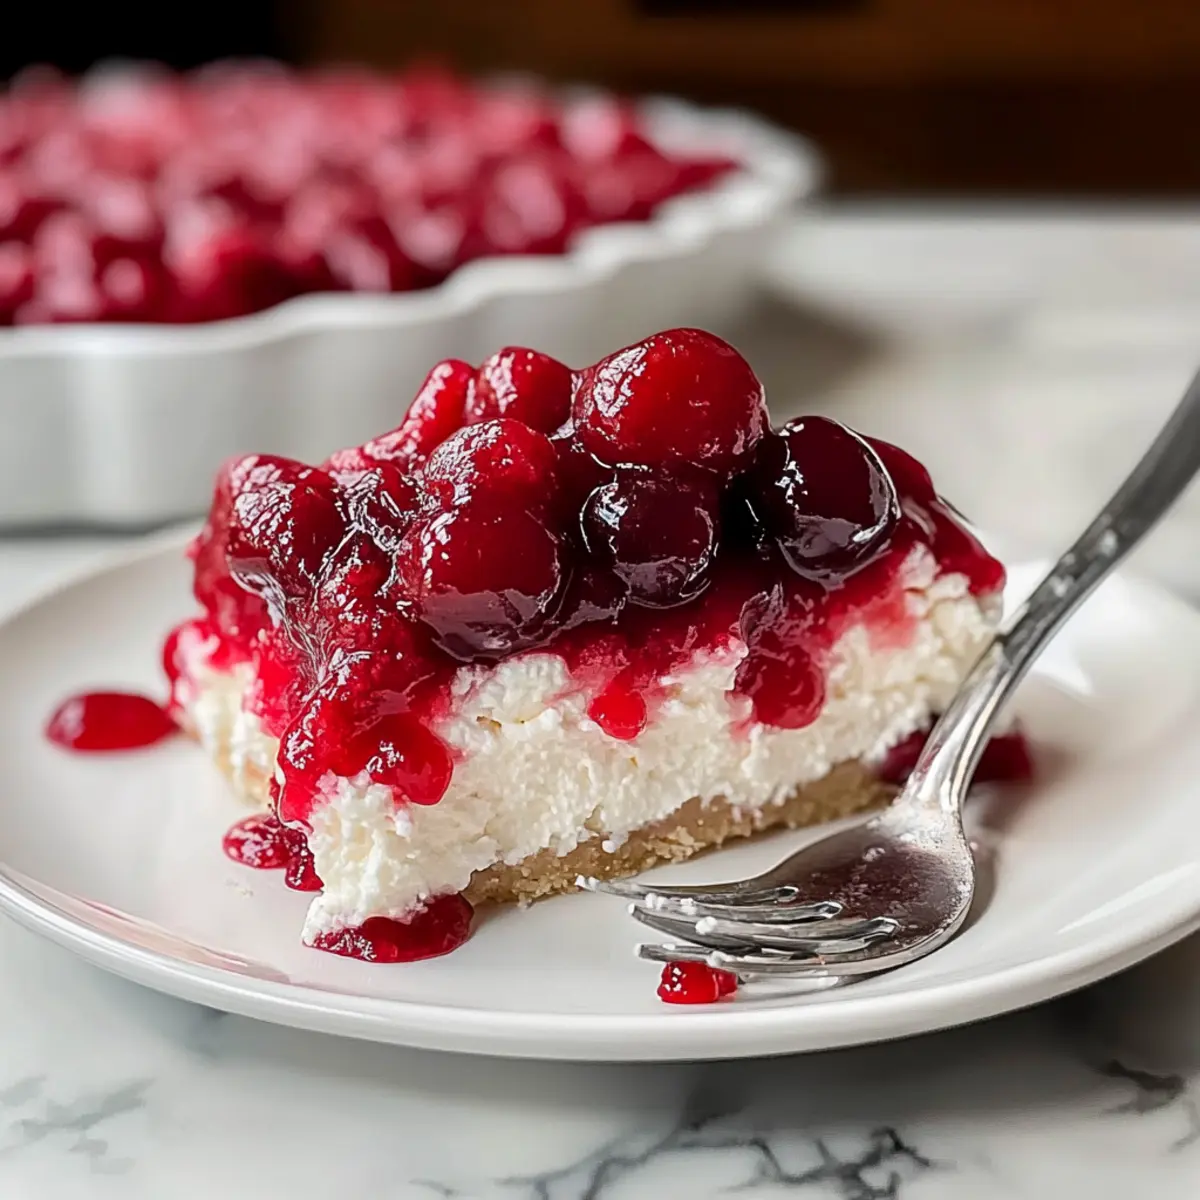
As I watched the cherry-red jewels tumble into the creamy layers of my dessert, I was struck by how simple joys can often be the most delightful. Cherries in the Snow is my go-to no-bake dessert when I need something that impresses but doesn’t take hours in the kitchen. With its buttery crust, dreamy whipped cheesecake layer, and tart cherry topping, this make-ahead treat checks all the boxes for a crowd-pleaser at any potluck. Not only is it effortless to prepare, but it’s also customizable to suit any dietary preference—think gluten-free, vegan, or even low-sugar variations. What’s not to love about an elegant dessert that requires no baking and can be whipped up in no time? Curious how to get started? Let’s dive into this creamy delight!
Why is Cherries in the Snow So Irresistible?
Ease and Convenience: This no-bake dessert is a breeze to assemble, making it perfect for busy days when you need a delightful treat on the table fast.
Customizable for All: With options like gluten-free and vegan alternatives, everyone can relish the creamy goodness without compromise.
Refreshing and Light: The airy texture pairs beautifully with the sweet-tart cherry topping, providing a refreshing ending to any meal.
Showstopping Appearance: Its stunning layers of creamy filling, cake, and vibrant cherries ensure you’ll receive compliments at potlucks—without the stress of baking!
Perfectly Make-Ahead: This treat can be prepared a day in advance, allowing flavors to meld, ensuring maximum delight for your guests. Try pairing it with some Joy Christmas Fudge for an indulgent dessert table!
Cherries in the Snow Ingredients
For the Cream Filling
• Cream Cheese – Provides a creamy and rich texture to the filling; substitute with mascarpone cheese for a different creaminess.
• Powdered Sugar – Sweetens the filling and contributes to a smooth texture; try using a sugar alternative for a low-sugar version.
• Vanilla Extract – Adds depth and flavor to the filling; almond extract can be a fabulous alternative for a different aromatic profile.
• Frozen Whipped Topping – Lightens the cheesecake and makes it airy; opt for dairy-free whipped topping to accommodate vegan diets.
For the Cake Base
• Angel Food Cake – Serves as the base and adds an airy structure; store-bought is totally fine for convenience or substitute with gluten-free cake.
For the Cherry Topping
• Cherry Pie Filling – Topping that brings sweetness and tartness to the dessert; fresh cherries or other fruit fillings like blueberry can offer delightful variety.
Feel free to explore your creativity in easily customizing this Cherries in the Snow recipe to suit every palate!
Step‑by‑Step Instructions for Cherries in the Snow
Step 1: Prepare the Dish
Start by greasing or lining a 9×13-inch baking dish with parchment paper, ensuring the bottom and sides are covered. This will help your Cherries in the Snow come out cleanly without sticking. Preheat your workspace by gathering all necessary ingredients and equipment, such as a mixing bowl, hand mixer, and measuring spoons.
Step 2: Mix the Cream Filling
In a large mixing bowl, combine the softened cream cheese and powdered sugar. Using a hand mixer, beat the mixture for 1-2 minutes at medium speed until it becomes smooth and fluffy with no lumps. Add in the vanilla extract and continue mixing until fully incorporated, creating a dreamy base for your Cherries in the Snow.
Step 3: Fold in the Topping
Gently fold in the thawed whipped topping into the cream mixture using a spatula. Be careful to maintain the airy texture, which is essential for this no-bake dessert. Once the mixtures are well combined, you should have a light and fluffy cream that will beautifully complement the layers of cake and cherries.
Step 4: Layer the Cake
Begin by placing half of the angel food cake cubes evenly in the prepared baking dish. Make sure the pieces are slightly overlapping for the best texture. Next, spoon half of the cream mixture over the cake, spreading it evenly. Finally, add half of the cherry pie filling on top of the cream, letting some cherries peek through for a colorful presentation.
Step 5: Repeat the Layers
Now, repeat the layering process with the remaining angel food cake cubes, followed by the rest of the cream mixture, and top it off with the last of the cherry pie filling. Spread the filling gently to avoid disrupting the layers beneath, creating a visually stunning Cherries in the Snow dessert that will make anyone’s mouth water.
Step 6: Chill and Set
Cover the baking dish tightly with plastic wrap or a lid and refrigerate it for at least 2 hours, though overnight is ideal. This chilling time allows the flavors to meld beautifully and the layers to set properly, ensuring each slice of Cherries in the Snow is both creamy and delightful when served.
Expert Tips for Cherries in the Snow
• Softened Cream Cheese: Ensure the cream cheese is at room temperature before mixing to avoid lumps in your creamy filling.
• Layer Smartly: Layering the cake cubes evenly helps create distinct layers without them sinking, ensuring a beautiful presentation when served.
• Chill Time Matters: Refrigerate your Cherries in the Snow for at least 2 hours, but overnight is best. This allows the flavors to meld and layers to set properly.
• Experiment with Fillings: Don’t hesitate to swap cherry pie filling for other fruits, like blueberries or strawberries, to match your tastes and the season.
• Make-Ahead Delight: Perfect for potlucks, prepare this no-bake dessert one day in advance for the best flavor and convenience at your gathering.
Cherries in the Snow Variations
Feel free to explore your creativity with these delightful variations, ensuring everyone enjoys this treat!
- Gluten-Free: Substitute angel food cake with a gluten-free cake to accommodate dietary needs while keeping the texture light and airy.
- Vegan Twist: Use dairy-free cream cheese and whipped topping for a fully vegan take that doesn’t compromise on flavor.
- Low-Sugar Option: Swap powdered sugar for a sugar alternative like Stevia or erythritol for a low-sugar delight.
- Fresh Fruit Alternative: Replace cherry pie filling with fresh blueberries or strawberries for a bright and fruity twist. Juicy, sweet, and bursting with flavor, it adds a refreshing touch!
- Chocolate Accents: Drizzle melted dark chocolate on top for an extra layer of richness; this boosts flavor and adds a touch of decadence to the dessert’s visual appeal.
- Nutty Crunch: Sprinkle chopped walnuts or pecans between layers for added texture and a nutty flair. The contrast of creamy and crunchy is always a crowd-pleaser!
- Spiced Variations: Add a pinch of cinnamon or nutmeg to the cream filling for a warm flavor lift; this subtle hint can transform the entire dessert experience.
- Seasonal Splendor: Change the cherry topping to seasonal fruits, like pumpkin for fall or mango in summer, to keep things fresh and exciting during various occasions.
For a complete dessert table experience, consider pairing it with some delightful Christmas Popcorn Sweetest or treat yourself with Homemade English Toffee for unforgettable flavors all around!
Make Ahead Options
These delightful Cherries in the Snow are perfect for busy home cooks looking to save time! You can prepare the creamy filling and layer it with the angel food cake up to 24 hours in advance, ensuring that all the flavors meld beautifully. Simply assemble the dessert as instructed, cover it tightly, and refrigerate it. For maximum freshness, add the cherry pie filling just before serving; this helps maintain its vibrant color and prevents the cake base from becoming soggy. This way, your make-ahead dessert will be just as delicious, impressive, and refreshing for your guests! Don’t hesitate to whip this up a day ahead for hassle-free entertaining!
What to Serve with Cherries in the Snow
Serving Cherries in the Snow isn’t just about having a dessert; it’s about creating a delightful meal experience that lingers on the palate.
-
Fresh Fruit Salad: A medley of seasonal fruits brings a refreshing contrast, enhancing the overall brightness of your meal. The natural sweetness of fruits like berries and melons is a wonderful complement, making each bite feel light and invigorating.
-
Creamy Whipped Potatoes: Smooth and buttery, these potatoes provide a comforting, rich base that balances the airy layers of the dessert. Their savory goodness ensures your meal feels wholesome and satisfying ahead of the delightful sweetness of Cherries in the Snow.
-
Simple Green Salad: Crisp greens tossed in a light vinaigrette add a refreshing crunch and a touch of acidity, which contrasts beautifully with the creamy dessert. The freshness from the salad cleanses the palate and prepares you for a sweet ending.
-
Iced Coffee: Paired with Cherries in the Snow, a chilled iced coffee acts as a perfect refreshment, offering a caffeinated lift while beautifully enhancing the dessert’s flavors. It’s ideal for those gatherings that stretch into the evening!
-
Chocolate Shavings: As an elegant garnish, these can enhance the dessert’s visual appeal. A sprinkle of dark chocolate provides a contrasting richness, inviting guests to enjoy a symphony of flavors while delighting the eyes.
-
Vanilla Ice Cream: Serving a scoop of vanilla ice cream beside your dessert transforms it into an indulgent treat, adding creaminess that melts into the fluffy layers. The combination of warm and chilled elements creates an experience your guests won’t forget.
Indulge your guests with these delightful pairings that promise to elevate your next gathering!
Storage Tips for Cherries in the Snow
Fridge: Store your Cherries in the Snow in an airtight container for up to 3 days to maintain freshness and flavor.
Make-Ahead: This dessert is perfect for making a day ahead of time. Refrigerating overnight allows the flavors to meld beautifully.
Freezer: While not recommended for the best texture, you can freeze individual servings for up to 2 months. Thaw overnight in the fridge before serving.
Reheating: There’s no need to heat this dish; serve it chilled directly from the refrigerator for the best experience.
Cherries in the Snow Recipe FAQs
What cherries are best for making Cherries in the Snow?
Absolutely! Fresh or frozen cherries work wonderfully, but if you’re looking for convenience, cherry pie filling is a fantastic choice. If using fresh cherries, ensure they are pitted and halved, as they provide a delightful, tart flavor that complements the creamy layers perfectly!
How should I store Cherries in the Snow?
Cherries in the Snow can be stored in an airtight container in the refrigerator for up to 3 days. Make it a day ahead for best flavor! Just remember to keep it covered to retain its delicious layers and creamy texture.
Can I freeze Cherries in the Snow?
Yes, you can freeze individual servings of Cherries in the Snow! Slice the dessert and wrap each piece in plastic wrap, then place them in a freezer-safe bag or container for up to 2 months. To enjoy, simply thaw in the refrigerator overnight. Keep in mind that while it will still taste great, the texture might change slightly after freezing.
What if my cream filling is lumpy?
No worries! If your cream cheese is not softened enough, it might become lumpy when mixed. To salvage it, simply return the mixture to the mixer and beat it at medium speed until smooth. If lumps persist, you can strain the mixture through a fine sieve to achieve a silky texture before layering.
Are there gluten-free options for Cherries in the Snow?
Very! To make this dessert gluten-free, substitute the angel food cake with a gluten-free cake or gluten-free ladyfingers. You can easily find options at grocery stores, or they can be homemade using gluten-free flour. This way, everyone can enjoy the creamy goodness!
Can I make Cherries in the Snow vegan?
Absolutely! Use dairy-free cream cheese and whipped topping for the filling. You can also select vegan-friendly cake options or skip the cake entirely and make a parfait-style dessert. It’s an easy way to accommodate vegan diets without sacrificing taste!
Delightful Cherries in the Snow: No-Bake Bliss for Everyone
Ingredients
Equipment
Method
- Grease or line a 9x13-inch baking dish with parchment paper.
- Combine softened cream cheese and powdered sugar in a bowl and beat until smooth.
- Fold in thawed whipped topping gently until well combined.
- Layer half of the angel food cake cubes in the prepared dish, top with half of the cream mixture and cherry filling.
- Repeat layering with remaining cake, cream mixture, and cherry filling.
- Cover tightly and refrigerate for at least 2 hours to chill.
Leave a Reply