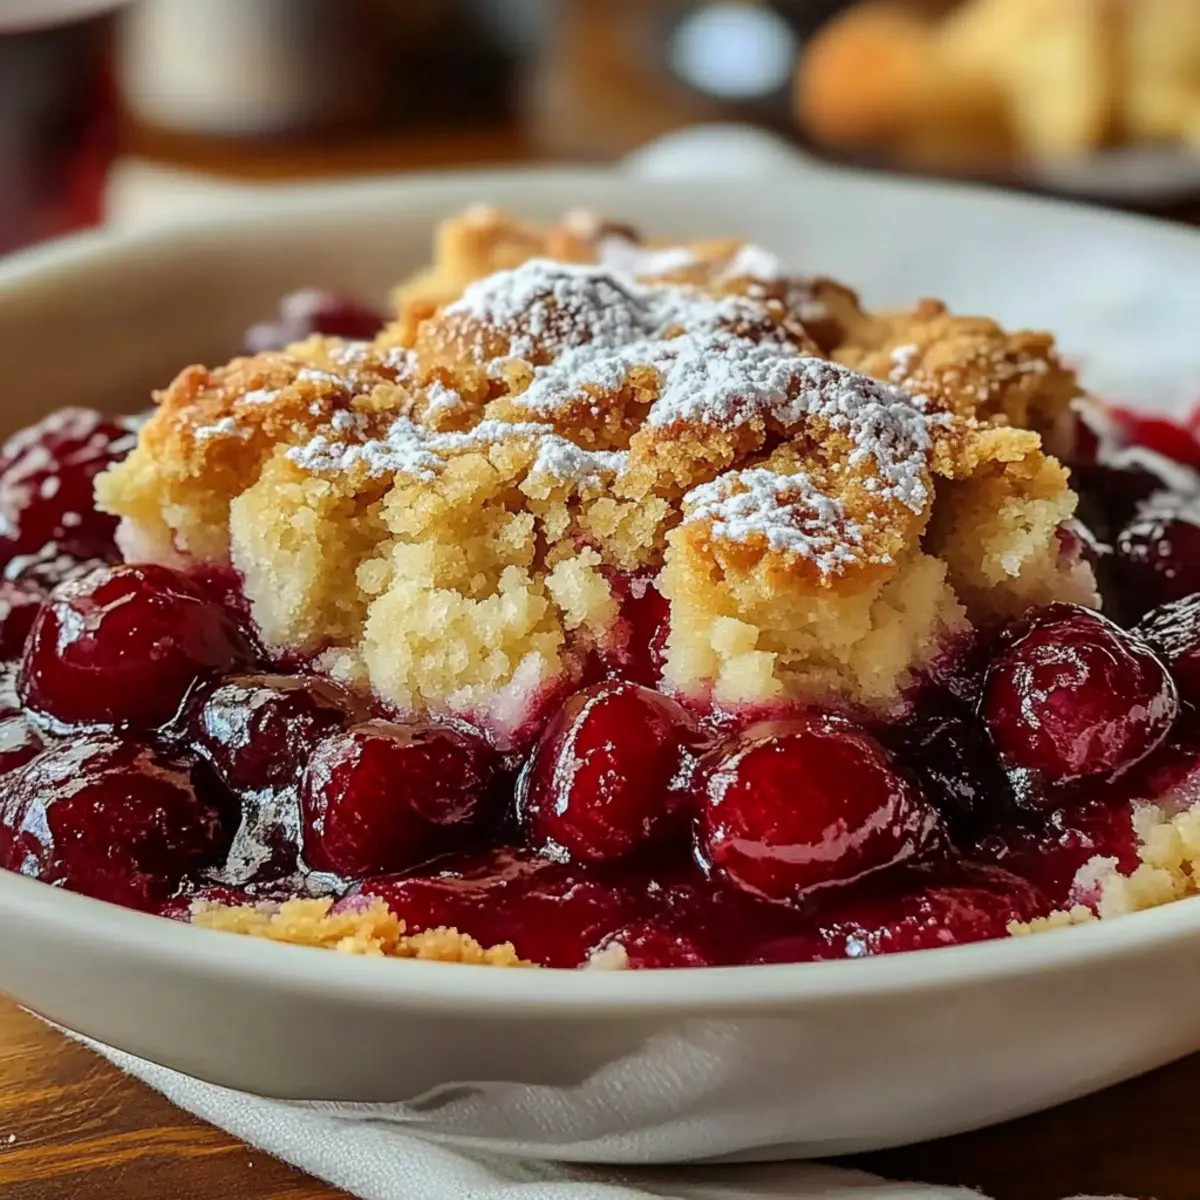
There’s nothing quite like the comforting scent of a freshly baked Easy Cherry Cobbler wafting through your kitchen. It’s a sensory experience that transports me back to summers spent at my grandma’s house, where dessert was a daily must. This delightful treat combines juicy cherries with a fluffy, buttery crust, bringing together pantry staples in a way that feels both simple and indulgent. Not only is it a breeze to whip up, but it’s also a crowd-pleaser that invites everyone to gather around the table. Plus, the flexibility of this recipe allows you to switch up the fruit to keep things exciting! Ready to dive into a slice of nostalgia? Let’s explore how to create this cherry confection that embodies warmth and sweetness in every bite.
Why is Cherry Cobbler a Must-Try?
Simplicity at its finest: This Easy Cherry Cobbler requires minimal ingredients and effort, making it perfect for anyone craving homemade dessert without the fuss.
Comforting flavors are just a bake away: The warm, buttery crust and juicy cherries come together to create a delightful treat that feels like a cozy hug.
Versatility in your kitchen: While cherries shine here, feel free to switch it up with peaches or mixed berries, allowing you to make this dessert year-round.
Crowd-pleasing appeal: Whether it’s a family gathering or a potluck, this dish is sure to vanish quickly, inviting compliments and requests for the recipe!
For an extra treat, consider pairing it with a scoop of vanilla ice cream or serving alongside a slice of Lavender Vanilla Bean for a delightful aromatic experience.
Easy Cherry Cobbler Ingredients
This Easy Cherry Cobbler Delight is a simple yet satisfying dessert made from pantry staples!
For the Batter
• Unsalted Butter – Provides richness and acts as a base for the batter; melt for best results.
• All-Purpose Flour – Gives structure to the cobbler; you can substitute with gluten-free flour if desired.
• Granulated Sugar – Sweetens the dish; adjust the amount if the filling is sweeter.
• Baking Powder – A leavening agent that will help the cobbler rise beautifully.
• Salt – Enhances all flavors, making each bite delicious.
• Ground Cinnamon – Adds warmth and spice; can be omitted or adjusted based on your taste.
For the Liquid
• Milk – Hydrates the batter, creating a tender texture; use almond milk for a delightful dairy-free option.
• Vanilla Extract – Adds depth of flavor; consider almond extract for a unique twist.
For the Filling
• Canned Cherry Pie Filling – The main fruit component that makes this dish truly special; feel free to use other fruit pie fillings if cherries aren’t available.
Step‑by‑Step Instructions for Easy Cherry Cobbler Delight
Step 1: Preheat the Oven
Begin by preheating your oven to 175°C (350°F). This ensures that your Easy Cherry Cobbler bakes evenly and develops that perfect golden-brown crust. While the oven is heating up, you can start preparing the other components of the dish, making the most of your time.
Step 2: Melt the Butter
In a 9×9 inch (23 x 23 cm) baking dish, add the unsalted butter and place it in the preheated oven. Let it melt completely, which should take about 5 to 7 minutes. You’ll know it’s ready when the butter is bubbling and golden, creating a rich base for your cherry cobbler batter.
Step 3: Combine Dry Ingredients
While the butter melts, grab a medium bowl and whisk together the all-purpose flour, granulated sugar, baking powder, salt, and ground cinnamon. Mix thoroughly until combined, ensuring there are no lumps. This dry mixture will be the foundation for your Easy Cherry Cobbler, providing the necessary structure and sweetness.
Step 4: Mix in Liquid Ingredients
In a measuring jug, combine the milk and vanilla extract. Gradually pour this liquid into the dry mixture, stirring gently as you go. Aim for a smooth batter with a slightly thick consistency, which should take about 2 to 3 minutes. This step is vital for achieving a tender texture in your Easy Cherry Cobbler.
Step 5: Assemble the Batter and Butter
Once your batter is ready, carefully pour it over the melted butter in the baking dish. Be careful not to stir; allow the batter to sit on top of the butter. You’ll notice that the melted butter creates a beautiful layer beneath the batter, which will contribute to that flaky, buttery crust we love in cobblers.
Step 6: Add Cherry Filling
Now it’s time to add the star of the show! Spoon the cherry pie filling evenly over the batter, spreading it gently to ensure every bite is packed with juicy cherries. Avoid stirring the filling in; instead, let it rest atop the batter for a lovely, layered effect when your Easy Cherry Cobbler bakes.
Step 7: Bake to Perfection
Place the baking dish in your preheated oven and bake for 50 to 60 minutes. Keep an eye on it as the edges begin to bubble and the top turns a beautiful golden brown. When it’s done, the cobbler will look enticingly puffed and slightly crisp, ready to be savored.
Step 8: Cool and Serve
Once baked, take your Easy Cherry Cobbler out of the oven and allow it to cool for about 10 to 15 minutes. This will let the filling set up a bit. Serve it warm, ideally with a scoop of vanilla ice cream or a dollop of whipped cream to elevate the comforting experience of this classic dessert.

What to Serve with Easy Cherry Cobbler Delight
Nothing complements the warmth and sweetness of this baked treat quite like a few pairing options to enhance your experience.
- Vanilla Ice Cream: The classic pairing, its creaminess balances the tart cherries and warm cobbler perfectly.
- Whipped Cream: Light and airy, it adds a touch of sweetness and a delightful texture to each bite of your cobbler.
- Fresh Berries: A mix of raspberries or blueberries provides a tart contrast that brightens up the dessert.
- Cinnamon Sugar Biscuit: A spin on the traditional crust, these biscuits add a different texture with a comforting spice.
- Almond Milk Latte: The nutty flavor complements the cherries beautifully, making it a cozy beverage choice.
- Mint Tea: A refreshing herbal option that cleanses the palate after the rich cobbler.
- Peach Sorbet: Light and fruity, its coolness offers a delightful contrast to the warm dessert.
- Chocolate Sauce: Drizzled on top, it elevates the cherry flavor for chocolate lovers and adds indulgence to every bite.
How to Store and Freeze Easy Cherry Cobbler
Room Temperature: Store your Easy Cherry Cobbler at room temperature for up to 2 days, covered with a clean kitchen towel to keep it fresh.
Fridge: If you have leftovers, refrigerate them in an airtight container for up to 4 days. This keeps the cobbler moist and delicious.
Freezer: You can freeze assembled but unbaked Easy Cherry Cobbler for up to 2 months. Bake directly from the freezer, adding a few extra minutes to the baking time.
Reheating: To reheat, cover loosely with foil and place in a preheated oven until warmed through, ensuring the crust remains tender and inviting.
Easy Cherry Cobbler Delight: Variations & Substitutions
Customize your Easy Cherry Cobbler Delight with these delightful variations, inviting you to unleash your inner chef!
-
Dairy-Free: Substitute milk with almond milk for a creamy and light alternative without sacrificing flavor.
Dive into the delightful taste of almond, complementing the cherry filling beautifully! -
Gluten-Free: Swap all-purpose flour for gluten-free flour to enjoy this classic cobbler without the gluten.
It’s a great way to share this comfort dessert with friends and family who have dietary preferences! -
Mixed Berries: Consider using a blend of mixed berries instead of cherries for a colorful twist full of vibrant flavors.
This variation offers a delightful medley that brings a new adventure to each bite! -
Peach Perfection: Use canned peach pie filling in place of cherries for a sweet and juicy summertime treat.
Peach cobbler is a Southern classic, reminding you of sun-soaked afternoons and warm family gatherings! -
Mini Cobblers: Create individual servings by dividing the batter and filling into ramekins for a fun presentation.
These single portions are perfect for parties, allowing guests to enjoy their own little indulgences! -
Almond Extract: Swap vanilla extract for almond extract for a nutty flavor that adds an unexpected depth.
This simple adjustment elevates the cobbler to a whole new level of deliciousness! -
Spiced Twist: Enhance the flavors by adding a pinch of nutmeg or ginger to the batter for an extra layer of warmth.
These spices will evoke feelings of cozy, comforting evenings, perfect for those chilly nights!
For further baking inspiration, check out our delightful Chicken Spaghetti or tantalizing Strawberry Rhubarb Crisp that offer comforting, easy recipes to explore!
Expert Tips for Easy Cherry Cobbler
• Perfectly Melted Butter: Make sure the butter is fully melted and bubbling before adding the batter to ensure a crispy bottom crust.
• Don’t Stir: After placing the cherry filling on top, avoid stirring it into the batter. This maintains the lovely layers of your Easy Cherry Cobbler.
• Foil for Reheating: To keep the crust tender when reheating leftovers, cover loosely with foil to prevent drying out.
• Freezing Options: You can freeze the assembled, unbaked cobbler for up to two months. Just bake it right from the freezer; it’s a great time-saver!
• Taste Adjustments: Keep in mind the sweetness of your cherry filling. Adjust the amount of sugar in the batter accordingly for balance.
Make Ahead Options
These Easy Cherry Cobbler Delight are perfect for busy weeknights when you crave something homemade without the hassle! You can prepare the batter and refrigerate it for up to 24 hours; just store it in an airtight container to maintain its freshness. Alternatively, assemble the entire cobbler (batter and cherry filling) in the baking dish and cover it tightly with plastic wrap for up to 3 days in the fridge. When you’re ready to bake, simply preheat your oven and pop it in straight from the refrigerator, extending the baking time by about 5-10 minutes. This way, you can enjoy a warm, comforting treat with minimal effort, just as delicious as when made fresh!
Easy Cherry Cobbler Delight Recipe FAQs
How do I select ripe cherries for this recipe?
Absolutely! If you’re using fresh cherries instead of canned pie filling, choose firm, plump cherries that are bright red. They should have a slight sheen and no dark spots. If they’re soft or have bruising, they may not be the best for baking.
What’s the best way to store leftover cherry cobbler?
Very good question! You can keep your Easy Cherry Cobbler at room temperature for up to 2 days. Just cover it with a clean kitchen towel to keep it fresh. If you plan to keep it longer, refrigerate it in an airtight container for up to 4 days.
Can I freeze Easy Cherry Cobbler?
Absolutely! You can freeze the assembled but unbaked cobbler for up to 2 months. To do so, simply cover the baking dish tightly with aluminum foil or plastic wrap. When you’re ready to bake, take it directly from the freezer to the oven, adding a few extra minutes to the baking time.
What if my cobbler doesn’t rise properly?
Don’t worry; this happens to the best of us! Ensure you use fresh baking powder, as expired leavening agents can cause flat results. Also, be sure not to overmix the batter; a few lumps are perfectly fine. If your cobbler is too watery, try baking it a little longer, checking for that beautiful golden top!
Is this recipe suitable for those with dairy allergies?
Yes! You can easily make this Easy Cherry Cobbler Delight dairy-free by substituting the unsalted butter with a dairy-free alternative like coconut oil or vegan butter. Additionally, use almond milk or another plant-based milk instead of regular milk—both options will yield a delicious cobbler.
What should I serve with cherry cobbler?
The more the merrier! Serving your cobbler warm with a generous scoop of vanilla ice cream or a dollop of whipped cream turns this delightful dessert into a truly comforting experience. You could also pair it with a fruity sauce to elevate the flavors even more!
Easy Cherry Cobbler Delight - Comfort Food Made Simple
Ingredients
Equipment
Method
- Preheat your oven to 175°C (350°F).
- In a baking dish, add the unsalted butter and place it in the oven to melt for about 5 to 7 minutes.
- Combine all-purpose flour, granulated sugar, baking powder, salt, and ground cinnamon in a medium bowl.
- In a measuring jug, mix milk and vanilla extract, then pour into the dry mixture, stirring for a smooth batter.
- Pour the batter over the melted butter in the dish without stirring.
- Spoon the cherry pie filling evenly over the batter.
- Bake for 50 to 60 minutes until golden brown.
- Allow to cool for 10 to 15 minutes before serving warm.
Leave a Reply