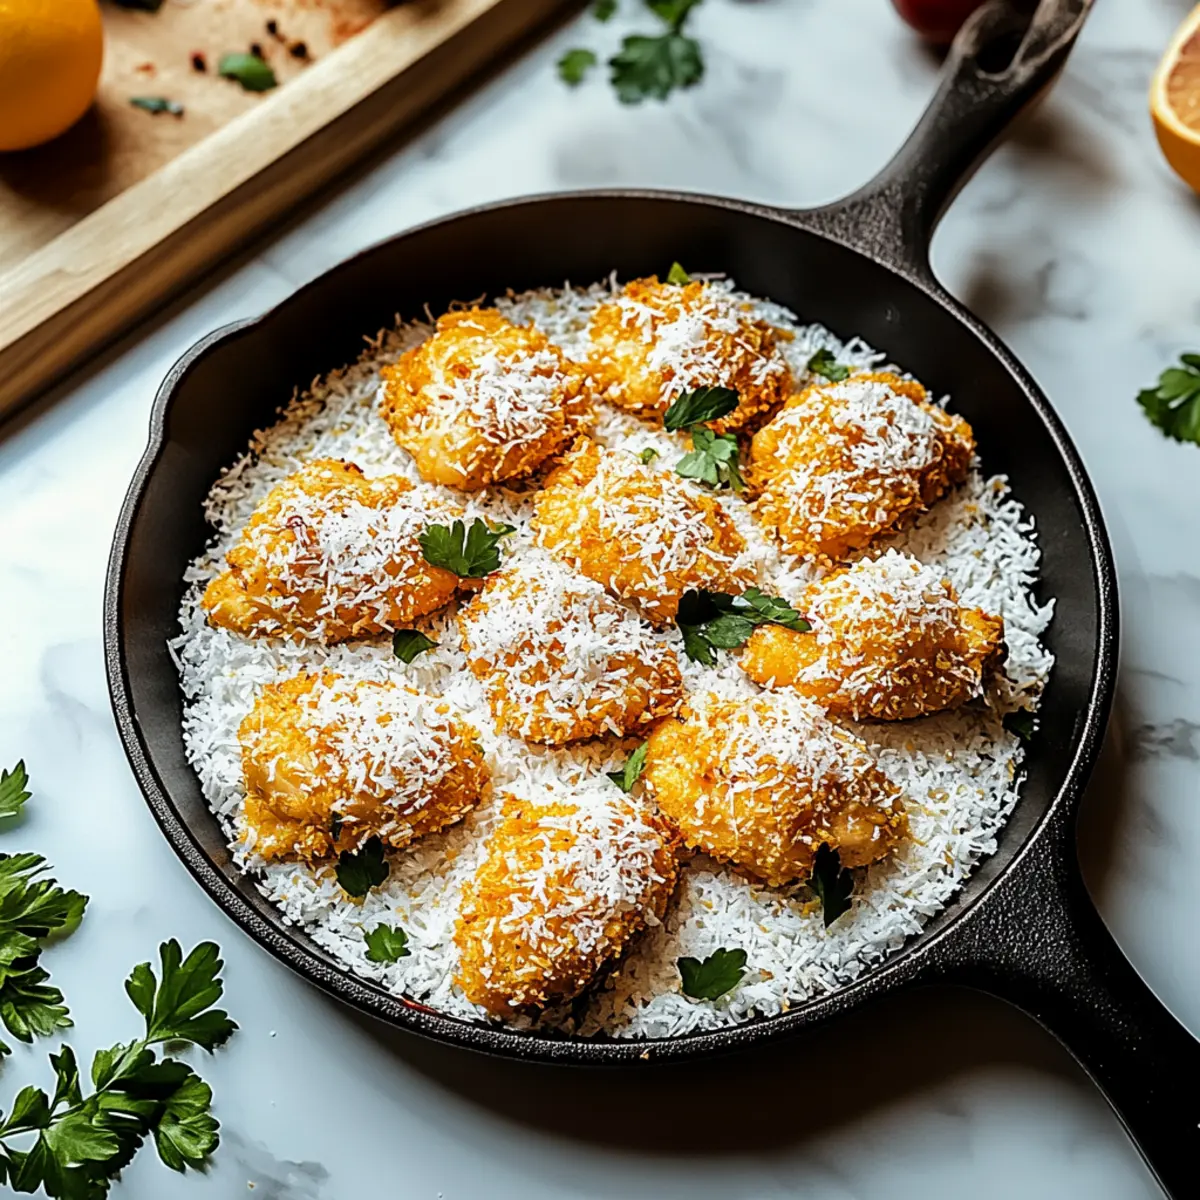
As I stood in my kitchen, the sun streaming through the window, the thought of a tropical escape danced in my mind. That’s when I decided to whip up this easy Coconut Chicken recipe. With tender chicken enveloped in a crispy coconut crust, it promises a perfect blend of savory and sweet that’ll transport you straight to a sunny beachside getaway. This delightful dish not only comes together in a flash, saving you from the clutches of takeout, but it’s also a crowd-pleaser that even the pickiest eaters will rave about. Ready to elevate your dinner game with a taste of paradise? Let’s dive into this irresistible Coconut Chicken creation that’s bound to become a family favorite!
Why is Coconut Chicken a Must-Try?
Unforgettable Flavor: This Coconut Chicken recipe delivers a delightful fusion of savory and sweet, blending the tropical essence of coconut with tender chicken that will leave you wanting more.
Quick & Easy: Preparation takes just 30 minutes, making it an incredibly easy meal option for busy weeknights—or even a fun dinner party.
Crowd-Pleasing: Everyone loves crispy chicken! This dish is perfect for both kids and adults, turning even the pickiest eaters into fans.
Healthy Twist: With a balance of flavors and nutritious ingredients, it’s a wholesome alternative to fast food that packs plenty of satisfaction.
Versatile Pairings: Serve it with coconut rice, a fresh salad, or a tangy dipping sauce for an extra burst of flavor.
Once you indulge in this Coconut Chicken, you may find yourself exploring more easy and delicious options, like our Chicken Spaghetti Cozy or the flavorful Buffalo Chicken Baked Potatoes. This recipe is definitely one for your go-to list!
Coconut Chicken Ingredients
-
For the Chicken
• Chicken Breasts – The main protein that can be swapped for boneless, skinless chicken thighs for added juiciness. -
For the Coating
• Unsweetened Shredded Coconut – Provides flavor and crunch; sweetened coconut can also be used for a sweeter profile, but adjust the sugar accordingly.
• All-Purpose Flour – Forms the base coating; use gluten-free flour for a gluten-free coconut chicken version.
• Large Eggs – Acts as a binder for the crust; flax eggs can substitute for a vegan option.
• Garlic Powder – Adds depth of flavor; fresh garlic can replace it, but adjust to taste.
• Onion Powder – Enhances savory notes; can be omitted if you prefer a milder flavor.
• Salt – Essential for balancing flavors; try sea salt as a flavorful alternative.
• Black Pepper – Offers heat; white pepper can substitute for a milder taste.
• Paprika – Adds beautiful color and smoky flavor; smoked paprika provides a richer taste.
• Panko Breadcrumbs – Creates extra crunch; replace with regular breadcrumbs if needed, but texture will vary. -
For Cooking
• Coconut Oil – Used for frying and imparts a subtle coconut flavor; can be substituted with any neutral oil like canola.
• Honey – Adds a touch of sweetness to the chicken; maple syrup is a great vegan alternative for similar sweetness.
Unlock the savory delight of this Coconut Chicken recipe, and prepare for a meal that sings with tropical essence!
Step‑by‑Step Instructions for Coconut Chicken
Step 1: Preheat the Oven
Begin by preheating your oven to 400°F (200°C). While the oven heats up, prepare a baking sheet by lining it with parchment paper to ensure the coconut chicken can crisp beautifully without sticking. This step sets the stage for ensuring the final dish turns out perfectly golden.
Step 2: Set Up Dredging Stations
Set out three shallow bowls for the dredging process: fill the first with all-purpose flour, which will act as the first coating; the second should contain beaten eggs, serving as the binder for the coconut crust; and the third should have a blend of unsweetened shredded coconut, garlic powder, onion powder, paprika, salt, and black pepper. This organized setup will make coating your chicken a breeze!
Step 3: Prepare the Chicken
Take your chicken breasts and, if you prefer, slice them into thinner pieces for quicker cooking. Pat them dry with paper towels; this helps the coating adhere better and results in a crispier texture. Keeping the chicken intact is also an option if you want a heartier serving of coconut chicken.
Step 4: Coat the Chicken
Dredge each piece of chicken in the flour, ensuring it’s well-coated, and gently shake off excess flour. Next, dip the floured chicken into the beaten eggs, allowing any excess to drip off before transferring it to the coconut mixture. Press the chicken firmly into the coconut coating to ensure a thick, crispy layer covers each piece evenly.
Step 5: Heat the Skillet
In a large skillet, heat about a quarter inch of coconut oil over medium heat. You’ll know the oil is ready when it shimmers but isn’t smoking, which usually takes about 3-5 minutes. This golden oil will infuse your coconut chicken with a subtle tropical flavor while providing that crunchy exterior we all crave.
Step 6: Fry the Chicken
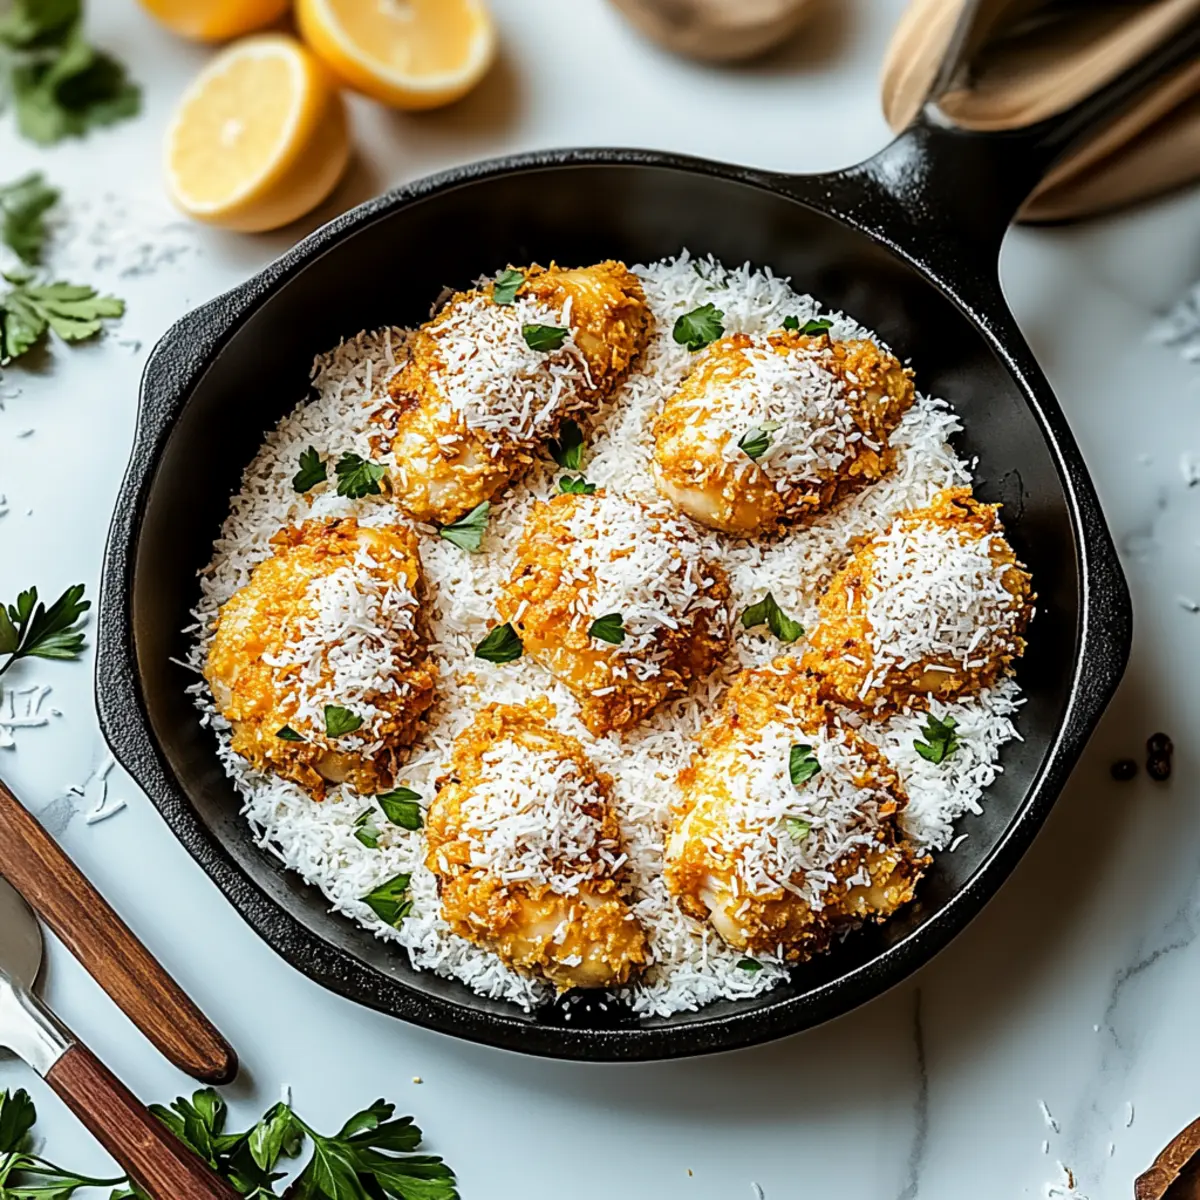
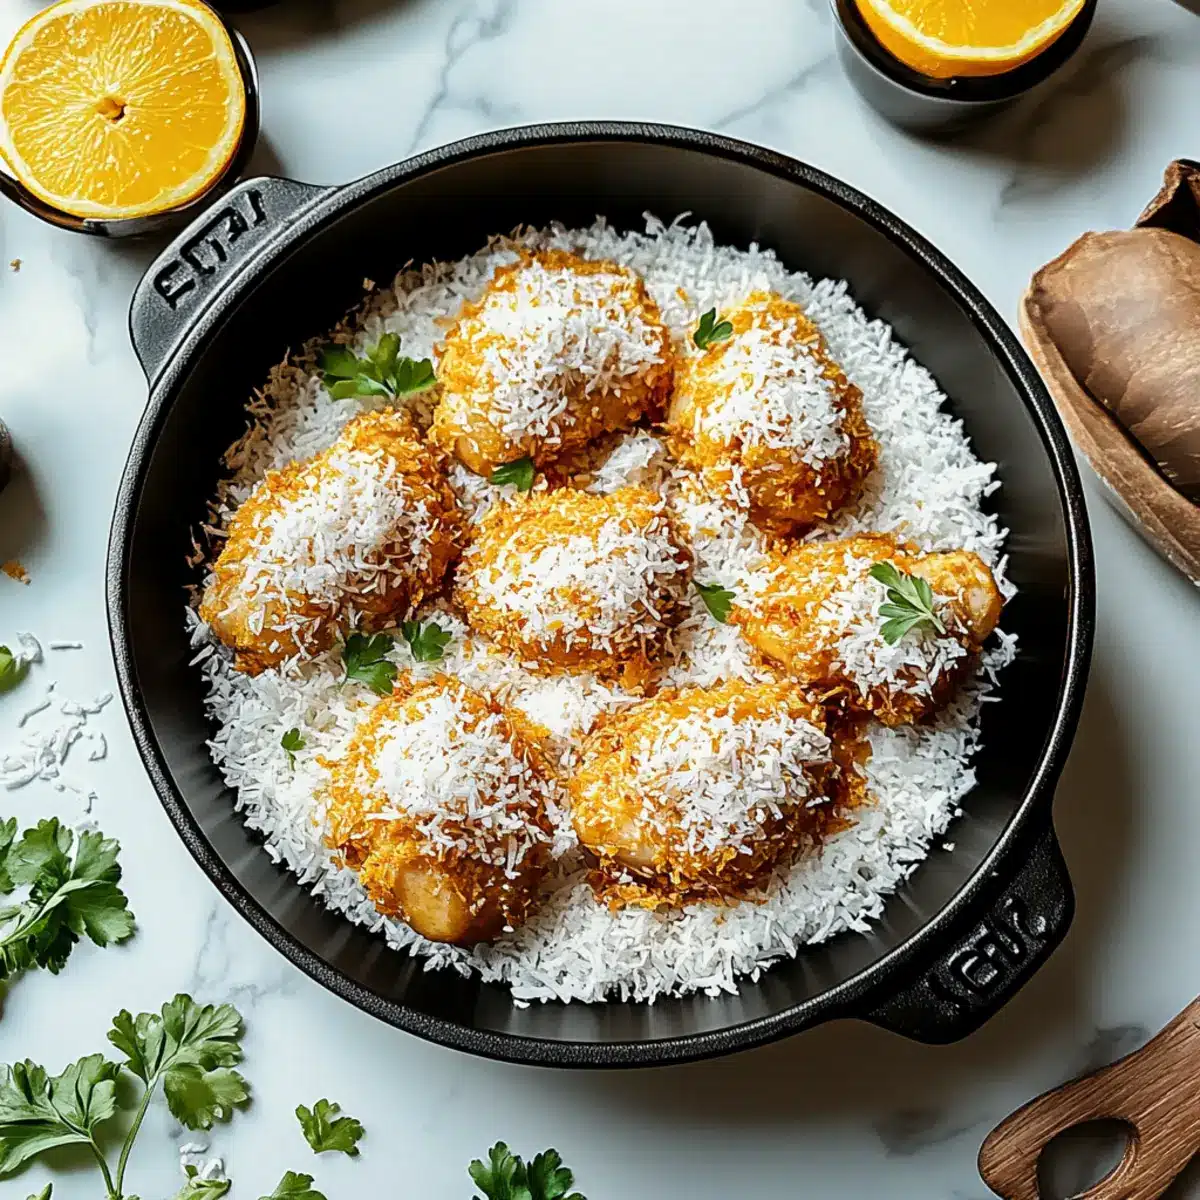
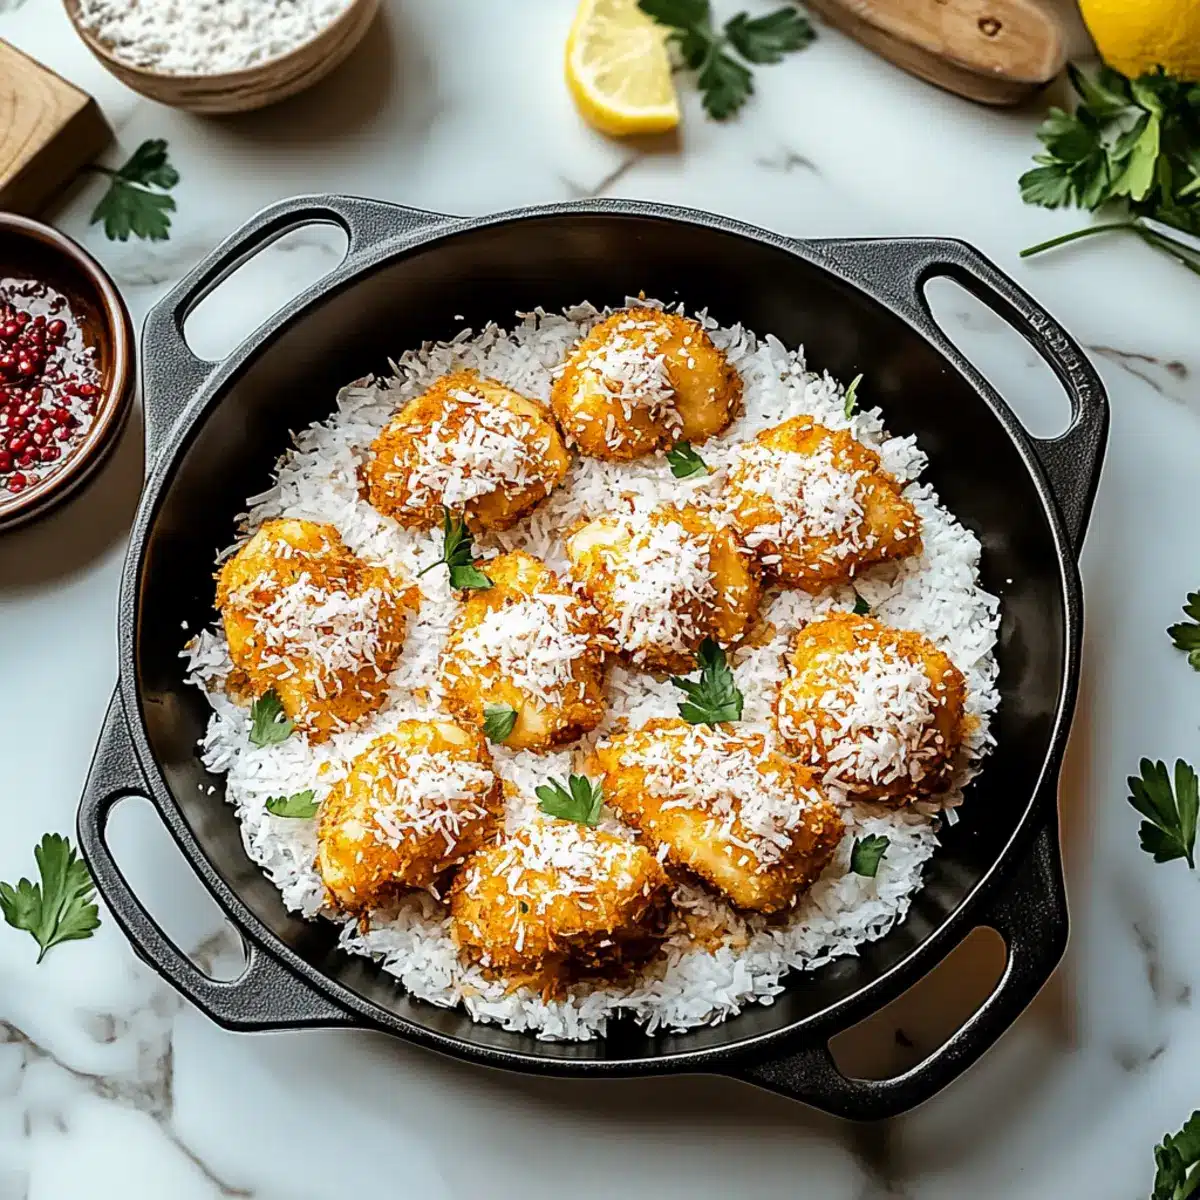
Carefully place the coated chicken pieces into the hot oil, making sure not to overcrowd the skillet. Fry each piece for about 3-4 minutes per side until they turn a beautiful golden brown. The crispy coconut crust should look inviting and delicious, signaling that it’s nearly time for the oven!
Step 7: Transfer to the Baking Sheet
Once your coconut chicken pieces are golden and crispy, transfer them to the prepared baking sheet. Drizzle a touch of honey over each piece to enhance the sweetness and moisture. This step not only adds flavor but also helps the chicken remain succulent as it bakes.
Step 8: Bake to Perfection
Place the baking sheet in the preheated oven and bake for 10-12 minutes, or until the internal temperature of the chicken reaches 165°F (74°C). This final cooking step ensures that your coconut chicken is fully cooked while keeping the crust delightful and crispy.
Step 9: Rest Before Serving
Once done, remove the coconut chicken from the oven and let it rest for a few minutes. This resting period allows the juices to settle, resulting in even juicier chicken. Now you’re ready to serve your magnificent coconut chicken to family and friends!
Make Ahead Options
These Coconut Chicken strips are perfect for meal prep enthusiasts looking to save time on busy weeknights! You can coat your chicken up to 24 hours in advance; simply follow the dredging steps and store the prepared chicken in an airtight container in the refrigerator. This allows the flavors to meld beautifully, while also ensuring the crust adheres better when cooked. When ready to serve, just heat your coconut oil and fry the chicken for about 3-4 minutes on each side before transferring to the oven for the final bake. With these prep-ahead tips, you’ll enjoy a delicious homemade meal that’s just as crispy and flavorful as if you made it from scratch all in one go!
Coconut Chicken: Endless Customizations
Feel free to get creative with this Coconut Chicken recipe and make it your own—a delicious adventure awaits you!
- Gluten-Free Flour: Use gluten-free flour instead of all-purpose for a wholesome option. This allows everyone to enjoy the dish without worrying about gluten.
- Vegan Version: Substitute chicken with tofu or tempeh, and replace eggs with flax eggs for a delightful plant-based take on this recipe.
- Add Heat: Sprinkle in some cayenne pepper or crushed red pepper flakes to the coconut mixture for a spicy kick that complements the sweetness beautifully.
- Citrus Zing: A touch of lime or lemon zest can brighten the dish and bring out the flavors in a refreshing way. It’s like a tropical breeze in every bite!
- Coconut Milk Dip: Serve with a sweet coconut milk dip for a tropical twist that enhances the coconut flavor—just mix coconut milk with lime juice and a touch of honey.
- Crunch Boost: Try mixing in crushed nuts, like almonds or cashews, into the coconut coating for added texture and a nutty flavor that takes it to the next level.
- Flavorful Accompaniments: Pair it with fragrant coconut rice or a fresh mango salsa that echoes the tropical theme. Our Chicken Alfredo Garlic is another delicious option to consider!
- Dippable Treat: Serve with a variety of dipping sauces, like sweet chili or spicy mayo, for a fun, hands-on experience at the dinner table.
Each of these variations invites exploration and makes every meal feel like a unique tropical escape. Enjoy the journey as you delight your taste buds!
Expert Tips for Coconut Chicken
-
Dry the Chicken: Ensure chicken breasts are completely dry before coating to help the crispy crust adhere better during cooking and avoid sogginess.
-
Don’t Overcrowd: Avoid overcrowding the skillet when frying coconut chicken; this allows for even cooking and helps maintain that golden, crispy texture.
-
Use a Thermometer: Always check the chicken’s doneness with a meat thermometer, ensuring it reaches 165°F (74°C) for safe consumption.
-
Customize Flavors: Feel free to experiment with spices; adding cayenne pepper can give your coconut chicken a delightful kick, while lime zest adds a refreshing touch.
-
Resting Time: Allow the chicken to rest for a few minutes after baking; this enhances juiciness by letting the juices redistribute throughout the meat.
How to Store and Freeze Coconut Chicken
Fridge: Keep your coconut chicken in an airtight container to ensure it remains fresh for up to 3-4 days. This way, you can enjoy your delicious leftovers without worrying about quality.
Freezer: For longer storage, freeze the cooked coconut chicken in a single layer in a freezer-safe container. It lasts up to 3 months, allowing you to savor that tropical flavor at a later date.
Reheating: To reheat, bake the frozen coconut chicken straight from the freezer at 375°F (190°C) for about 20-25 minutes until heated through. This method keeps the crust crispy while warming the interior.
Make-Ahead Tip: Prepare your coconut chicken up to 24 hours in advance by coating the chicken and storing it in the fridge. This will save you time and allow for easy cooking when you’re ready to enjoy it!
What to Serve with Coconut Chicken
Elevate your dining experience by pairing this crispy chicken with delightful sides that complement its tropical flavors.
- Coconut Rice: Fluffy, fragrant rice infused with coconut milk perfectly echoes the chicken’s tropical notes, creating a harmonious flavor experience.
- Tropical Salad: A mix of fresh greens, mango, and avocado adds a refreshing, vibrant crunch that contrasts beautifully with the crispy chicken.
- Mango Salsa: This sweet and tangy dip not only enhances the chicken but also adds a burst of tropical flair to each bite.
- Steamed Vegetables: Brightly colored vegetables like broccoli and carrots provide a crisp texture while balancing the richness of the coconut chicken.
- Sweet Chili Sauce: A spicy, sweet sauce offers an enjoyable kick and complements the coconut’s sweetness in the chicken.
For something special, enjoy a glass of Pineapple Juice or a refreshing Mojito to wash down the flavors, making your meal feel like a tropical getaway. Each pairing enhances the experience, ensuring your Coconut Chicken is the star of the show!
Coconut Chicken Recipe FAQs
What type of chicken should I use for coconut chicken?
Absolutely! I recommend using boneless, skinless chicken breasts for a lean option, but you can also swap them for chicken thighs for extra juiciness. Look for chicken that is firm and has a pink, moist look—avoid any that has dark spots.
How should I store leftover coconut chicken?
Very simple! Once cooled, place your coconut chicken in an airtight container and refrigerate it. It will stay fresh for about 3 to 4 days. Just make sure it’s fully cooled before sealing to prevent sogginess.
Can I freeze coconut chicken, and if so, how?
Absolutely! To freeze your coconut chicken, let it cool completely, then arrange the pieces in a single layer on a baking sheet and place it in the freezer for about an hour. Once frozen, transfer them to a freezer-safe container or bag. It can be stored for up to 3 months. When you’re ready to enjoy, bake it directly from the freezer at 375°F (190°C) for about 20-25 minutes until heated through.
What if my coconut crust isn’t crisping up during frying?
No worries! If your coconut crust isn’t turning golden brown, make sure your oil is hot enough before adding the chicken. The oil should shimmer but not smoke. If you overcrowd the skillet, it can lower the temperature and keep the crust soggy. Cook in batches if necessary!
Are there any dietary considerations for this coconut chicken recipe?
Yes! This coconut chicken recipe can be made gluten-free by using gluten-free flour and panko breadcrumbs. If you have any allergies—such as to eggs—you can substitute with flax eggs instead. Additionally, always double-check that all your ingredients are certified allergen-free if you’re cooking for someone with food sensitivities.
Can I prep the coconut chicken in advance?
Very much so! You can prepare your coconut chicken up to 24 hours ahead by coating the chicken and storing it in the fridge. This will save you time on busy days while still providing that delicious homemade meal experience. Just pop it in the skillet when you’re ready to cook for a quick and satisfying dinner!
Coconut Chicken: Delightfully Crispy and Flavorful Delight
Ingredients
Equipment
Method
- Preheat your oven to 400°F (200°C) and prepare a baking sheet with parchment paper.
- Set out three shallow bowls: one with flour, one with beaten eggs, and one with shredded coconut and spices.
- Pat the chicken breasts dry and slice them if desired for quicker cooking.
- Dredge each chicken piece in flour, then in eggs, and finally press into the coconut mixture.
- Heat about a quarter inch of coconut oil in a skillet over medium heat.
- Fry the coated chicken for 3-4 minutes on each side until golden brown.
- Transfer the chicken pieces to the prepared baking sheet and drizzle with honey.
- Bake in the preheated oven for 10-12 minutes until internal temperature reaches 165°F (74°C).
- Let the chicken rest for a few minutes before serving.
Leave a Reply