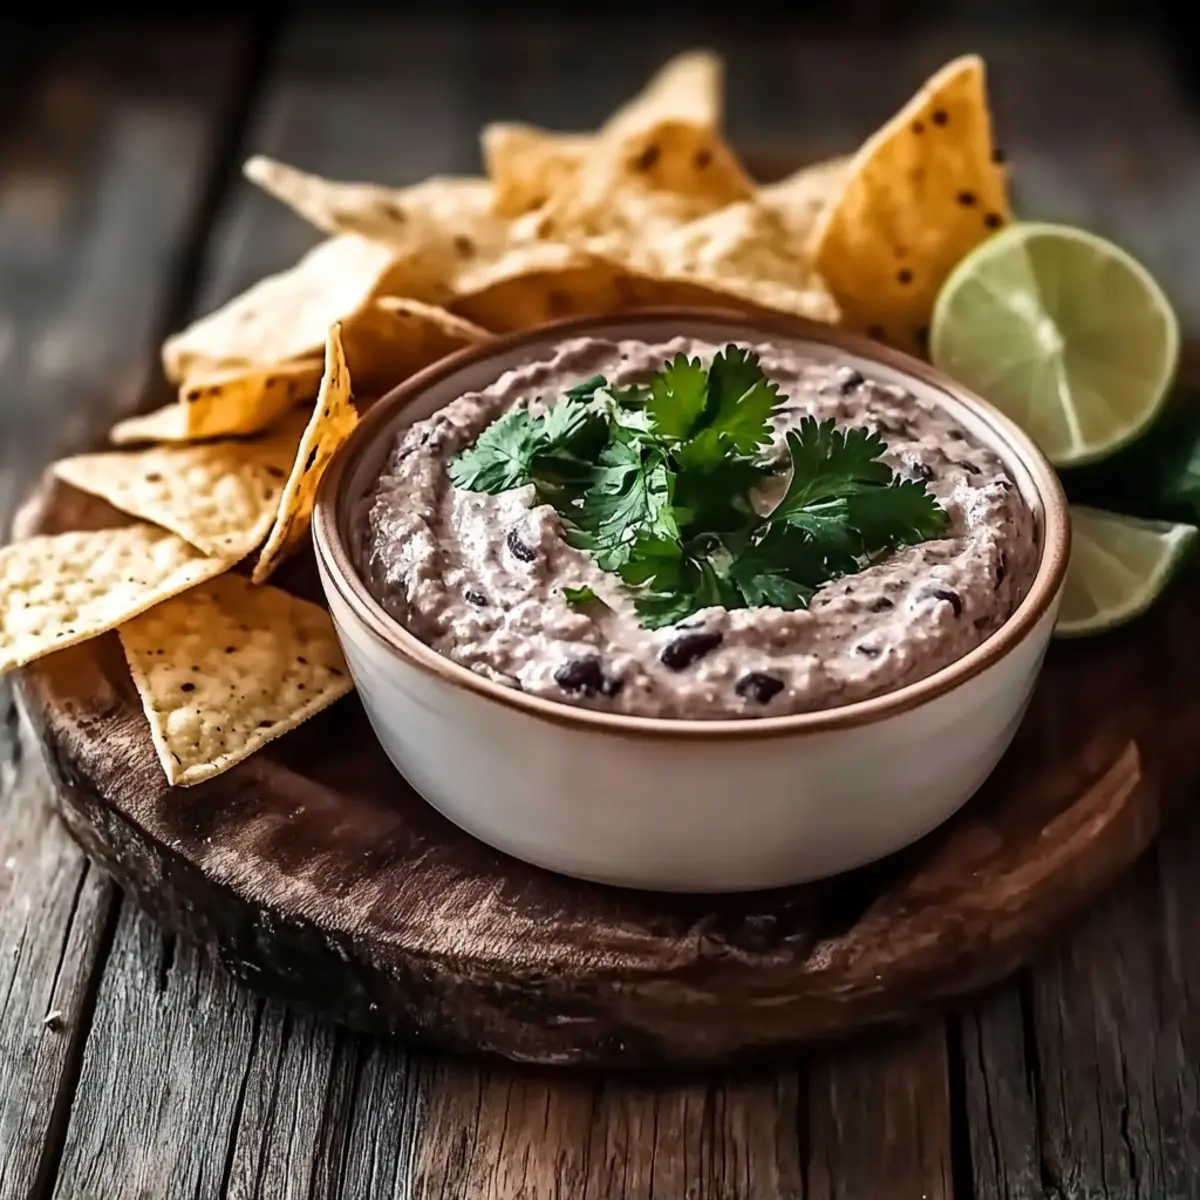
“Do you ever find yourself staring into your pantry, hoping for a miracle?” That was me, just a few minutes ago, but then I spotted the black beans begging to be used! Enter the star of today: my Easy 10-Minute Black Bean Dip. This creamy and flavorful dip is a lifesaver for anyone looking for a quick, healthy snack without the fuss of cooking. With just a handful of pantry staples, including fresh lime juice and a mix of spices, this dip embraces the vibrant spirit of Tex-Mex cuisine while delivering both taste and texture. Whether you’re hosting a gathering or simply craving something satisfying, this crowd-pleaser will keep everyone coming back for more. Curious about how this simple recipe can transform your snacking experience? Let’s dive in!
Why is This Black Bean Dip a Must-Try?
Simplicity at its best: You only need 10 minutes and basic ingredients to whip up this flavor-packed dip.
Versatile and adaptable: Feel free to swap Greek yogurt for plant-based yogurt for a vegan feast or customize the spices to match your taste!
Rich, creamy texture: The blend of black beans and olive oil creates a velvety dip that’s simply irresistible.
Crowd-pleasing flavor: Perfect for parties, your guests will love dipping tortilla chips or veggies into this delicious treat.
Healthy snacking made easy: High in fiber and protein, this dip is a guilt-free option that keeps you satisfied.
Dig into this quick and easy recipe that stands out just like Blackberry Dumplings Cozy – your new favorite appetizer or snack!
Black Bean Dip Ingredients
• Here’s everything you need to make your irresistible Black Bean Dip!
For the Base
- Black Beans – Canned black beans provide a creamy foundation; rinse and drain for the best flavor.
- Fresh Lime Juice – This brightens the dip and adds essential tang; don’t skip this key ingredient!
- Extra-Virgin Olive Oil – Adds richness and helps blend everything smoothly; avocado oil is a tasty alternative.
- Fresh Cilantro – Offers a fresh, herby note; feel free to omit or substitute with parsley if preferred.
- Garlic – Freshly chopped garlic brings pungency; it’s a must for depth of flavor.
For the Spices
- Ground Cumin – This earthy spice enriches the dip’s flavor; there’s no true substitute, but smoked paprika can work too.
- Smoked Paprika – Adds a delightful smokiness; you can increase this for a bolder kick.
- Chili Powder – Adjust this to taste for the heat level you desire; it enhances the dip’s depth.
For Creaminess
- Greek Yogurt or Sour Cream – Provides creaminess and a slight tang; go for plant-based yogurt for a vegan-friendly option!
To Finish
- Salt and Freshly Ground Black Pepper – Season to taste; these enhance the overall flavor profile.
- Water – Use as needed to reach your desired consistency for dipping.
Dive into your pantry and get ready to impress with this quick and healthy Black Bean Dip!
Step‑by‑Step Instructions for Black Bean Dip
Step 1: Prep Ingredients
Begin by rinsing the canned black beans under cold water in a colander to remove excess starches, then drain them thoroughly. While the beans are draining, juice the fresh limes to achieve about 2 tablespoons of juice, and chop the garlic roughly for easy blending later.
Step 2: Blend Base Ingredients
In a food processor, combine the rinsed black beans, fresh lime juice, extra-virgin olive oil, chopped garlic, and fresh cilantro. Secure the lid and pulse the mixture several times until the ingredients begin to blend, creating a smooth yet textured base for your Black Bean Dip that should be thick and creamy.
Step 3: Add Spices and Creaminess
Next, add the ground cumin, smoked paprika, chili powder, and either Greek yogurt or sour cream to the mixture in the food processor. Blend until the ingredients are mostly smooth, allowing for some bean texture; this will enhance the overall mouthfeel of the dip while imparting warm, earthy flavors.
Step 4: Check Consistency and Season
Scrape down the sides of the food processor to ensure even blending, then taste your Black Bean Dip to adjust seasonings as needed. If the mixture is too thick, add a tablespoon of water at a time, blending until you reach the desired dippability, which should be creamy yet scoopable.
Step 5: Chill and Serve
Transfer the finished dip to a serving dish, smoothing the top with a spatula. Cover with plastic wrap or a lid and refrigerate for at least 30 minutes to allow the flavors to meld and improve. Serve chilled, optionally with a drizzle of olive oil and a sprinkle of smoked paprika for an appealing presentation.
Make Ahead Options
These Easy 10-Minute Black Bean Dip is perfect for meal prepping, allowing you to save time during your busy week! You can prepare the dip up to 3 days ahead by blending it and storing it in an airtight container in the refrigerator. To maintain the quality and prevent browning, ensure you cover the dip tightly to keep out air. When you’re ready to serve, simply give it a gentle stir and add a splash of water if needed to reach your desired consistency. Serve chilled with your favorite dippers, and you’ll have a delicious, satisfying snack at your fingertips without any last-minute fuss!
Black Bean Dip Variations & Substitutions
Looking to elevate your Black Bean Dip? Here are some delightful options to customize this tasty treat!
-
Vegan-Friendly: Substitute Greek yogurt with plant-based yogurt or tahini for a creamy, dairy-free version that everyone can enjoy.
Add a splash of lime juice to enhance the tanginess of the plant-based alternative. -
Herb Swap: Replace fresh cilantro with parsley for a milder flavor, or try fresh dill for a unique twist that brightens the dip.
Feel free to experiment with different herbs—you might stumble upon a new favorite! -
Spicy Kick: Adjust the heat level by increasing chili powder or mixing in diced jalapeños.
For an intense burst, consider adding chipotle peppers for a smoky flavor that brings the heat! -
Flavor Boost: Toss in chopped roasted red peppers or sun-dried tomatoes for sweetness and depth.
These ingredients can create a lovely contrast with the earthy black beans, taking your dip to new heights. -
Creamy Add-In: For an extra creamy texture, blend in a small avocado.
This will not only enhance the dip’s richness but also add a hint of buttery goodness. -
Smoky Flavor: Use smoked paprika in place of regular paprika or add a touch of liquid smoke.
This can give your Black Bean Dip a char-grilled essence that’s genuinely irresistible! -
Textural Twist: Fold in some cooked corn for a sweet crunch that complements the creamy dip perfectly.
Not only does it add texture, but it also brings a pop of color to your presentation! -
Mediterranean Spin: Add feta cheese or olives for a surprising Mediterranean flair.
This unique twist can turn your dip into a versatile spread perfect for pita chips or crusty bread.
Incorporate these variations to make the most out of your Black Bean Dip experience, and don’t forget to check out delightful recipes like Feta Cheese Dip for more tasty inspiration!
Expert Tips for Black Bean Dip
-
Rinse Beans Well: Properly rinsing your canned black beans is crucial; it removes excess starch, resulting in a cleaner, more vibrant flavor in your dip.
-
Balance the Flavors: Always taste your Black Bean Dip after blending. Adjust the lime juice, salt, or spices to achieve the perfect flavor balance that suits your palate.
-
Chill for Best Taste: Don’t rush the chilling time! Allowing your dip to sit in the refrigerator for at least 30 minutes helps meld the flavors together, enhancing the overall deliciousness.
-
Maintain Texture: Blend just enough to achieve a creamy consistency while retaining some of the bean texture for a delightful mouthfeel. Avoid over-blending!
-
Customization Options: Feel free to experiment with spices! Adding jalapeños for heat or cumin for earthiness can transform your dip into something uniquely yours.
What to Serve with Easy 10-Minute Black Bean Dip
Elevate your snacking experience with delightful pairings that will complement the vibrant flavors of this creamy dip.
-
Tortilla Chips: The classic choice, crispy and salty, perfect for scooping up the creamy dip and balancing its rich flavors.
-
Fresh Veggies: Crunchy cucumber, bell peppers, and carrots provide a refreshing contrast, making for a colorful and healthy platter.
-
Corn Salsa: This zesty side adds a burst of sweetness and acidity that plays beautifully against the earthiness of black beans.
-
Guacamole: The rich, creamy texture of guacamole complements the dip while intensifying your taste of Tex-Mex heaven.
-
Spiced Rice: Serve alongside a small bowl of flavorful Mexican rice to create a satisfying meal experience that’s hearty and fulfilling.
-
Beer: A chilled lager or a light ale contrasts nicely, enhancing the dip’s blends of spices while adding to the festive feel.
-
Margaritas: A refreshing cocktail with lime that pairs perfectly, cutting through the creaminess and elevating your snacking adventure.
-
Churros: For a fun dessert afterward, the crispy, sweet churros will end your meal on a high note, leaving everyone smiling.
With these pairings, your Easy 10-Minute Black Bean Dip will not only please the palate but also create a memorable dining experience!
How to Store and Freeze Black Bean Dip
Fridge: Store in an airtight container for up to 4-5 days. The flavors will deepen, making it even tastier after a day or two.
Freezer: For longer storage, freeze the dip in a freezer-safe container for up to 2 months. Be sure to leave some space as it will expand when frozen.
Thawing: To enjoy frozen Black Bean Dip, transfer it to the fridge overnight to thaw. Reheat gently on the stove or in the microwave before serving.
Reheating: If chilled, drizzle a little olive oil and give it a quick mix before serving. Enjoy your flavorful snack at its best!
Black Bean Dip Recipe FAQs
What type of black beans should I use?
I recommend using canned black beans for convenience; they’re already cooked and ready to go! Just be sure to rinse and drain them thoroughly to remove excess starch, which enhances the dip’s flavor and prevents it from becoming too thick.
How long can I store my black bean dip?
Store your black bean dip in an airtight container in the refrigerator for up to 4-5 days. You’ll find that the flavors continue to develop, making it an even tastier snack the next day!
Can I freeze black bean dip?
Absolutely! For longer storage, freeze your black bean dip in a freezer-safe container for up to 2 months. Just be sure to leave some space at the top of the container for expansion during freezing.
How do I thaw and reheat frozen black bean dip?
To thaw frozen black bean dip, simply transfer it to the fridge overnight. When you’re ready to enjoy, reheat it gently on the stove or in the microwave until warmed through. A drizzle of olive oil and a quick stir before serving can help refresh the texture.
Is this black bean dip suitable for people with allergies?
Yes, this recipe is quite adaptable! If you’re concerned about dairy allergies, you can easily substitute Greek yogurt or sour cream with plant-based yogurt or tahini. Always double-check the labels of your ingredients to ensure they are allergy-friendly.
What should I do if my dip turns out too thick?
If your black bean dip is thicker than you’d like, don’t worry! Just add a tablespoon of water at a time while blending until you achieve your desired consistency. The dip should be creamy yet scoopable, perfect for tortilla chips or veggies!
Deliciously Easy Black Bean Dip for Effortless Entertaining
Ingredients
Equipment
Method
- Begin by rinsing the canned black beans under cold water in a colander to remove excess starches, then drain them thoroughly. While the beans are draining, juice the fresh limes to achieve about 2 tablespoons of juice, and chop the garlic roughly for easy blending later.
- In a food processor, combine the rinsed black beans, fresh lime juice, extra-virgin olive oil, chopped garlic, and fresh cilantro. Secure the lid and pulse the mixture several times until the ingredients begin to blend, creating a smooth yet textured base for your Black Bean Dip that should be thick and creamy.
- Next, add the ground cumin, smoked paprika, chili powder, and either Greek yogurt or sour cream to the mixture in the food processor. Blend until the ingredients are mostly smooth, allowing for some bean texture; this will enhance the overall mouthfeel of the dip while imparting warm, earthy flavors.
- Scrape down the sides of the food processor to ensure even blending, then taste your Black Bean Dip to adjust seasonings as needed. If the mixture is too thick, add a tablespoon of water at a time, blending until you reach the desired dippability, which should be creamy yet scoopable.
- Transfer the finished dip to a serving dish, smoothing the top with a spatula. Cover with plastic wrap or a lid and refrigerate for at least 30 minutes to allow the flavors to meld and improve. Serve chilled, optionally with a drizzle of olive oil and a sprinkle of smoked paprika for an appealing presentation.
Leave a Reply