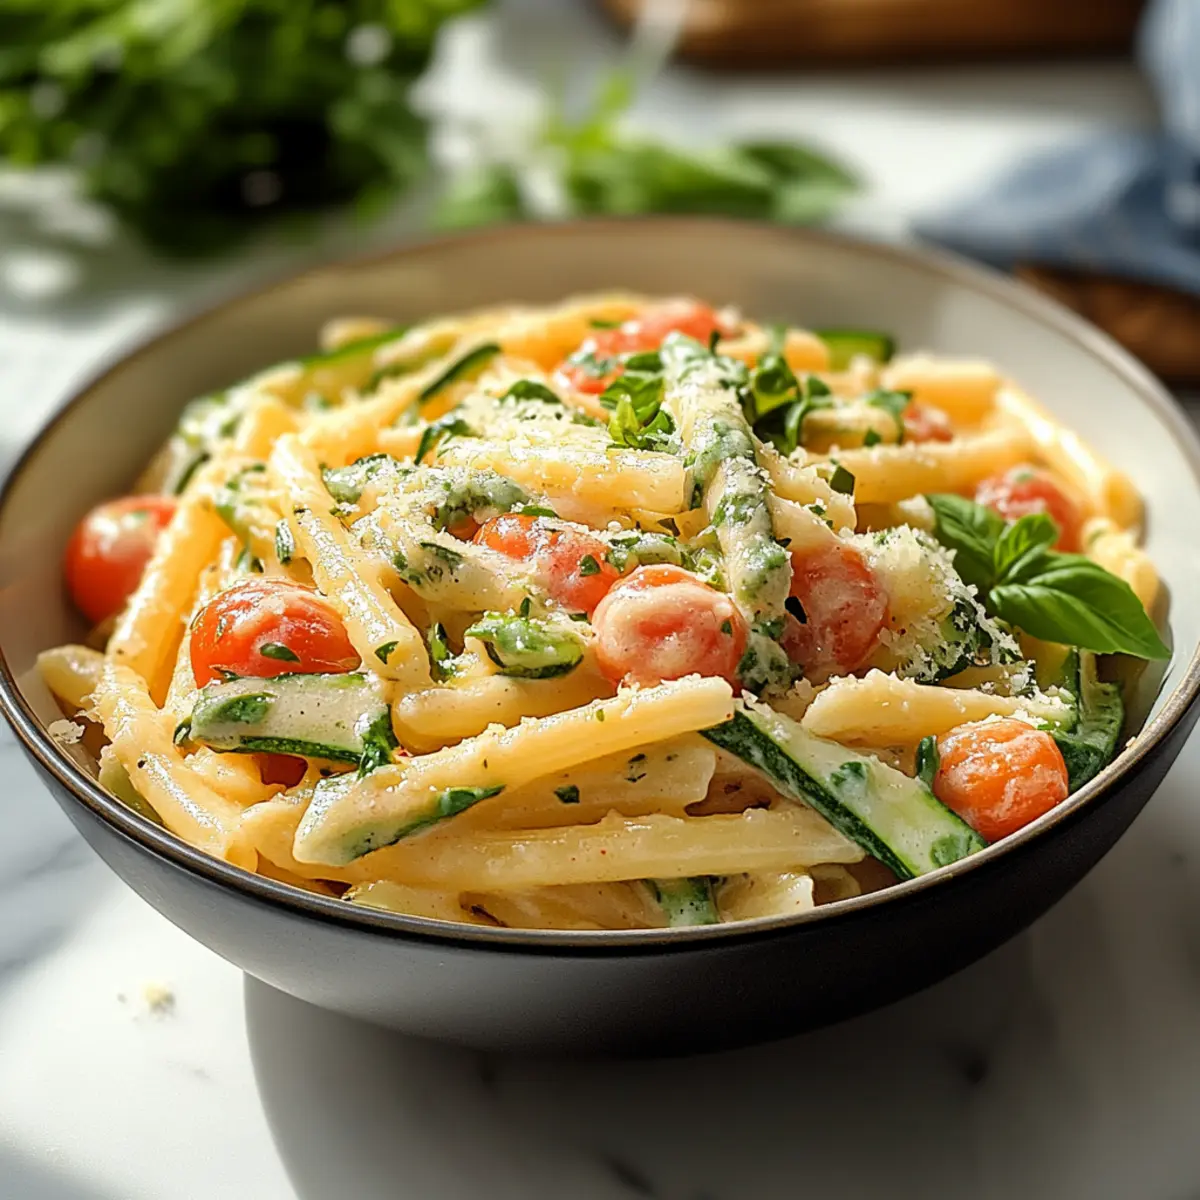
As I shuffled through my garden last week, I was greeted by a vibrant splash of color—tender green zucchini and glistening cherry tomatoes, just begging to be cooked. This Spring Pasta in Creamy Parmesan Sauce transforms these seasonal gems into a delightful meal that’s both satisfying and quick to prepare, taking under 30 minutes from start to finish. It’s perfect for those busy weeknights when you crave something comforting yet light or for a refreshing spring lunch that dazzles with fresh flavors. Plus, this recipe is easily adaptable to suit any dietary needs, whether you prefer it vegetarian or with protein, making it a versatile go-to. Ready to dive into this delightful culinary adventure? Let’s create a dish that celebrates the essence of spring!
Why is Spring Pasta a Must-Try?
Bursting with fresh flavors: This recipe takes advantage of seasonal produce, like zucchini and cherry tomatoes, ensuring every bite is vibrant and delicious.
Quick and Easy: Ready in under 30 minutes, it’s perfect for busy evenings or last-minute lunches.
Versatile options: Easily adaptable by adding your choice of protein or swapping in your favorite vegetables; you can’t go wrong!
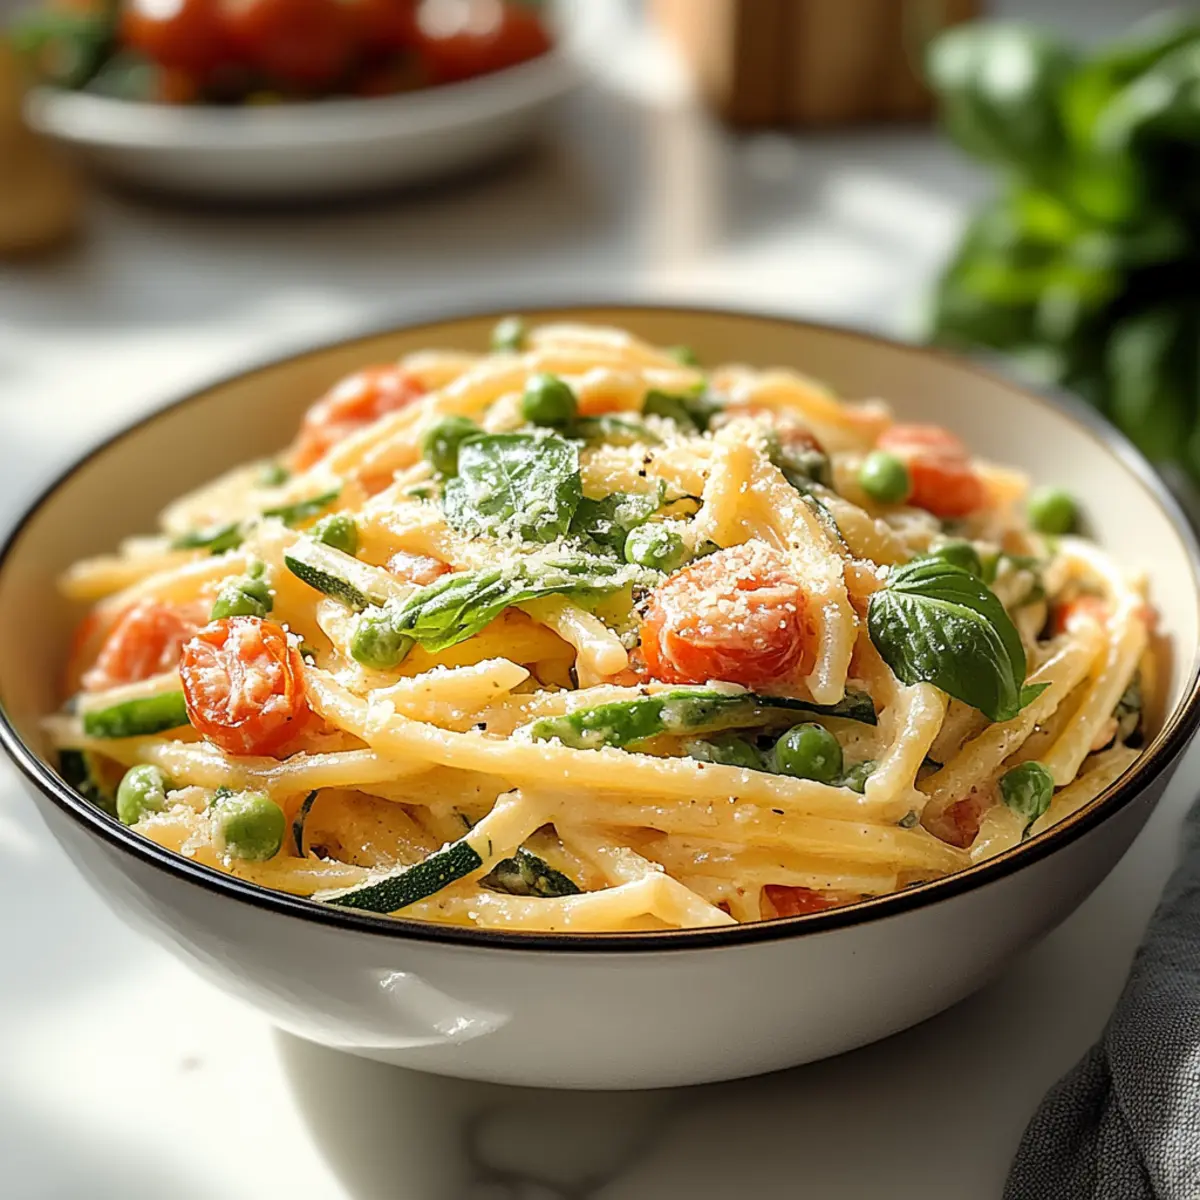
Creamy Indulgence: The rich Parmesan sauce wraps around each noodle, creating a comforting meal that feels like a hug in a bowl.
Family-Friendly: Kids and adults alike will love this dish, making it a winning choice for gathering around the table. If you’re also looking for something quick, check out One Pot Pasta for another delicious option!
Spring Pasta Ingredients
Unlock the secrets of delicious Spring Pasta!
For the Pasta
• Pasta – Your main carbohydrate base; consider gluten-free pasta for a lighter option.
For the Sauce
• Heavy Cream – Creates a rich sauce; swap with half-and-half thickened with cornstarch for a lighter version.
• Parmesan Cheese – Adds richness and umami; feel free to substitute with other hard cheeses like Pecorino Romano.
For the Vegetables
• Zucchini – Provides freshness and texture; you can substitute with asparagus or bell peppers if desired.
• Cherry Tomatoes – Adds sweetness and acidity; use other seasonal tomatoes when cherries aren’t available.
For Flavor
• Fresh Basil – Brings in fresh herbal notes; parsley or spinach can replace it if you’re out.
• Garlic – Elevates the overall flavor; use shallots if you prefer a milder taste.
• Olive Oil – Perfect for sautéing; can be swapped with butter for a different flavor profile.
Whether you’re reminiscing about summer gardens or craving a delightful quick dinner, this Spring Pasta is sure to please!
Step‑by‑Step Instructions for Spring Pasta
Step 1: Cook the Pasta
Begin by bringing a large pot of salted water to a boil over high heat. Add your favorite pasta and cook it according to the package instructions until al dente, usually around 8–10 minutes. Just before draining, reserve about a cup of the starchy pasta water, then strain the pasta and set it aside.
Step 2: Sauté Aromatics
In a large skillet, heat 2 tablespoons of olive oil over medium heat. Once the oil is shimmering, add minced garlic (and chopped onion if using) and sauté for about 1 minute, or until fragrant and golden. Stir continuously to avoid burning, and enjoy the wonderful aroma filling your kitchen as you elevate the flavors for your Spring Pasta.
Step 3: Cook the Zucchini
Add the sliced zucchini to the skillet and sauté for 3–4 minutes. The zucchini should become tender but still retain a slight crunch. Stir occasionally to ensure even cooking, and watch as the bright green color deepens, indicating they’re perfectly cooked and ready for the next vibrant addition.
Step 4: Add Cherry Tomatoes
Next, toss in the halved cherry tomatoes, stirring gently to combine with the sautéed zucchini. Cook for an additional 1–2 minutes until the tomatoes just start to soften and release their juices. The mixture will become aromatic and colorful, signaling that it’s time for the creamy goodness to enter the scene.
Step 5: Create the Creamy Sauce
Pour in 1 cup of heavy cream and add freshly grated Parmesan cheese to the skillet. Stir continuously for about 2-3 minutes until the cheese melts and the sauce thickens slightly, coating the back of a spoon. This luscious sauce will envelop your Spring Pasta with comfort and warmth—an irresistible embrace!
Step 6: Combine Pasta and Sauce
Add the cooked pasta to the skillet, tossing it gently in the creamy sauce until fully coated. Here, you may want to slowly incorporate the reserved pasta water, a little at a time, until you achieve your desired consistency. The sauce should cling beautifully to each noodle, creating an utterly satisfying dish.
Step 7: Finish with Fresh Herbs
To complete your Spring Pasta, stir in a handful of freshly chopped basil, allowing the bright herbal notes to enhance the dish. Give everything a final toss to combine, then remove the skillet from heat. The vibrant colors and delicious aromas will beckon you to serve this delightful meal immediately.
Step 8: Serve and Enjoy
Plate up your Spring Pasta in shallow bowls for an inviting presentation, ensuring each serving is generously topped with extra sauce and garden veggies. Whether enjoyed solo or with a side salad, dive into this delightful dish, celebrating the essence of spring with every forkful.

Expert Tips for Spring Pasta
• Perfect Pasta Cooking: Always salt your water before adding pasta to enhance flavor. Undercook slightly since it will continue cooking in the sauce.
• Creamy Consistency: Don’t rush the heavy cream and Parmesan melting process; allow it to thicken naturally for the best creamy texture in your Spring Pasta.
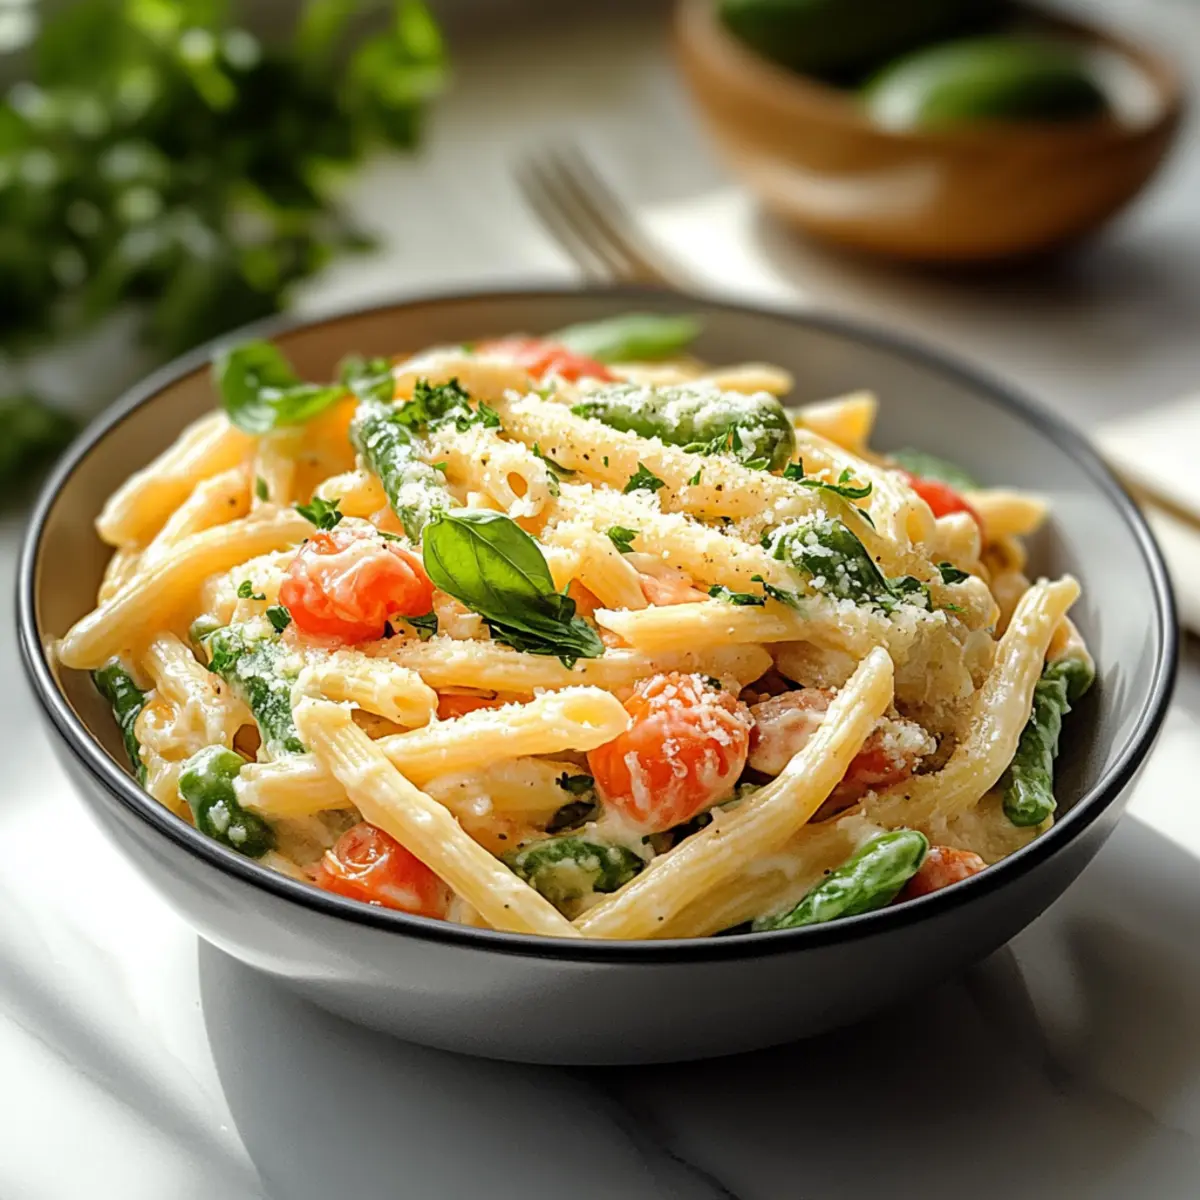
• Veggie Variety: Experiment with seasonal vegetables—like asparagus or peas—for a different twist. Just be sure to adjust cooking times accordingly.
• Easy Protein Boost: For a heartier meal, add grilled chicken or shrimp. Just sauté them separately and mix them in during the final toss.
• Storage Tips: If you’re making this ahead, store pasta and sauce separately to prevent sogginess. Reheat gently to maintain texture.
• Flavor Enhancements: Try adding a squeeze of fresh lemon juice or a sprinkle of red pepper flakes for an extra kick in your Spring Pasta!
What to Serve with Spring Pasta?
Elevate your dining experience with perfect accompaniments that complement the vibrant flavors of this creamy pasta dish.
-
Garlic Bread: This crispy, buttery addition adds a delightful crunch and is perfect for scooping up every last drop of sauce. The warm, golden crust contrasts beautifully with the creamy pasta.
-
Mixed Green Salad: A light, tangy salad topped with a lemon vinaigrette brings freshness and balances the richness of the creamy sauce, creating a delightful contrast on your plate.
-
Grilled Chicken: For a protein-packed option, grilled chicken adds a smoky flavor and tender juiciness that pairs perfectly with the luscious Spring Pasta, transforming it into a heartier meal.
-
Roasted Asparagus: The crunchy texture and deep flavor of roasted asparagus enhance the dish while tying in with the fresh vegetables used in the pasta. Just drizzle with olive oil and season before roasting.
-
Chilled White Wine: A crisp Sauvignon Blanc or Pinot Grigio refreshes your palate and complements the herbaceous notes of the fresh basil beautifully. It’s the perfect drink for a spring-inspired meal.
-
Lemon Sorbet: End your meal on a refreshing note with a light lemon sorbet. Its bright citrus notes cleanse the palate and echo the springtime theme of the dinner.
-
Caprese Skewers: Cherry tomatoes, mozzarella, and basil on skewers make for a lovely appetizer that matches both color and flavor, inviting everyone to taste the season’s bounty.
-
Grilled Shrimp: If you’re looking for something seafood-based, grilled shrimp adds a touch of elegance and pairs well with the rich, creamy sauce, enhancing the meal’s overall flavor profile.
-
Lemon Garlic Green Beans: Tossed with olive oil, garlic, and a hint of lemon, these green beans offer a crisp bite that complements the dish’s rich creaminess while echoing the spring vibes.
Make Ahead Options
These Spring Pasta dishes are perfect for busy home cooks looking to save time! You can prep the vegetables and creamy Parmesan sauce up to 3 days in advance. Simply chop the zucchini and halve the cherry tomatoes, then store them in an airtight container in the refrigerator to retain freshness. Prepare the creamy sauce by combining the heavy cream and Parmesan cheese, then refrigerate it until you’re ready to cook. When you’re ready to serve, just sauté the aromatics as directed, toss in the prepped veggies, and reheat the sauce, mixing it all together with freshly cooked pasta. This way, you’ll enjoy a delicious, homemade meal with minimal effort and just as much flavor!
How to Store and Freeze Spring Pasta
Fridge: Store your Spring Pasta in an airtight container for up to 3 days. Reheat gently on the stovetop, adding a splash of cream or pasta water to revive the sauce.
Freezer: If you wish to freeze, do so without the fresh basil and store in a freezer-safe container for up to 2 months. Thaw in the fridge overnight before reheating.
Reheating: To ensure optimal texture, reheat on low heat, stirring frequently. Avoid high heat to prevent the sauce from separating.
Make-Ahead Tips: Prepare vegetables and creamy sauce separately, refrigerate, and combine just before serving to maintain the best texture in your Spring Pasta.
Spring Pasta Variations & Substitutions
Ready to put your own spin on this Spring Pasta? Let your creativity shine with these delicious variations that will tantalize your taste buds!
- Dairy-Free: Replace heavy cream with coconut milk or a plant-based cream for a rich, dairy-free sauce. The coconut flavor adds a delicious twist!
- Protein-Packed: Incorporate chickpeas or white beans for a hearty vegetarian protein boost. They blend seamlessly into the sauce, providing extra texture and nourishment.
- Veggie Medley: Swap in seasonal asparagus, peas, or bell peppers based on what’s fresh at your local farmer’s market. Each option brings a unique flavor and crunch!
- Spicy Kick: Add a pinch of red pepper flakes or a dash of hot sauce to the sauce for an exciting heat. It perfectly complements the creaminess of the dish.
- Nutty Flavor: Stir in toasted pine nuts or walnuts before serving for an added crunch and a delightful nutty flavor that contrasts beautifully with the creamy sauce.
- Lighter Creaminess: Use Greek yogurt thinned with a little water instead of heavy cream for a tangy, lighter option without sacrificing flavor. This lends a new layer of taste!
- Zesty Twist: Squeeze fresh lemon juice over the dish just before serving to brighten flavors and add a refreshing zing that pairs wonderfully with the creamy sauce.
- Hearty Additions: For a heartier meal, try sautéing shrimp or chicken separately and combining them with the pasta at the end. It transforms your dish into a filling feast! If you want more options for quick meals, don’t miss out on One Pot Pasta—another great way to enjoy a nourishing meal!
Spring Pasta Recipe FAQs
How do I select the right vegetables for Spring Pasta?
Absolutely! Freshness is key when selecting vegetables. Look for firm zucchini without dark spots and vibrant cherry tomatoes that are plump and shiny. You can swap in seasonal produce, so consider asparagus or bell peppers when zucchini isn’t in season.
What’s the best way to store leftover Spring Pasta?
Very! Store your Spring Pasta in an airtight container and keep it in the refrigerator for up to 3 days. To reheat, do it gently on the stovetop. A splash of cream or reserved pasta water will help revive that creamy sauce!
Can I freeze Spring Pasta?
Absolutely! If you’d like to freeze it, I recommend omitting the fresh basil, as it doesn’t freeze well. Store the pasta in a freezer-safe container for up to 2 months. When you’re ready to enjoy it again, just thaw it overnight in the fridge before reheating.
How can I troubleshoot if my sauce isn’t creamy enough?
If your sauce is too thin, don’t worry! Simply add a little more Parmesan cheese or some reserved pasta water gradually while stirring. Also, remember to be patient; let the sauce simmer for a few minutes to allow it to thicken and coat your Spring Pasta beautifully.
Are there any dietary considerations for this recipe?
Certainly! This dish is vegetarian and can be easily adapted for gluten-free diets by using gluten-free pasta. If someone has a dairy allergy, I suggest substituting heavy cream with a suitable alternative, like coconut cream, and using nutritional yeast instead of Parmesan for a cheesy flavor.
Can I make Spring Pasta ahead of time?
Yes, you can! I often prepare this on busy days by cooking the vegetables and creamy sauce separately. Store them in the refrigerator, then combine just before serving to ensure your Spring Pasta has the best flavor and texture!
Delicious Spring Pasta with Creamy Parmesan Bliss
Ingredients
Equipment
Method
- Cook the Pasta: Bring a large pot of salted water to a boil. Add pasta and cook according to package instructions until al dente, usually 8-10 minutes. Reserve a cup of starchy pasta water before draining.
- Sauté Aromatics: Heat olive oil in a large skillet over medium heat. Add minced garlic and sauté for 1 minute until fragrant.
- Cook the Zucchini: Add sliced zucchini to the skillet and sauté for 3-4 minutes until tender but still slightly crunchy.
- Add Cherry Tomatoes: Toss in halved cherry tomatoes and cook for an additional 1-2 minutes until they soften.
- Create the Creamy Sauce: Pour in heavy cream and add Parmesan cheese. Stir for 2-3 minutes until cheese melts and sauce thickens slightly.
- Combine Pasta and Sauce: Add cooked pasta, tossing gently in the creamy sauce. Incorporate reserved pasta water for desired consistency.
- Finish with Fresh Herbs: Stir in freshly chopped basil and give it a final toss before removing from heat.
- Serve and Enjoy: Plate Spring Pasta in shallow bowls, topped with extra sauce and veggies. Enjoy!
Leave a Reply