As the evening sun dips below the horizon, a familiar craving arises—one that whispers for the sweet, smoky flavors of summer nights around the campfire. Enter Bonfire Bars, the perfect s’mores-inspired dessert that brings that nostalgia right into your kitchen. These no-bake treats are not only incredibly easy to whip up, but they also offer an utterly customizable canvas for your favorite flavors. With a crunchy graham cracker crust cradling a rich chocolate filling and topped with a luscious, fluffy marshmallow layer, they’re bound to please a crowd or bring comfort on a quiet night in. Ready to learn how to create this delightful twist on a classic camping favorite? Let’s dive in!
Why are Bonfire Bars so irresistible?
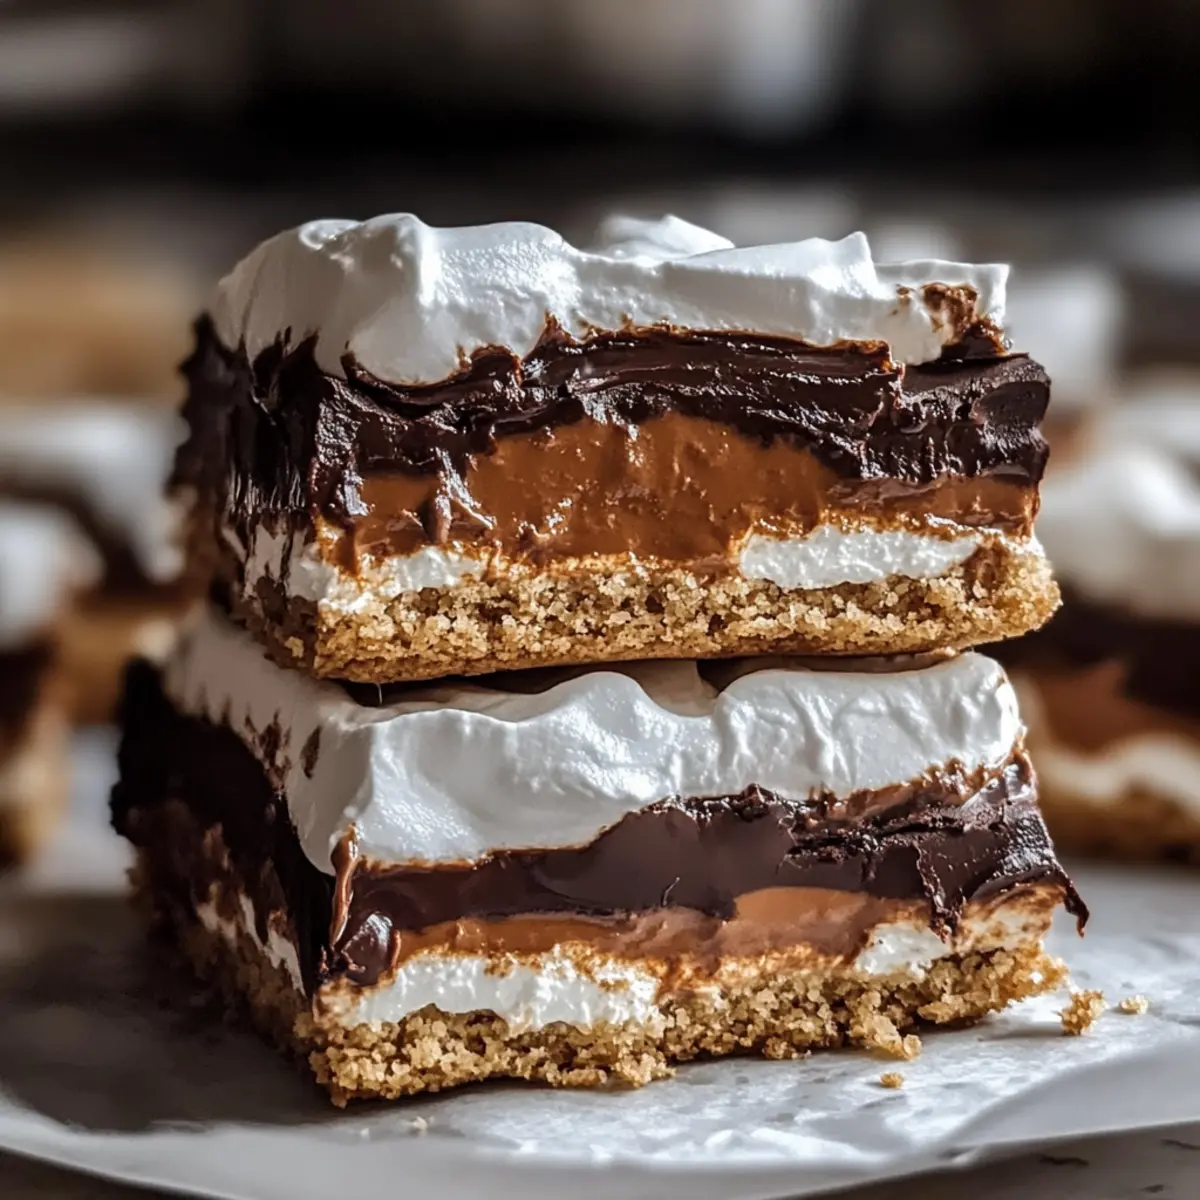
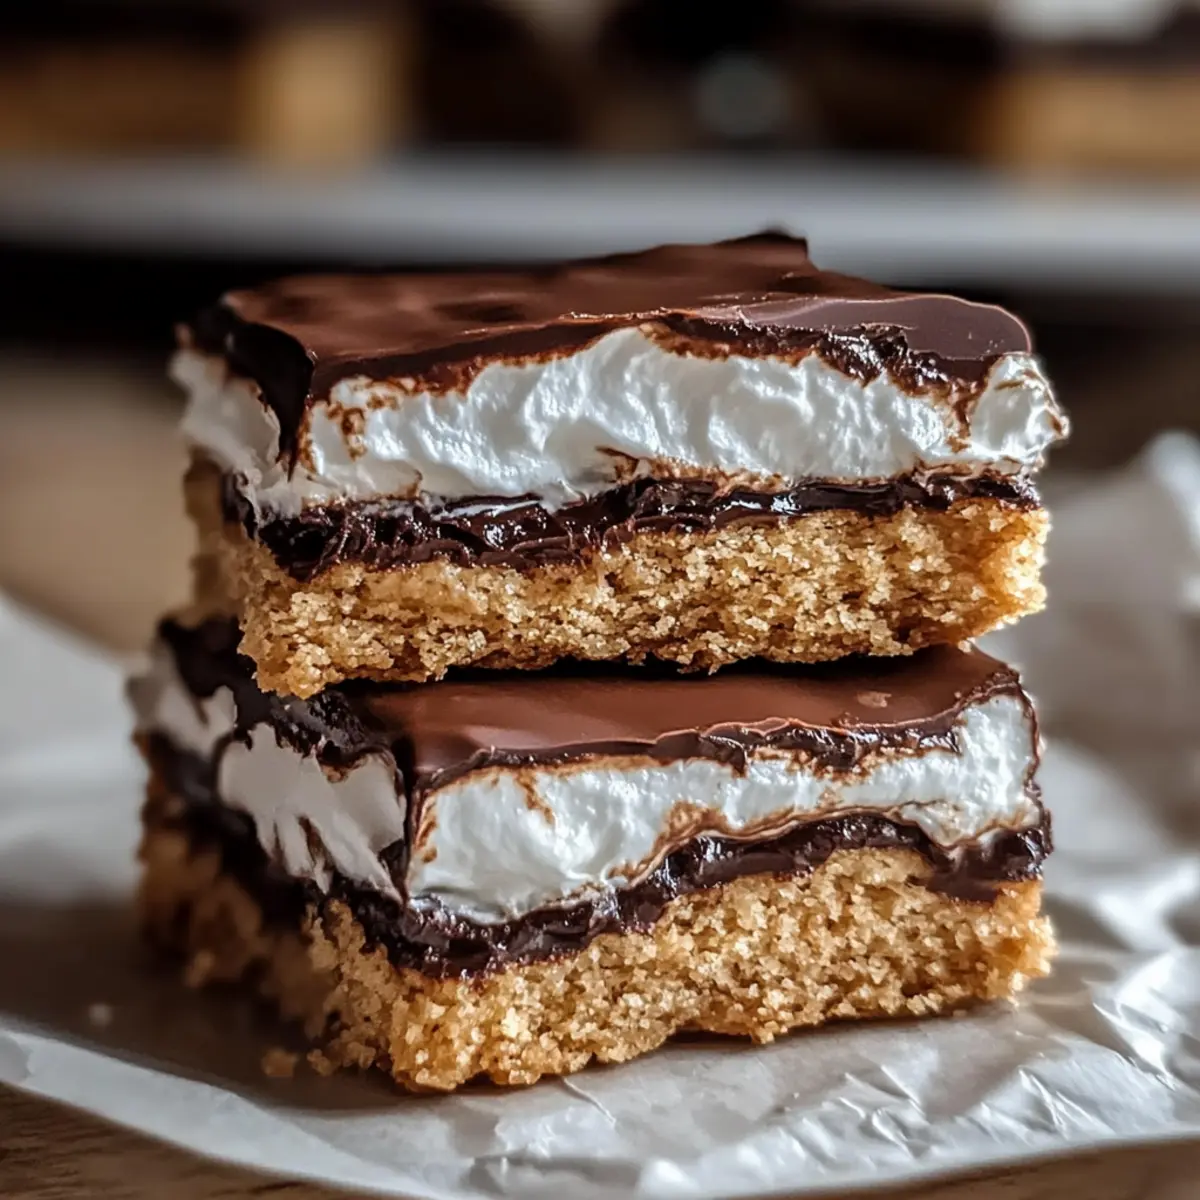
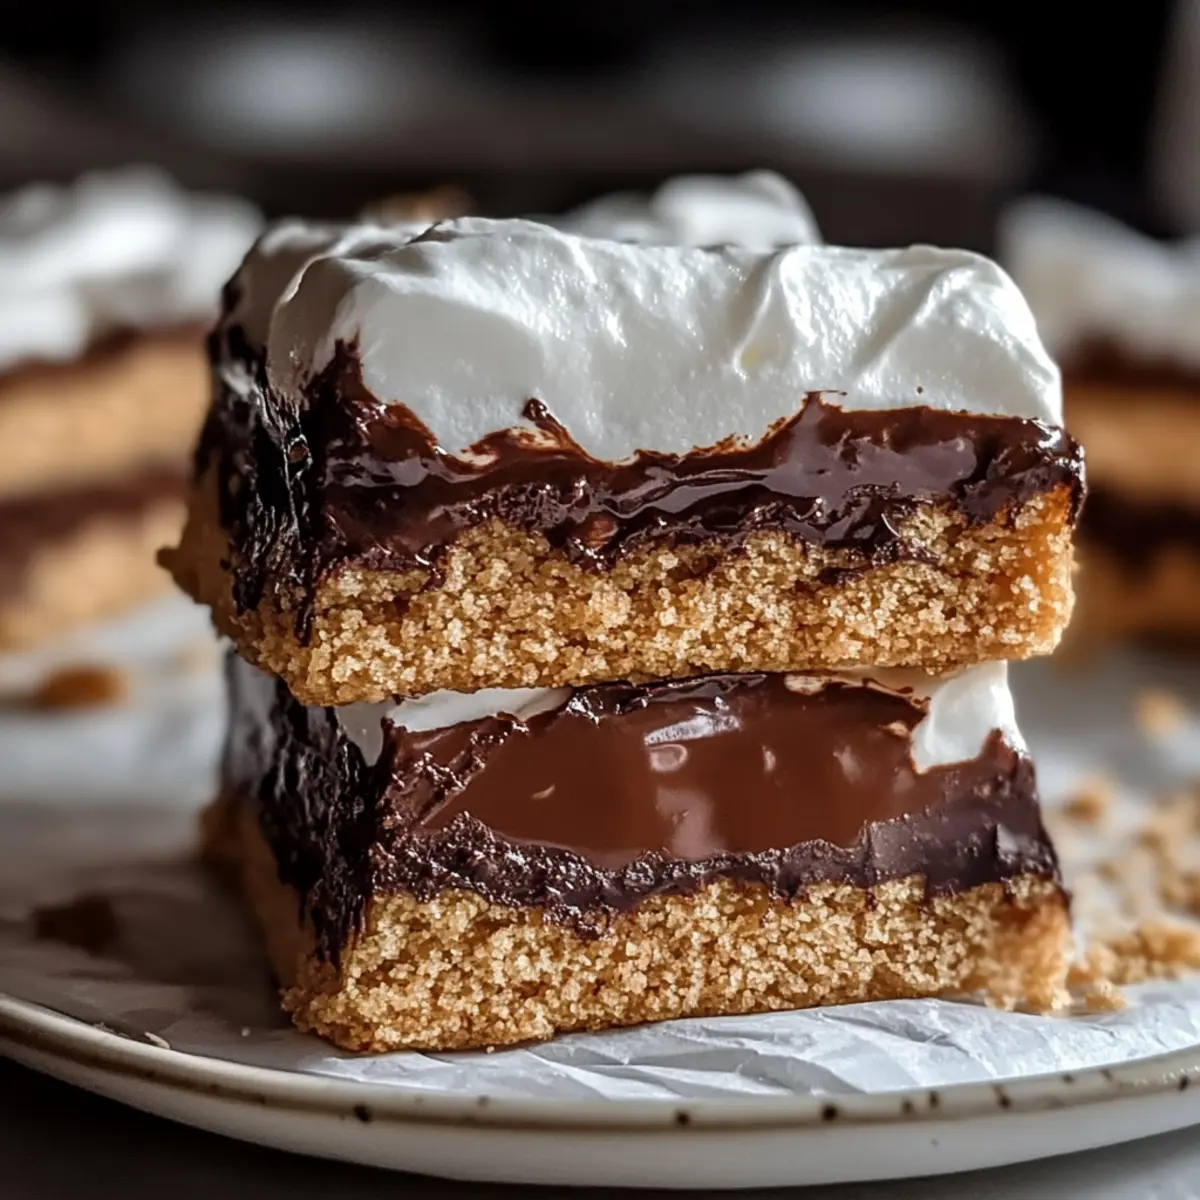
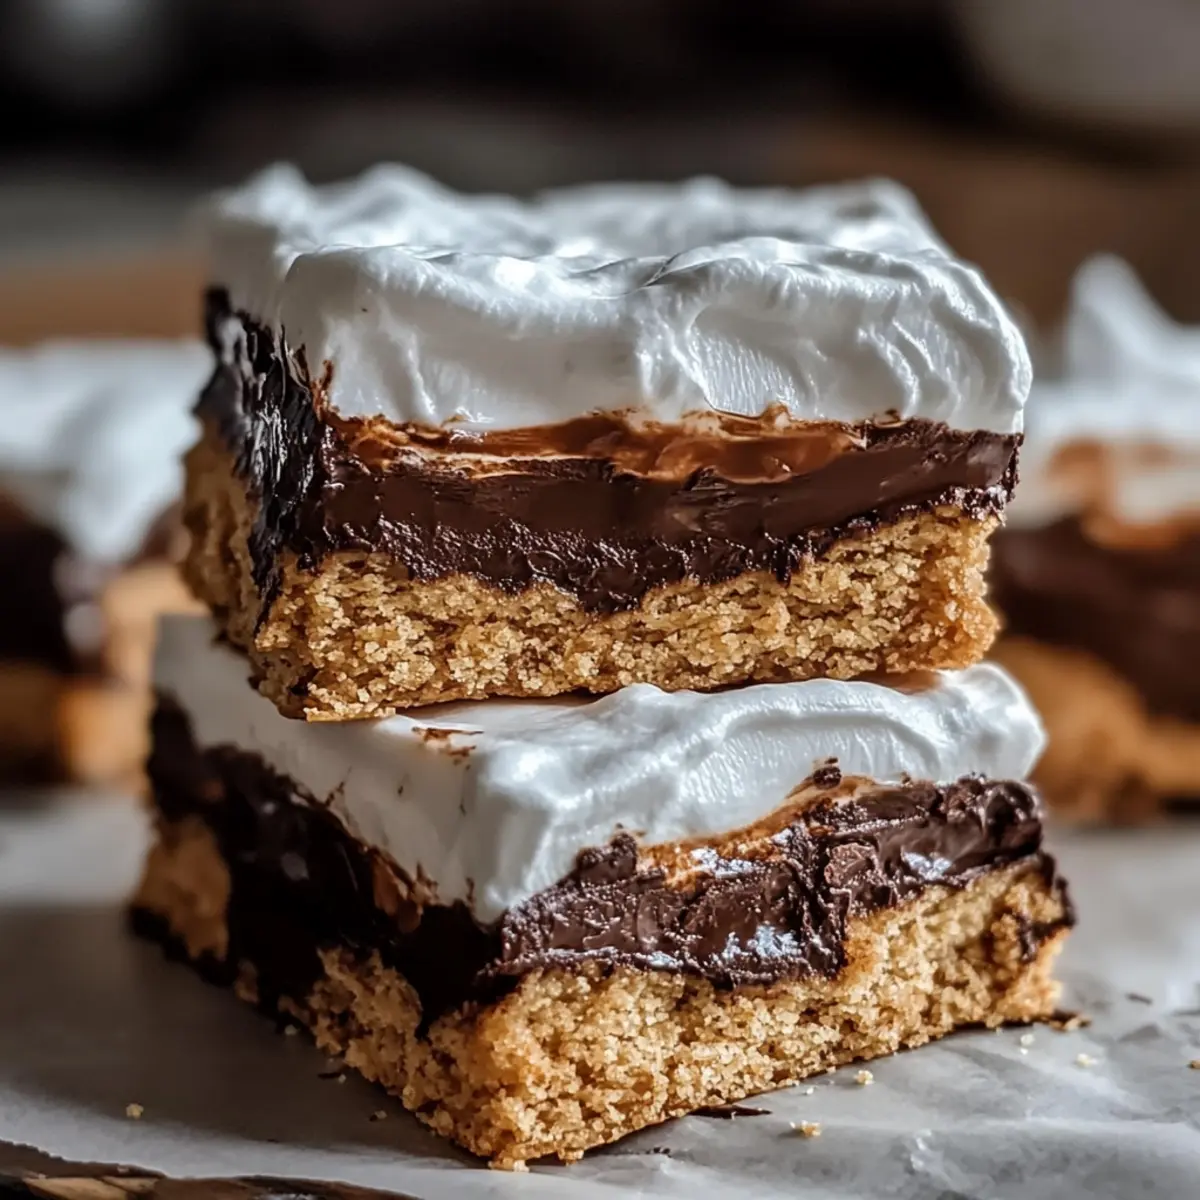
Indulgent Layers: Each bite reveals a harmonious blend of *crunchy graham cracker crust, decadent chocolate filling, and fluffy marshmallow topping. This layered delight truly stands out!
*No-Bake Option:* Feel like skipping the oven? You can easily make these Bonfire Bars without baking, making them the perfect quick treat!
Customizable Flavors: Whether you want to add nuts, fruity toppings, or a splash of your favorite extract, these bars allow for loads of creativity.
Perfect for Gatherings: Impress your friends at summer barbecues or cozy gatherings—you can even serve them alongside a nice fruit salad for balance.
Easy to Store: With just a week in the fridge or up to three months in the freezer, these bars are as convenient as they are delicious!
Bonfire Bars Ingredients
For the Graham Cracker Base
- Graham Cracker Crumbs – Foundation of the dessert, providing a crunchy base. Substitution: Use digestive biscuits for a different flavor.
- Flour – Adds structure and stability to the crust. Substitution: Gluten-free alternative can be used.
- Brown Sugar – Introduces sweetness and a hint of molasses flavor. Substitution: Light or dark brown sugar is acceptable.
- Salt – Enhances flavor and balances sweetness. No substitution needed; essential for taste.
- Cold Butter – Creates a rich and flaky crust when combined. Substitution: Coconut oil for a dairy-free option.
For the Chocolate Filling
- Evaporated Milk – Helps in making the chocolate caramel filling creamy. Substitution: Sweetened condensed milk, but reduce sugar elsewhere.
- Heavy Cream – Adds richness to the filling. Substitution: Half-and-half can be used, resulting in a lighter filling.
- Sugar – Sweetens the chocolate caramel filling. No significant substitution recommended.
- Corn Syrup – Provides the right texture and stability to the caramel layer. Substitution: Honey or maple syrup can be used but will alter flavor.
- Unsweetened Chocolate – Essential for achieving deep chocolate flavor in the filling. Substitution: Semi-sweet chocolate can be used, with adjustments to sugar.
For the Marshmallow Topping
- Gelatin – Helps set the marshmallow topping. Substitution: Agar-agar for a vegetarian option.
- Honey – Adds additional sweetness and flavor complexity. Substitution: Maple syrup may be used but will impact flavor profile.
These Bonfire Bars encapsulate all the bliss of s’mores in a simple, no-fuss dessert!
Step‑by‑Step Instructions for Bonfire Bars
Step 1: Preheat the Oven
Begin by preheating your oven to 350°F (175°C). While the oven warms up, prepare a square baking dish by lightly greasing it or lining it with parchment paper for easy removal later. This will set the stage for assembling the delightful layers of your Bonfire Bars.
Step 2: Create the Graham Cracker Base
In a large bowl, combine graham cracker crumbs, flour, brown sugar, and salt thoroughly. Next, cut cold butter into the dry ingredients using a pastry cutter or your fingers until it resembles coarse crumbs. Press this crumb mixture firmly into the bottom of your prepared baking dish, creating an even layer that forms the sturdy foundation for your Bonfire Bars.
Step 3: Prepare the Chocolate Filling
In a medium saucepan over medium heat, combine evaporated milk, heavy cream, sugar, corn syrup, butter, and a pinch of salt. Stir continuously until the mixture is smooth and starts to simmer, about 5–7 minutes. Once combined, remove the pan from heat and stir in the unsweetened chocolate until it melts completely, creating a luscious chocolate filling to pour over your crust.
Step 4: Pour the Chocolate Mixture
Gently pour the warm chocolate filling over the prepared graham cracker crust. Use a spatula to spread it evenly, ensuring every corner is covered. Allow the chocolate layer to set slightly at room temperature for about 15–20 minutes while you prepare the marshmallow topping, enhancing the sweetness of your Bonfire Bars.
Step 5: Make the Marshmallow Topping
To create the fluffy marshmallow topping, bloom the gelatin in a small bowl with cold water for about 5 minutes. In a separate saucepan, combine sugar, corn syrup, honey, and a splash of water. Heat this mixture over medium heat, stirring gently, until it reaches a soft ball stage (around 240°F or 115°C). Then, mix in the bloomed gelatin and whisk until the mixture becomes light and fluffy, about 5–8 minutes.
Step 6: Spread the Marshmallow Layer
Once your marshmallow mixture has reached a fluffy consistency, quickly spread it over the chocolate layer in the baking dish. Use a spatula to create an even layer, making sure it covers the chocolate completely. The fluffy topping will add delightful texture to your Bonfire Bars, setting you up for a perfect treat.
Step 7: Chill and Set
Place the assembled Bonfire Bars in the refrigerator and chill for at least 2 hours, or until the marshmallow topping is fully set. This chilling time is essential to ensure that the layers hold together beautifully when you cut into them, resulting in perfect squares of deliciousness.
Step 8: Cut and Enjoy
Once set, remove the Bonfire Bars from the refrigerator. Carefully lift them out of the dish using the parchment paper for easy cutting. Slice the bars into squares with a sharp knife, wiping it clean between cuts for neat edges. These irresistible Bonfire Bars are now ready to be served, a delightful twist on a beloved classic!
Expert Tips for Bonfire Bars
- Choose Quality Chocolate: The flavor of these Bonfire Bars relies heavily on your chocolate. Opt for high-quality unsweetened chocolate for the best results.
- Don’t Rush Chilling: Allow ample time for the bars to set in the refrigerator. Rushing this step can lead to messy cutting and falling layers.
- Firm Base: Make sure your graham cracker crust is pressed tightly into the pan. A loose base may crumble when cutting the Bonfire Bars.
- Gelatin Precautions: Ensure your gelatin is bloomed properly for the marshmallow layer. This step is crucial for achieving that light and fluffy texture.
- Experimenting with Flavors: Feel free to mix up the toppings or fillings! Adding different extracts or nuts can elevate your Bonfire Bars to new heights.
How to Store and Freeze Bonfire Bars
Fridge: Store Bonfire Bars in an airtight container for up to one week. This keeps them fresh and ready to satisfy your sweet cravings any time!
Freezer: For longer preservation, individually wrap the bars in plastic wrap and place them in a freezer-safe container. They can stay frozen for up to three months.
Thawing: When you’re ready to enjoy, simply take out the Bonfire Bars and let them thaw in the refrigerator for about 2 hours. For a quick treat, let them sit at room temperature for 30 minutes before indulging!
Avoiding Sogginess: To maintain texture, avoid stacking the bars directly on top of each other in the container—using parchment between layers can help.
Bonfire Bars Variations & Substitutions
Feel free to let your creativity shine with these Bonfire Bars! Each twist takes this classic dessert to a new level of deliciousness.
-
Nuts: Add chopped pecans or walnuts for a delightful crunch and nutty flavor.
-
Dairy-Free: Substitute cold butter with coconut oil or vegan butter, making these bars perfect for plant-based eaters. The texture remains airy and rich!
-
Chocolate Variety: Swap unsweetened chocolate for semi-sweet or even dark chocolate for a gourmet touch. Just adjust the sugar to balance the sweetness.
-
Flavor Boost: Mix in a teaspoon of vanilla or almond extract to the marshmallow topping for a pop of extra flavor that elevates each bite.
-
Spicy Heat: For a touch of excitement, add a pinch of cayenne pepper to the chocolate filling. It creates a warm sensation that perfectly complements the sweetness.
-
Mini Dessert Bars: Cut into mini bars for bite-sized indulgence. They’re fantastic for parties or gatherings, making them easy for guests to enjoy.
-
Topping Options: Drizzle with melted chocolate or a sprinkle of sea salt for an adult twist. You can also explore adding toasted coconut flakes!
And if you’re looking for more sweet inspirations, consider trying these delightful Pecan Pie Bars or the festive Harvest Marble Sugar Cookie Bars to expand your dessert repertoire.
What to Serve with Bonfire Bars
As you create these delectable Bonfire Bars, imagine the perfect meal to accompany them, blending flavors and textures for an unforgettable experience.
-
Fresh Fruit Salad: A medley of juicy berries, crisp apples, and zesty citrus adds a refreshing contrast to the rich sweetness of the bars. It’s the perfect balance!
-
Vanilla Ice Cream: Creamy and smooth, a scoop of vanilla ice cream drizzled with chocolate sauce takes dessert to the next level, complementing the s’mores-inspired flavors beautifully.
-
Chocolate Fondue: For a fun, interactive dessert, set up a chocolate fondue station with fruits and bite-sized treats, allowing guests to dip and savor alongside their Bonfire Bars.
-
Nutty Trail Mix: For a crunchy side, serve a nutty trail mix featuring almonds, walnuts, and dried fruits. This adds both texture and a wholesome touch to balance the sweetness of your dessert.
-
Iced Coffee or Hot Cocoa: Pair these indulgent bars with a warm cup of hot cocoa or a refreshing iced coffee for a satisfying flavor combo. The warmth intensifies the blissful chocolate notes!
-
Caramel Sauce: A drizzle of rich, homemade caramel sauce over the Bonfire Bars adds an extra layer of sweetness and decadence that will keep everyone coming back for more.
Make Ahead Options
These Bonfire Bars are a fantastic choice for meal prep, making your life easier and allowing you to enjoy delicious treats without the last-minute rush! You can prepare the graham cracker crust and chocolate filling up to 24 hours in advance. Simply follow the first three steps of the recipe and refrigerate the assembled crust and filling separately. To maintain quality, cover them tightly with plastic wrap so they stay fresh. When you’re ready to complete your Bonfire Bars, just continue with the marshmallow topping instructions and chill them for at least 2 hours before serving. This way, you can savor these delightful bars with minimal effort during your busy days!
Bonfire Bars Recipe FAQs
How do I choose the right graham crackers for my Bonfire Bars?
Absolutely! Always look for graham crackers that are fresh with no visible signs of damage, such as dark spots or breakage. For a unique flavor, you can substitute regular graham crackers with digestive biscuits or even flavored graham crackers. Just make sure they are finely crushed for the best crust consistency!
How should I store my Bonfire Bars for maximum freshness?
Bonfire Bars should be stored in an airtight container in the fridge, where they’ll stay fresh for up to one week. I often find it helpful to place parchment paper between layers if you’re stacking them, to prevent sticking. For longer storage, wrap them individually in plastic wrap and freeze them for up to three months. Just make sure to let them cool completely before wrapping!
Can I make these Bonfire Bars ahead of time and freeze them?
Yes, and it’s super easy! To freeze your Bonfire Bars, wrap them securely in plastic wrap and place them in a freezer-safe container. They can be stored for up to three months. When you’re ready to eat them, let the bars thaw in the refrigerator for about two hours or leave them at room temperature for about 30 minutes for a quicker treat!
What if my marshmallow topping doesn’t set properly?
No worries! If the marshmallow topping isn’t setting, it could be due to under-blooming the gelatin or not reaching the right temperature when cooking the syrup. Here’s what you can do: First, reheat the marshmallow mixture over low heat, stirring constantly, until it becomes more liquid-like. Then, let it cool slightly and re-whisk until it’s fluffy again. Just be patient; sometimes it may take a bit longer to fluff up!
Are there any allergy considerations with Bonfire Bars?
Definitely! Bonfire Bars contain dairy and gelatin, so they may not be suitable for those with lactose intolerance or following a strict vegetarian diet. You can substitute the gelatin with agar-agar for a vegetarian option and use coconut butter or a dairy-free cream alternative. Always check ingredient labels to be sure they meet your dietary needs!
Irresistible Bonfire Bars: S'mores Bliss in Every Bite
Ingredients
Equipment
Method
- Preheat the oven to 350°F (175°C). Lightly grease a square baking dish or line with parchment paper.
- Combine graham cracker crumbs, flour, brown sugar, and salt in a large bowl. Cut cold butter into dry ingredients until it resembles coarse crumbs. Press into the bottom of the prepared baking dish.
- In a medium saucepan over medium heat, combine evaporated milk, heavy cream, sugar, corn syrup, butter, and a pinch of salt. Stir continuously until smooth and simmering (about 5–7 minutes). Remove from heat and stir in unsweetened chocolate until completely melted.
- Pour the chocolate filling over the prepared graham cracker crust. Spread evenly and let set for 15–20 minutes at room temperature.
- Bloom the gelatin in a small bowl with cold water for about 5 minutes. In a separate saucepan, combine sugar, corn syrup, honey, and a splash of water. Heat until it reaches a soft ball stage (around 240°F or 115°C). Mix in bloomed gelatin and whisk until light and fluffy (about 5–8 minutes).
- Spread the fluffy marshmallow mixture over the chocolate layer, creating an even layer that completely covers the chocolate.
- Chill the assembled Bonfire Bars in the refrigerator for at least 2 hours or until the marshmallow topping is fully set.
- Remove from the refrigerator, lift out using parchment paper, and cut into squares for serving.
Leave a Reply