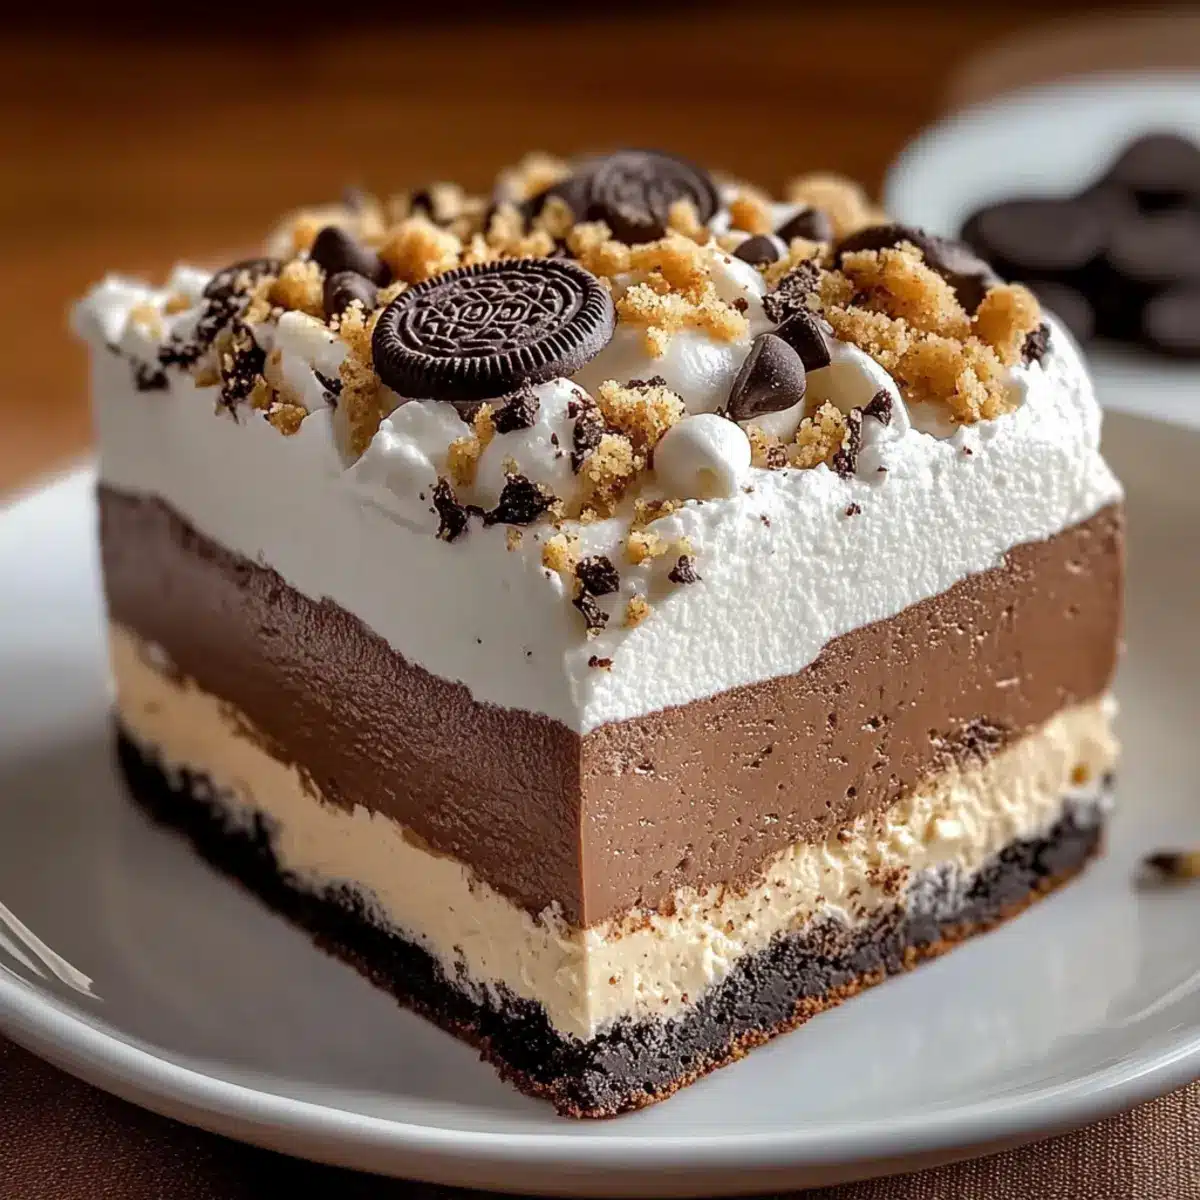
As I stood in my kitchen, I could almost hear the chorus of “oohs” and “ahhs” from friends anticipating dessert. That’s when I remembered my go-to No Bake Chocolate Peanut Butter Oreo Dessert Recipe! This heavenly treat merges the rich flavors of velvety chocolate and creamy peanut butter, layered with crunchy Oreo cookie goodness. Best of all, it’s incredibly simple to whip up—no oven required! Whether you’re hosting a gathering or simply curbing a sweet craving, this easy dessert is sure to impress. With just a handful of ingredients and minimal prep time, you can create a luscious indulgence that’s oh-so satisfying. Ready to dive into layers of delight? Let’s make this delectable creation together!
Why Is This Dessert a Must-Try?
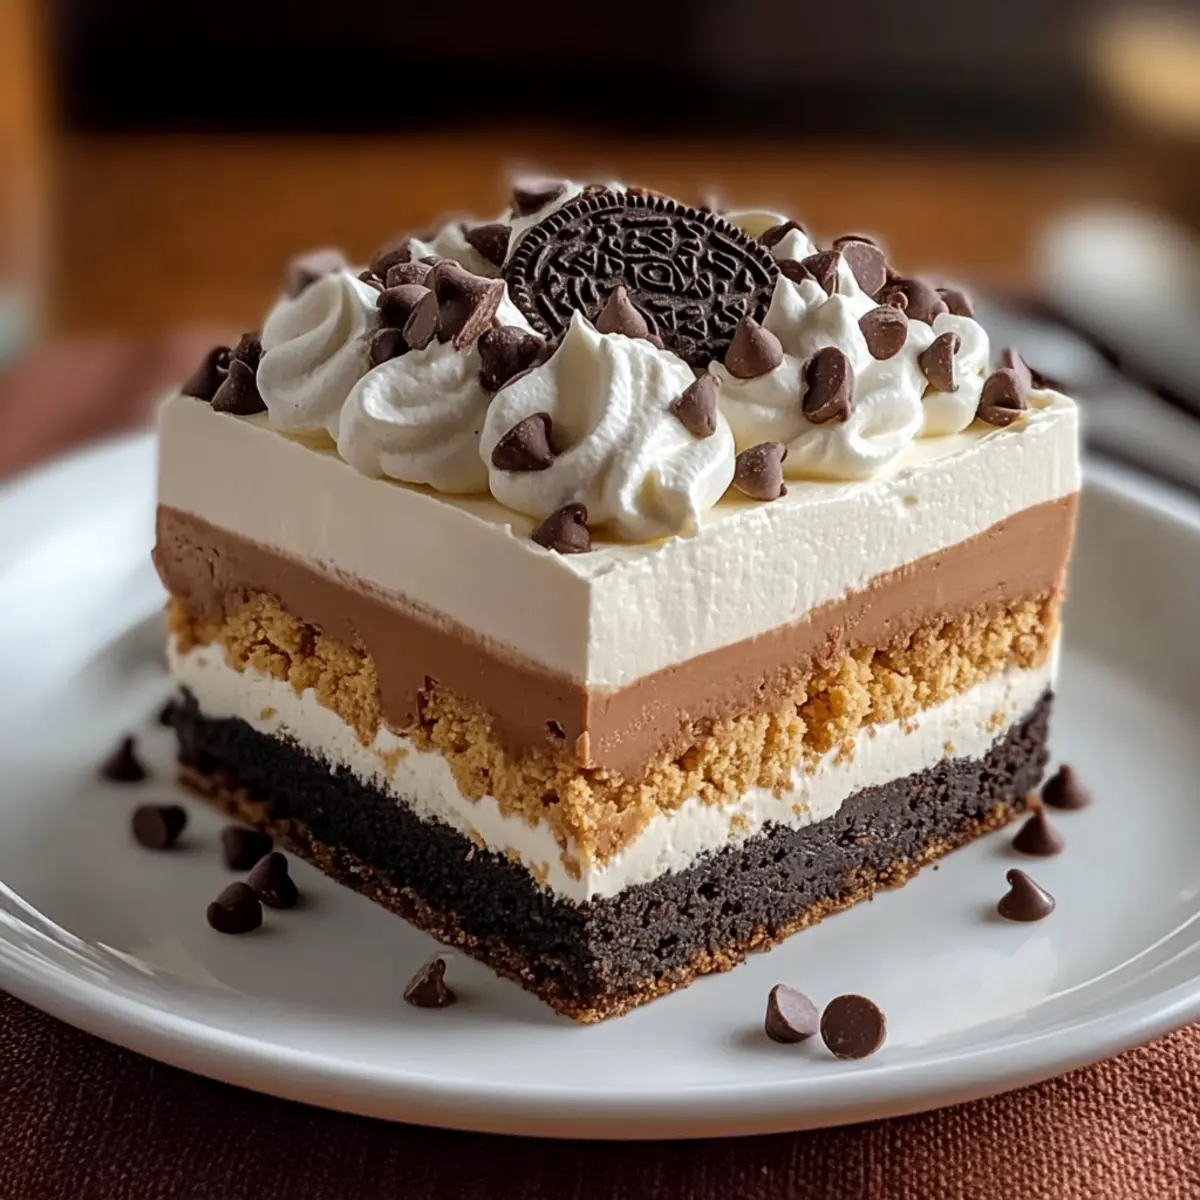
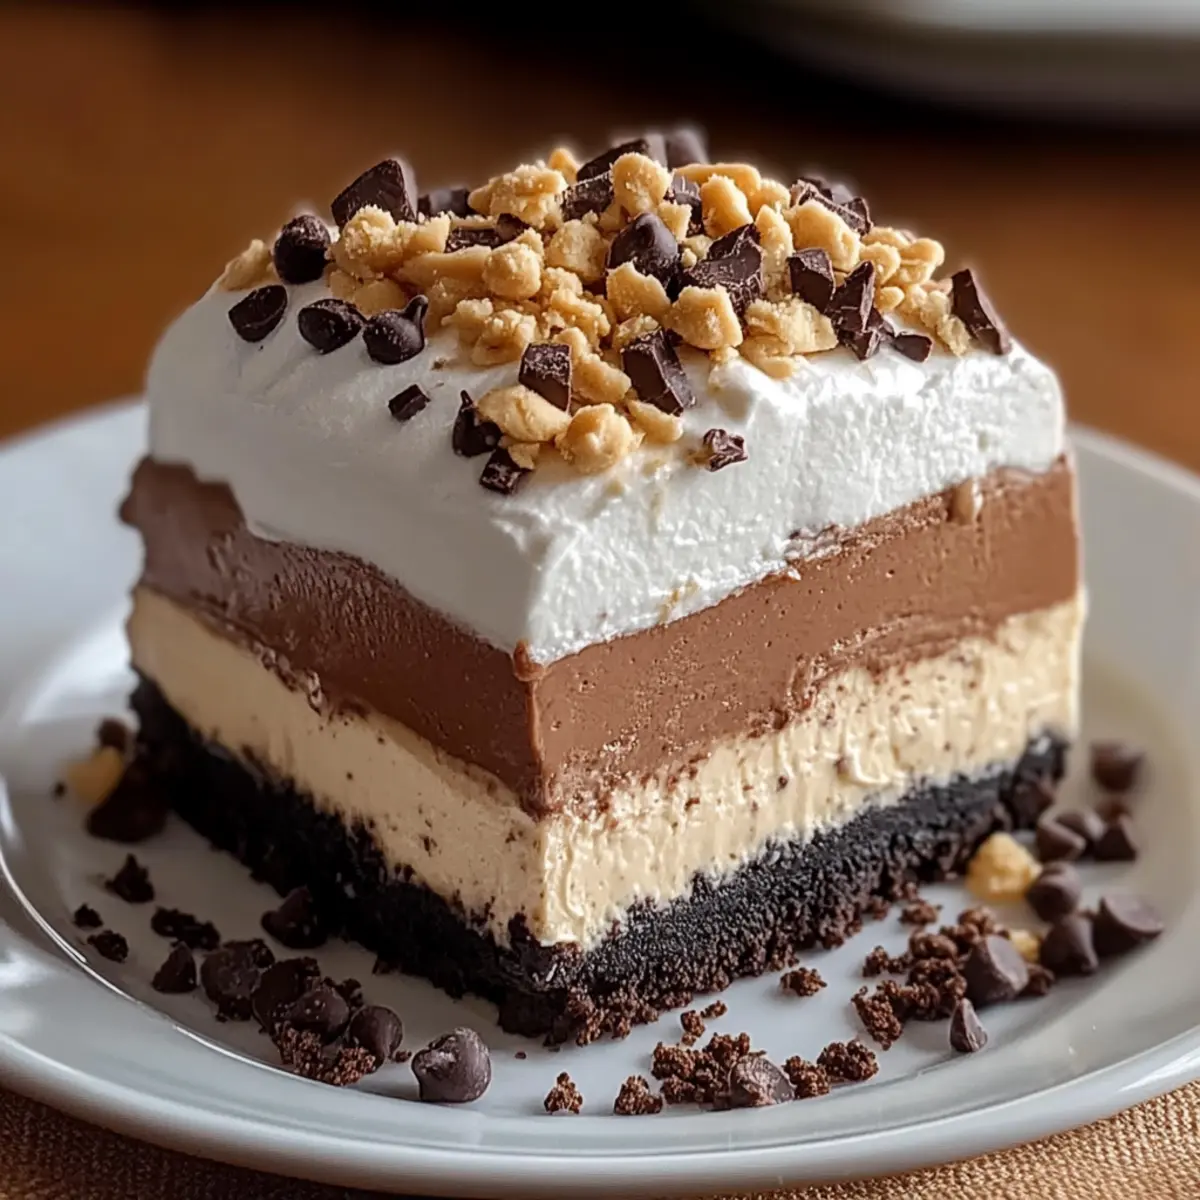
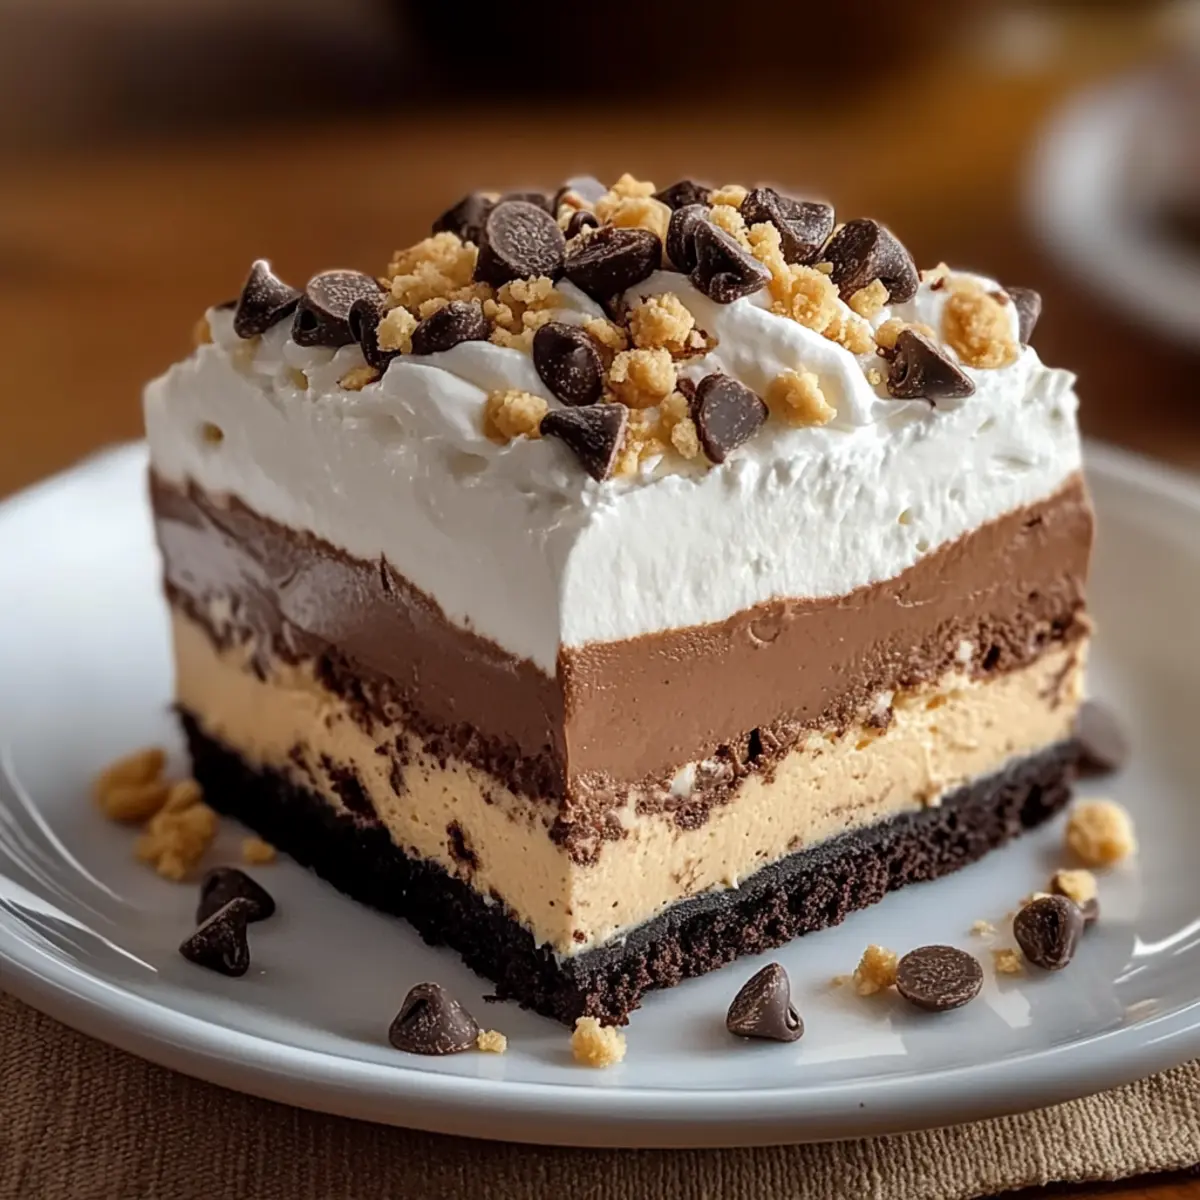
Irresistible Layers: Each bite of this No Bake Chocolate Peanut Butter Oreo Dessert is a decadent journey through layers of creamy pudding and crunchy Oreos, combining bold flavors that everyone will adore.
Effortless Preparation: You won’t need to turn on your oven! It’s quick and easy to prepare, making it perfect for those who want a stunning dessert without the hassle.
Crowd-Pleasing Delight: This dessert is a guaranteed hit at any gathering. The combination of chocolate and peanut butter is a classic that appeals to kids and adults alike!
Versatile Toppings: Feel free to customize with your favorite toppings like extra chocolate chips or crushed peanuts, just like in my Christmas Peanut Butter treats!
Make-Ahead Convenience: Perfect for busy days, you can whip up this treat in advance and let it chill, so it’s ready when you need it.
No Bake Chocolate Peanut Butter Oreo Dessert Ingredients
For the Base
• Oreos – Provides a crunchy base and layers; substitute with gluten-free chocolate cookies for a GF version.
For the Peanut Butter Layer
• Cream Cheese (16 oz total) – Adds creaminess and richness to the pudding layers; can use low-fat for a lighter option.
• Peanut Butter (1/2 cup) – Provides flavor and structure to the peanut butter layer; crunchy peanut butter can be used for texture.
• Instant Vanilla Pudding Mix (3.4 oz) – Adds flavor and thickens the peanut butter layer; can be substituted with chocolate pudding for more chocolate flavor.
• Milk (1 3/4 cups) – Helps to prepare pudding mixes; whole milk adds creaminess, while non-dairy alternatives can also work.
For the Chocolate Layer
• Chocolate Pudding Mix (3.4 oz) – Forms the chocolaty layer; use any flavor of pudding mix you prefer.
• Milk (1 1/2 cups) – Necessary for combining with pudding mixes to achieve a smooth consistency.
• Milk Chocolate Chips (6 oz) + 1/4 cup milk – Creates a smooth chocolate mixture; dark chocolate chips can be substituted for a richer flavor.
For the Topping
• Whipped Topping (12 oz) – Adds a creamy, airy finish on top; can substitute with whipped cream for a homemade touch.
• Optional Toppings (chocolate chips, chopped peanuts, extra crushed Oreos) – Enhance presentation and flavor; customize to taste.
Now, armed with these ingredients, you’re one step closer to creating the ultimate No Bake Chocolate Peanut Butter Oreo Dessert Recipe!
Step‑by‑Step Instructions for No Bake Chocolate Peanut Butter Oreo Dessert Recipe
Step 1: Crush the Oreos
Begin by using a food processor to crush about 24 Oreos until they achieve a fine consistency, resembling crumbs. This will create a crunchy base for your No Bake Chocolate Peanut Butter Oreo Dessert. Once crushed, transfer the Oreo crumbs into a bowl and set them aside for layering.
Step 2: Melt the Chocolate Chips
In a microwave-safe bowl, combine 6 oz of milk chocolate chips with 1/4 cup of milk. Microwave in 30-second intervals, stirring after each, until the chips melt completely and the mixture is smooth. Allow the melted chocolate to cool slightly while you prepare the next layer of your dessert.
Step 3: Assemble the First Layer
Take a 9×13 inch pan and press one-third of the crushed Oreos firmly into the bottom to create a solid base. The uniformity is essential for maintaining stability in your No Bake Chocolate Peanut Butter Oreo Dessert. Set the pan aside as you prepare the peanut butter layer.
Step 4: Prepare the Peanut Butter Layer
In a mixing bowl, beat 16 oz of softened cream cheese until smooth. Gradually add 3.4 oz of instant vanilla pudding mix and 1/2 cup of peanut butter, mixing well until fully incorporated. Slowly pour in 1 3/4 cups of milk and beat until the mixture is silky and creamy. Spread this peanut butter filling evenly over the Oreo base.
Step 5: Add More Oreo Crumbs
Sprinkle another third of the reserved Oreo crumbs over the peanut butter layer, ensuring even coverage. This will add delightful crunch to your No Bake Chocolate Peanut Butter Oreo Dessert and complement the creamy texture above. Gently press the crumbs into the filling to secure them in place.
Step 6: Mix the Chocolate Pudding Layer
In a clean bowl, beat together the remaining cream cheese, 3.4 oz of chocolate pudding mix, and the cooled melted chocolate mixture. Gradually incorporate 1 1/2 cups of milk and mix until smooth and creamy. Pour this luscious chocolate pudding layer over the Oreo crumbs, spreading it evenly for a delightful finish.
Step 7: Top with Remaining Oreo Crumbs
Once the chocolate layer is spread evenly, take the last of the crushed Oreos and sprinkle it on top. This final layer adds a beautiful texture and completes your No Bake Chocolate Peanut Butter Oreo Dessert with extra crunch. Ensure it’s distributed evenly across the chocolate layer.
Step 8: Add the Whipped Topping
Top the dessert with 12 oz of whipped topping, smoothing it out with a spatula for a polished look. This airy layer will bring lightness to the rich fillings beneath. Once applied, consider garnishing with additional chocolate chips or chopped peanuts for an appealing touch.
Step 9: Chill and Set
Cover the dessert with plastic wrap and refrigerate it for 4 to 6 hours, or until it has set completely. Chilling is vital for achieving the right texture in your No Bake Chocolate Peanut Butter Oreo Dessert, allowing all flavors to meld and solidify beautifully.
Step 10: Serve and Enjoy
When ready to serve, remove the dessert from the fridge. Cut it into squares and plate them up, adding any optional toppings for that extra special touch. This layered delight is now ready to impress your family and guests alike with its irresistible blend of flavors and textures!
No Bake Chocolate Peanut Butter Oreo Dessert Recipe Variations
Feel free to get creative and make this delightful dessert your own with these fun twists and swaps!
-
Gluten-Free Oreos: Use gluten-free chocolate sandwich cookies to create a delicious base that everyone can enjoy, ensuring no one misses out on the fun.
-
Low-Fat Alternative: Swap regular cream cheese for low-fat cream cheese to lighten up the dessert while still keeping it creamy and satisfying.
-
Crunchy Texture: Use crunchy peanut butter instead of creamy for an exciting texture contrast that adds a delightful crunch in each bite.
-
Flavorful Pudding Mix: Substitute the vanilla pudding mix with chocolate pudding for a double chocolate experience, elevating the indulgent flavor of this dessert even further.
-
Fruity Layer: Add a layer of raspberry or strawberry fruit compote between the peanut butter and chocolate layers for a refreshing burst of fruitiness that pairs beautifully with chocolate.
-
Coffee Kick: Incorporate a splash of coffee liqueur into the whipped topping for an adult twist that adds depth and warmth to the dessert.
-
Decadent Dark Chocolate: Replace milk chocolate chips with dark chocolate chips for those who appreciate a more intense, rich chocolaty flavor that beautifully balances the sweetness.
-
Festive Variations: Use seasonal Oreo flavors, like pumpkin spice or peppermint, to give this dessert a holiday flair that excites the taste buds any time of year.
These variations not only add a personal touch but also make this delightful No Bake Chocolate Peanut Butter Oreo Dessert versatile enough for any occasion. Enjoy experimenting with these suggestions, and don’t forget to check out some of my other favorite treats, like the deliciously unique Harvest Marble Chocolate cookies or the indulgent Chocolate Waffles Decadent, for more sweet inspiration!
Expert Tips for No Bake Chocolate Peanut Butter Oreo Dessert
Room Temperature Cream Cheese: Make sure your cream cheese is at room temperature for easy blending. Cold cream cheese can lead to lumps in your filling.
Chill Well: Allow sufficient chilling time (4 hours minimum) so your No Bake Chocolate Peanut Butter Oreo Dessert sets to the perfect texture.
Clear Glass Pan: If you want to show off those beautiful layers, consider using a clear glass pan. It’s not only functional but adds an enticing visual appeal!
Layer Order: Be mindful of the layering order. Start firmly with the Oreos and layer smoothly on top to prevent mixing and maintain distinct layers.
Avoiding Sogginess: Don’t rush the chilling process. Cutting into the dessert too soon can result in a soggy mess, so practice a bit of patience!
Make Ahead Options
This No Bake Chocolate Peanut Butter Oreo Dessert is a dream come true for anyone looking to save time during busy weeknights! You can prepare the entire dessert up to 24 hours in advance. Simply assemble the layers as directed, and instead of letting it chill for 4-6 hours, cover it tightly with plastic wrap and refrigerate overnight. This not only allows the flavors to meld beautifully but also ensures the creaminess remains intact. When you’re ready to serve, simply garnish with optional toppings like chocolate chips or crushed Oreos before dishing it out. Your dessert will be just as delicious and impressive as if made fresh the same day!
What to Serve with No Bake Chocolate Peanut Butter Oreo Dessert
Bring your dessert experience to life with delightful accompaniments that elevate each rich layer of this indulgent treat.
-
Fresh Berries: Juicy strawberries or raspberries provide a refreshing contrast, balancing the sweetness and adding a pop of color.
-
Chocolate Drizzle: A simple drizzle of melted chocolate on top enhances the richness while adding an extra touch of elegance.
-
Coffee or Espresso: A warm cup of coffee finely complements the dessert’s flavors, making every bite even more satisfying.
-
Mini Cheesecakes: Individual cheesecakes pair perfectly, offering a creamy texture while maintaining that luxurious dessert vibe.
-
Chilled Milk: A classic glass of cold milk is the ultimate companion for this dessert, enhancing its velvety experience with each bite.
-
Whipped Cream Cloud: Serve alongside an airy dollop of whipped cream to add lightness that contrasts with the rich layers of the dessert.
-
Chopped Peanuts: Sprinkling chopped peanuts offers a crunchy element that complements the smoothness of both the chocolate and peanut butter layers.
Creating a delightful dessert spread has never been easier, and these pairings will surely impress your guests!
How to Store and Freeze No Bake Chocolate Peanut Butter Oreo Dessert
Fridge: Keep your No Bake Chocolate Peanut Butter Oreo Dessert covered in the fridge for up to 4 days. This will keep it fresh and maintain the delightful textures.
Freezer: If you want to indulge later, freeze the dessert for up to 1 month. Wrap it tightly in plastic wrap or foil to prevent freezer burn.
Thawing: When you’re ready to enjoy, simply thaw the dessert overnight in the refrigerator. This helps maintain its delicious layers and creamy consistency.
Reheating: Since this dessert is meant to be served cold or chilled, avoid reheating. Serve straight from the fridge to savor its refreshing taste!
No Bake Chocolate Peanut Butter Oreo Dessert Recipe FAQs
What type of Oreos should I use for the base?
You can use regular Oreos for that classic flavor or mix it up with gluten-free chocolate cookies if you need a gluten-free option. Both work wonderfully for the crunchy base, but nothing beats the original for its satisfying crunch.
How long can I store the No Bake Chocolate Peanut Butter Oreo Dessert in the fridge?
This dessert can be kept covered in the refrigerator for up to 4 days. Just make sure it’s well-wrapped to maintain its freshness and keep those gorgeous layers intact until you’re ready to serve!
Can I freeze the No Bake Chocolate Peanut Butter Oreo Dessert?
Absolutely! You can freeze this dessert for up to 1 month. Just wrap it tightly in plastic wrap or foil to prevent freezer burn. When you’re ready to indulge, thaw it overnight in the fridge for the best texture.
What should I do if my dessert is too soft?
If you find your dessert is too soft, it may not have chilled long enough. Make sure to chill it for at least 4 hours, or even overnight if possible! If the problem persists, try adjusting the cream cheese or pudding mix ratios next time to create a firmer consistency.
Are there any allergy considerations with this dessert?
Yes, this dessert contains common allergens such as gluten from Oreos, dairy from cream cheese and whipped topping, and peanuts from peanut butter. If you’re serving guests with allergies, consider using gluten-free cookies and dairy-free alternatives to ensure everyone can enjoy a slice!
Can I substitute any ingredients in the No Bake Chocolate Peanut Butter Oreo Dessert recipe?
Definitely! If you’re looking for healthier options, you can use low-fat cream cheese and sugar-free pudding mixes. For a richer flavor, substitute regular milk with almond or oat milk, or even switch to dark chocolate chips for a deeper cocoa taste. Don’t hesitate to get creative with your substitutions!
No Bake Chocolate Peanut Butter Oreo Dessert Recipe Bliss
Ingredients
Equipment
Method
- Crush the Oreos until they achieve a fine consistency, resembling crumbs. Transfer the Oreo crumbs into a bowl and set aside.
- Combine 6 oz of milk chocolate chips with 1/4 cup of milk in a microwave-safe bowl. Microwave in 30-second intervals, stirring after each, until melted and smooth.
- Press one-third of the crushed Oreos firmly into the bottom of a 9x13 inch pan to create a solid base.
- In a mixing bowl, beat the softened cream cheese until smooth. Gradually add the vanilla pudding mix and peanut butter, mixing well. Slowly pour in milk and beat until silky and creamy. Spread it evenly over the Oreo base.
- Sprinkle another third of the reserved Oreo crumbs over the peanut butter layer and gently press them into the filling.
- In a clean bowl, beat the remaining cream cheese, chocolate pudding mix, and cooled melted chocolate mixture. Gradually incorporate milk and mix until smooth. Pour this chocolate pudding layer over the Oreo crumbs, spreading it evenly.
- Sprinkle the last of the crushed Oreos on top of the chocolate layer, distributing it evenly.
- Top the dessert with whipped topping, smoothing it with a spatula. Optionally garnish with chocolate chips or chopped peanuts.
- Cover with plastic wrap and refrigerate for 4 to 6 hours, or until set completely.
- When ready to serve, cut into squares and plate, adding any optional toppings.
Leave a Reply