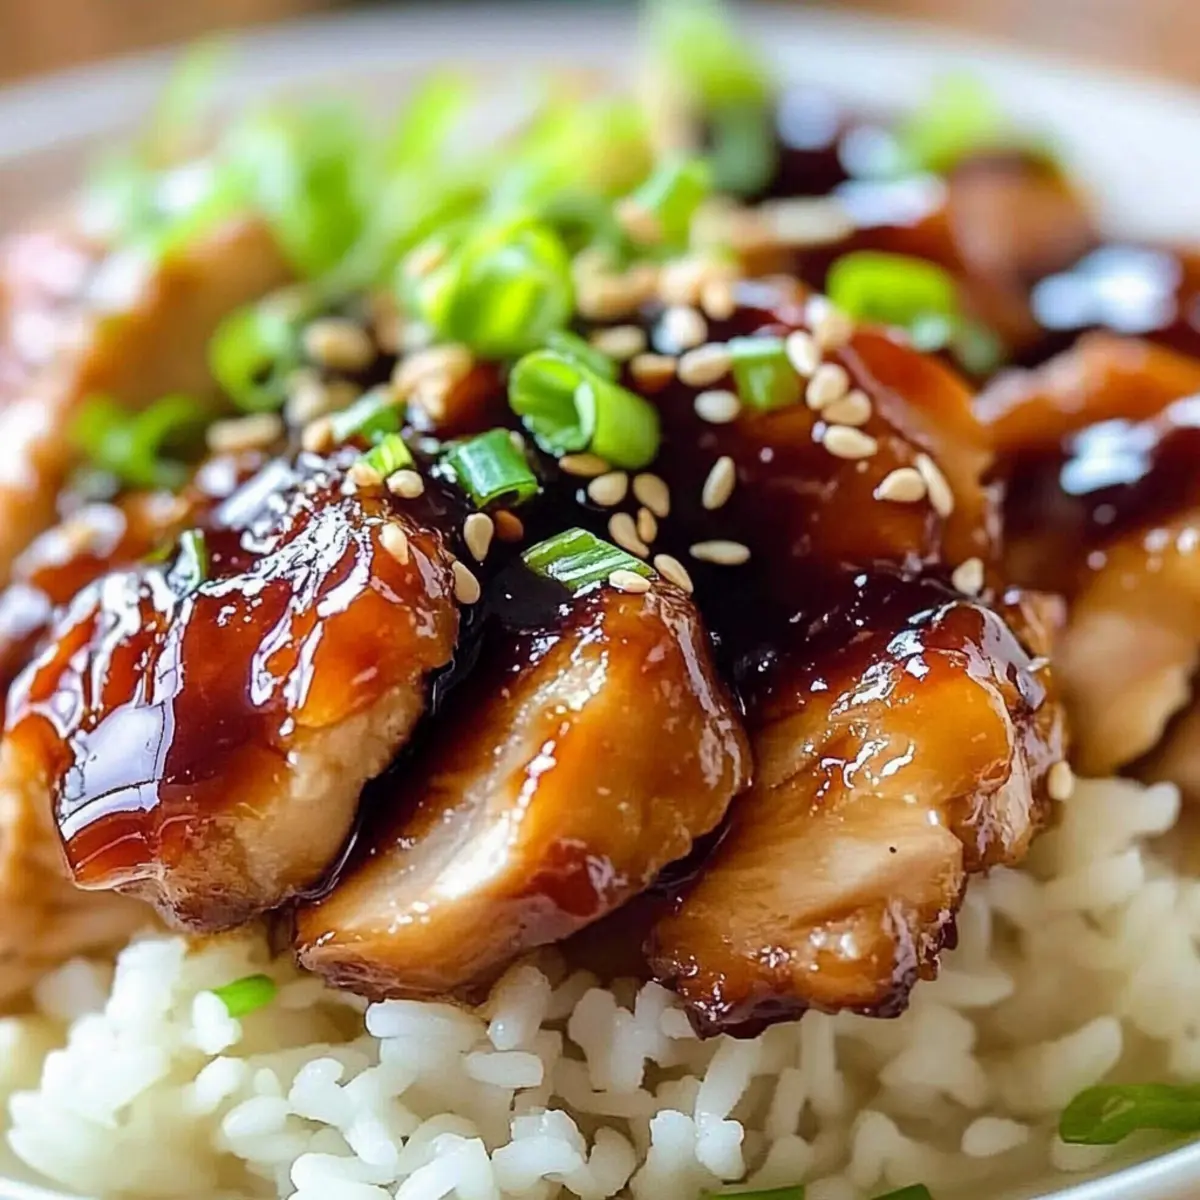
As I pulled the warm, savory aroma of Baked Teriyaki Chicken from my oven, I couldn’t help but feel a wave of nostalgia wash over me. This recipe is my go-to when I need a delicious meal on the table in under an hour—perfect for busy weeknights. The tender chicken thighs, bathed in a homemade teriyaki sauce that strikes the ideal balance of sweet and tangy, offer a truly satisfying experience. Each sticky bite delivers that comforting, umami richness we crave, making it a fantastic alternative to takeout. Plus, it’s a breeze to whip up, creating a quick dinner that the whole family will adore. Who wouldn’t want to enjoy this effortless delight over a bed of fluffy rice? Are you ready to elevate your dinner routine with this reliable gem? Let’s dive into the recipe!
Why is Baked Teriyaki Chicken a Must-Try?
Flavorful Experience: Every bite bursts with a delightful balance of sweet and tangy, thanks to the homemade teriyaki sauce.
Family-Friendly Meal: This dish is a hit for both kids and adults, turning dinnertime into a special occasion.
Quick & Easy: With just a few simple steps, you can have a scrumptious dinner on the table in under an hour!
Versatile Choices: You can easily swap between chicken thighs or breasts based on your preference, while also experimenting with different sides like steamed veggies or a refreshing cucumber salad.
Perfect for Meal Prep: Leftovers taste just as amazing, making it a fantastic option for weekday lunches—just pop them in the fridge!
Elevate your cooking game with this recipe and enjoy Grilled Chicken Legs another delight for easy dinners!
Baked Teriyaki Chicken Ingredients
• Ideal for your next family dinner!
For the Teriyaki Sauce
- Soy Sauce – Provides saltiness and umami; substitute with tamari for a gluten-free option.
- Mirin – Adds sweetness and depth; replace with a mix of water and sugar if needed.
- Brown Sugar – Enhances sweetness and caramelization; coconut sugar can be used for a healthier touch.
- Honey – Offers natural sweetness; agave syrup makes a great vegan alternative.
- Rice Vinegar – Gives a tangy balance; can use apple cider vinegar as a substitute.
- Sesame Oil – Imparts nuttiness; regular oil can substitute but alters the flavor.
- Garlic (minced) – Delivers aromatic flavor; garlic powder can replace fresh in a pinch.
- Ginger (freshly grated) – Adds zing and warmth; ground ginger is a substitute, though less potent.
- Cornstarch – Thickens the sauce; arrowroot starch may also work well for a similar effect.
For the Chicken
- Boneless Skinless Chicken Thighs – The preferred cut for juiciness; chicken breasts may dry out more easily.
For Serving
- Steamed White Rice – A must-have serving component; quinoa or cauliflower rice are excellent low-carb alternatives.
- Green Onions (chopped) – The perfect refreshing garnish; chives can work as an alternative.
- Sesame Seeds (optional) – Used for topping; can omit for simplicity.
Step‑by‑Step Instructions for Baked Teriyaki Chicken
Step 1: Preheat Oven
Begin by preheating your oven to 400°F (200°C). While the oven warms up, prepare your baking dish by lightly greasing it or lining it with parchment paper. This will prevent the Baked Teriyaki Chicken from sticking, ensuring easy cleanup and keeping the chicken juicy during baking.
Step 2: Prepare Sauce
In a saucepan over medium heat, combine soy sauce, mirin, brown sugar, honey, rice vinegar, sesame oil, minced garlic, and freshly grated ginger. Stir the mixture until the sugar dissolves and let it simmer for about 5 minutes. This step melds the flavors, creating a rich, savory sauce that will coat your chicken beautifully.
Step 3: Thicken Sauce
Once your sauce has simmered, create a cornstarch slurry by mixing cornstarch with a little water in a separate bowl. Whisk this into the simmering sauce and continue to cook for another 1-2 minutes until it thickens and coats the back of a spoon. Remove the pan from heat, allowing your tantalizing teriyaki sauce to cool slightly.
Step 4: Prepare Chicken
Pat dry your boneless skinless chicken thighs using paper towels to remove excess moisture. Arrange the chicken in your prepared baking dish, ensuring they are evenly spaced. Generously spoon the teriyaki sauce over each piece, reserving some sauce to baste later, ensuring every bite shines with flavor.
Step 5: Bake Chicken
Place the Baked Teriyaki Chicken in the preheated oven and bake for 25-30 minutes. Halfway through baking, use the reserved sauce to baste the chicken, enhancing flavor and creating a beautiful glaze. The chicken is done when its internal temperature reaches 165°F (74°C) and the edges are slightly caramelized.
Step 6: Rest & Serve
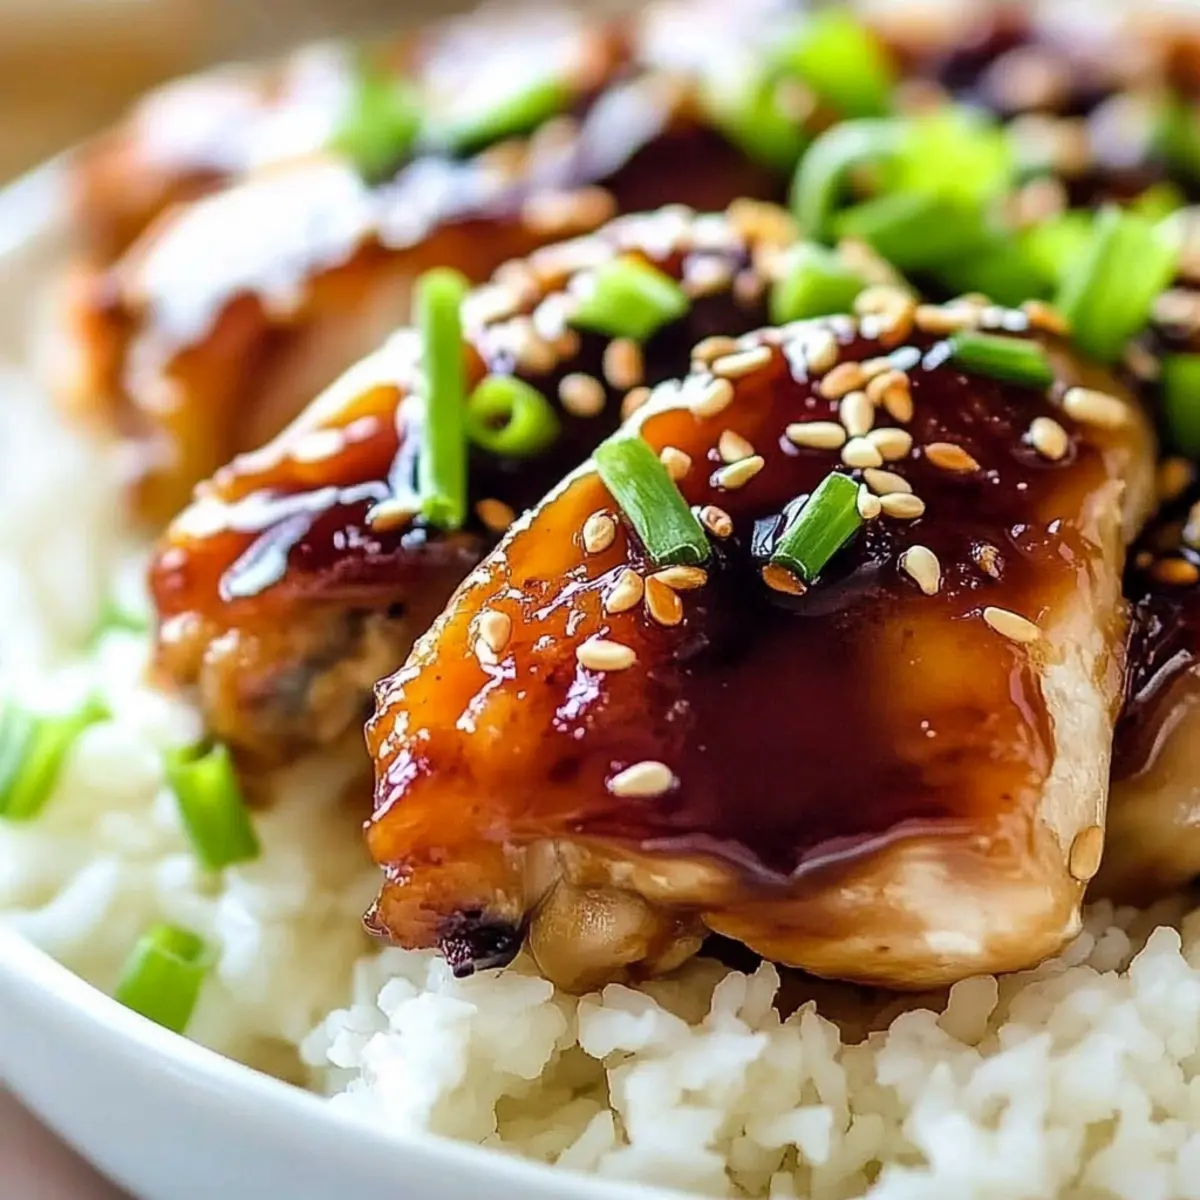
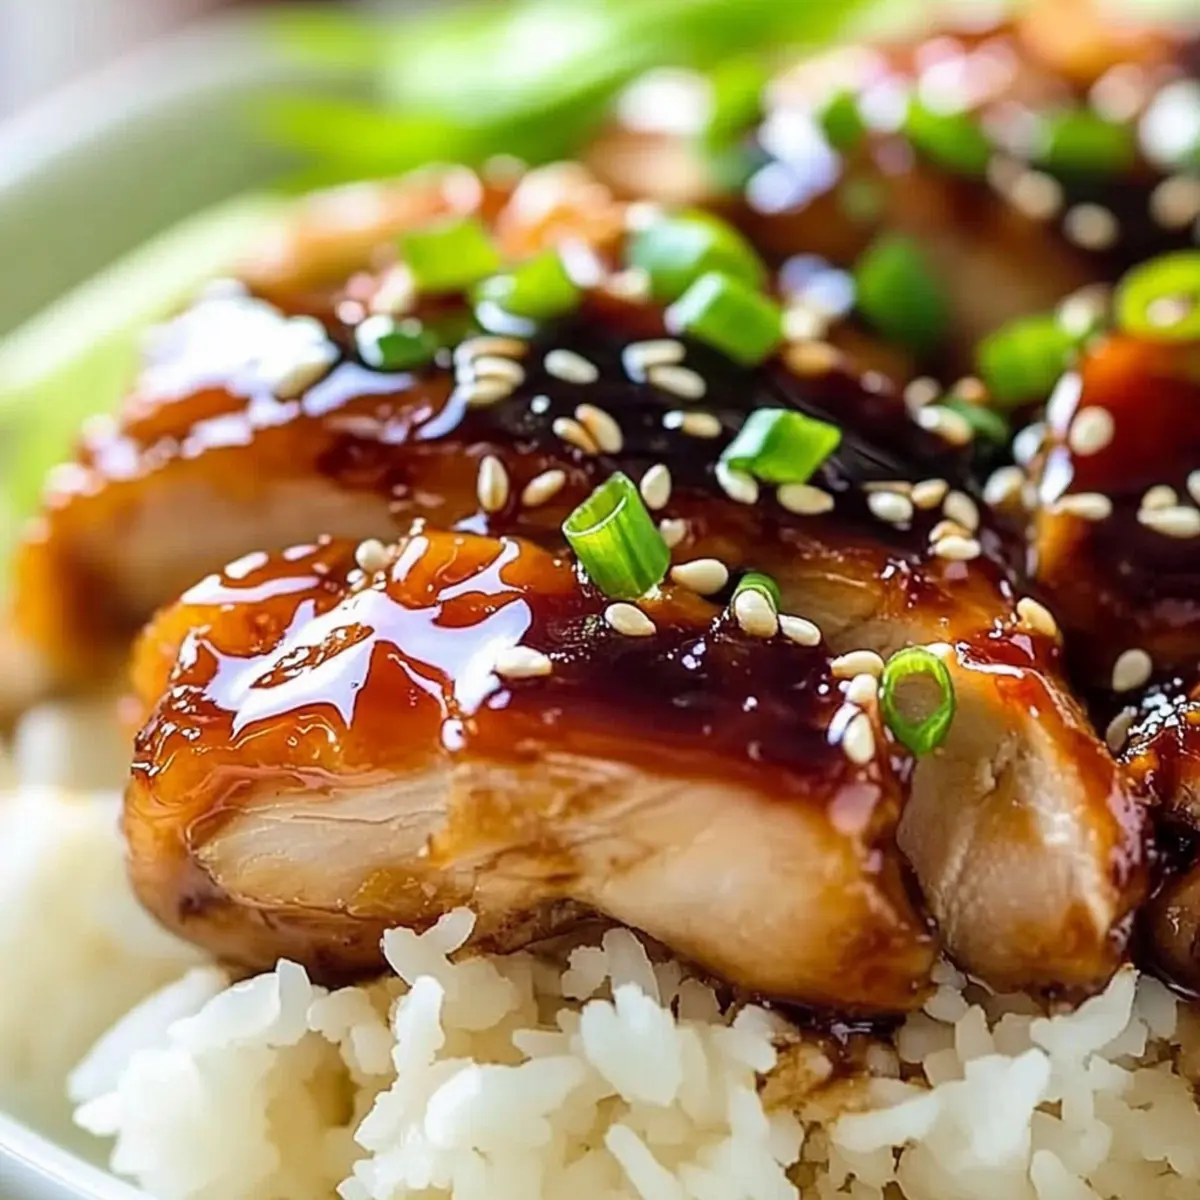
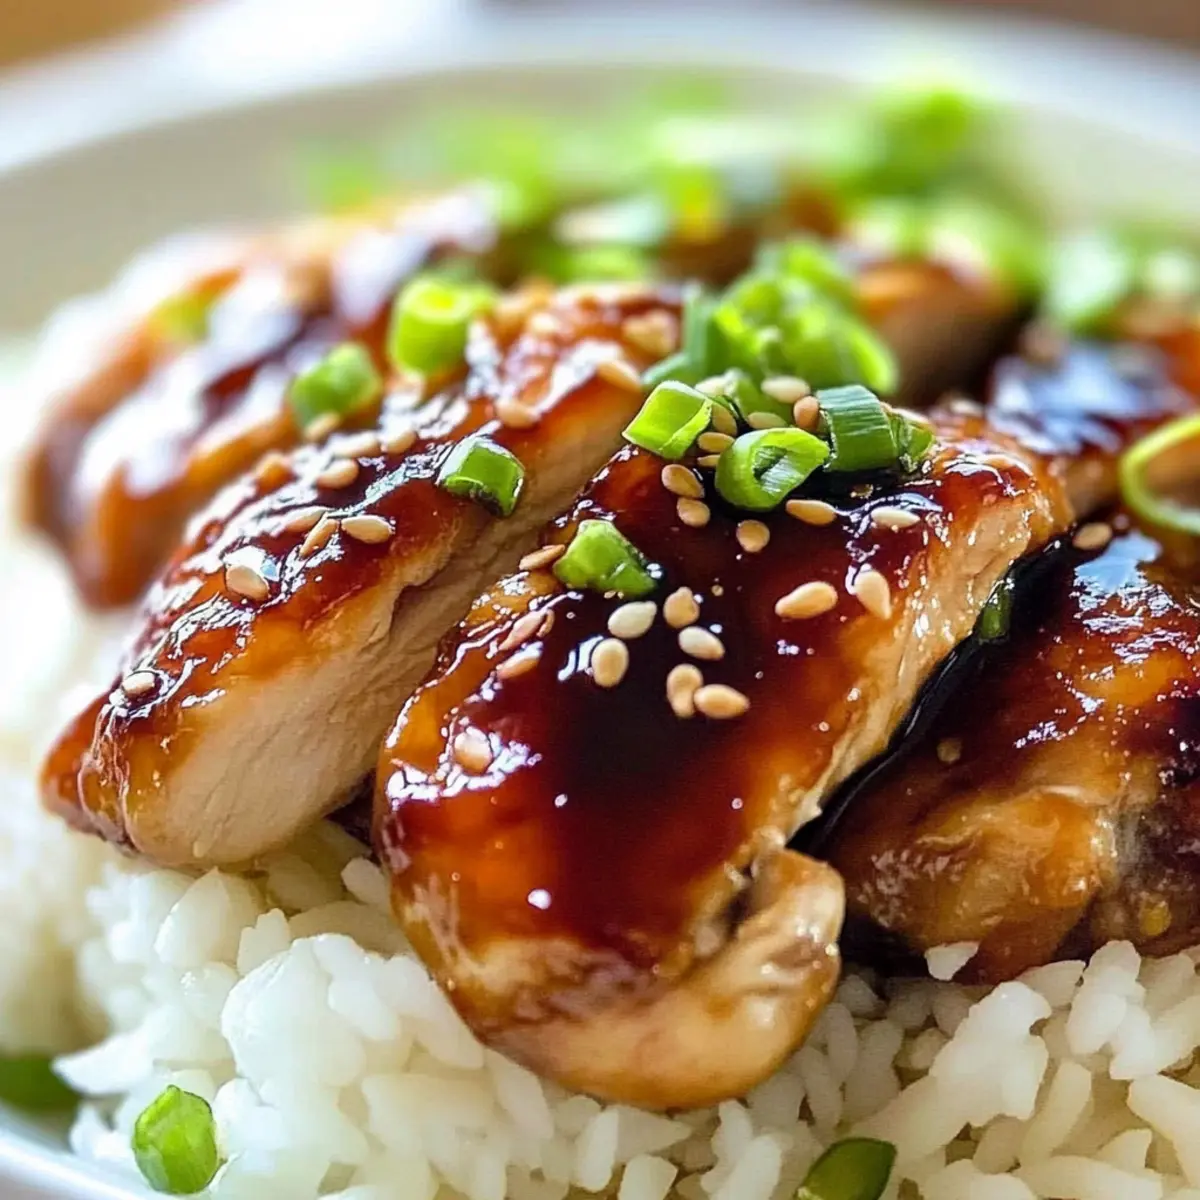
Once the chicken is fully cooked, remove it from the oven and let it rest for 5 minutes. This resting time helps retain juiciness. After resting, slice the thighs if desired, serve them over a bed of fluffy steamed white rice, and finish with chopped green onions and sprinkle sesame seeds for an elegant touch.
How to Store and Freeze Baked Teriyaki Chicken
Fridge: Store leftover Baked Teriyaki Chicken in an airtight container for up to 4 days. Make sure it’s cooled down before sealing to maintain its juicy texture.
Freezer: Wrap the cooked chicken tightly in plastic wrap and place it in a freezer-safe bag for up to 2 months. This will keep it fresh and flavorful for your next meal.
Reheating: To reheat, thaw overnight in the fridge, then warm gently in the oven or microwave with a splash of water to retain moisture and avoid drying out.
Serving Reminder: Enjoy the Baked Teriyaki Chicken over fresh rice or paired with your favorite steamed vegetables for a comforting meal anytime!
What to Serve with Baked Teriyaki Chicken?
When planning your dinner, think flavor and freshness to create a delightful meal around this sticky, savory dish.
-
Steamed White Rice: The classic pairing that perfectly absorbs the rich teriyaki sauce, providing a comforting and satiating base for your chicken.
-
Crisp Cucumber Salad: A refreshing side that adds a crunchy texture and lightness to your meal, balancing the savory notes of the chicken beautifully.
-
Stir-Fried Vegetables: Colorful veggies like bell peppers, broccoli, and snap peas stir-fried in garlic make for a nutritious addition, enhancing both flavor and nutrition.
-
Roasted Broccoli: The slightly charred edges and tender florets create an irresistible side that compliments the sweetness of teriyaki, adding depth to your plate.
-
Miso Soup: This warm and comforting soup enhances the Asian theme with rich umami flavors that tie the meal together, perfect for a cozy night in.
-
Chilled Sake: For a spirited touch, serve a glass of chilled sake alongside to elevate the dining experience, complementing the flavors in a delightful way.
Indulge in these pairings and enjoy the variety of textures and flavors they bring to your dinner!
Make Ahead Options
Baked Teriyaki Chicken is an excellent choice for meal prep, saving you time during busy weeknights! You can prepare the teriyaki sauce and marinate the chicken thighs up to 24 hours in advance. Simply combine all the sauce ingredients and store it in an airtight container in the refrigerator. To maintain quality, pat the chicken dry and place it in the baking dish, spooning the sauce over the top just before baking. When you’re ready to serve, bake as directed, adding an extra minute or two if chicken is cold from the fridge. This makes for an effortless dinner that will taste just as delicious as if you made it fresh!
Expert Tips for Baked Teriyaki Chicken
• Thicken Your Sauce: Ensure the teriyaki sauce coats the back of a spoon for the ideal texture. This thickness enhances the glaze on your chicken.
• Basting Matters: Remember to baste your chicken halfway through baking. This enriches the flavor and promotes a stunning caramelized finish.
• Resting Time: Allow the chicken to rest for 5 minutes after baking. This step maximizes juiciness, creating a succulent bite for everyone.
• Chicken Choices: Opt for chicken thighs instead of breasts to prevent drying out. If using breasts, monitor cooking closely for perfect results.
• Batch Cooking: Make extra teriyaki sauce to drizzle over vegetables or as a marinade for other proteins. This versatility enhances your Baked Teriyaki Chicken experience!
Variations for Baked Teriyaki Chicken
Feel free to make this delightful recipe your own with these tasty twists and substitutions!
-
Breast Swap: Use boneless skinless chicken breasts for a leaner dish, but be cautious with cooking time to prevent dryness. A quick check will ensure they stay tender and juicy.
-
Extra Sauce: Double the teriyaki sauce for a richer flavor! Drizzle any leftovers over steamed vegetables or stir it into your favorite sautéed bok choy for an extra umami hit.
-
Gluten-Free: Swap soy sauce for tamari and ensure all other ingredients are gluten-free to cater to dietary needs. This way, everyone can enjoy the flavors without worry.
-
Sweetness Variation: Try maple syrup instead of honey for a different sweet note that complements the teriyaki sauce wonderfully. The maple adds a unique twist that’s sure to surprise your taste buds!
-
Low-Carb Option: Serve with cauliflower rice instead of steamed white rice for a lighter, low-carb alternative. It pairs beautifully with the sticky sauce while keeping the comfort food vibe intact.
-
Spice It Up: Add a splash of sriracha or crushed red pepper flakes to the sauce for an unexpected heat that elevates the dish to a new level. This small addition can make a big difference!
-
Vegetable Medley: Toss in some chopped bell peppers or broccoli during the last 10 minutes of baking. This not only adds nutrition but creates a vibrant, colorful meal with a lovely crunch.
-
Citrus Zing: Stir in a bit of freshly squeezed lemon or lime juice to your sauce before serving. The citrus brightness cuts through the richness beautifully and adds a refreshing twist.
Explore these variations to keep your family excited! And if you’re looking for another easy dinner option, check out Grilled Chicken Legs for a simple, flavorful recipe.
Baked Teriyaki Chicken Recipe FAQs
What kind of soy sauce should I use for the teriyaki sauce?
Absolutely! Regular soy sauce works best for a rich umami flavor in your teriyaki sauce. If you’re looking for a gluten-free option, tamari is a fantastic substitute that maintains the same savory depth!
How do I store leftover Baked Teriyaki Chicken?
Very easy! Store your leftover chicken in an airtight container in the refrigerator for up to 4 days. Make sure it’s cooled down before sealing to help maintain its juiciness. For reheating, add a splash of water to restore its texture and warmth.
Can I freeze Baked Teriyaki Chicken?
Certainly! To freeze, wrap the cooked chicken tightly in plastic wrap, then place it in a freezer-safe bag. It can be frozen for up to 2 months. Remember to thaw it overnight in the fridge, and reheat gently in the oven or microwave to keep it moist.
What should I do if my teriyaki sauce isn’t thickening?
No worries! If your sauce isn’t thickening, make sure you’re using the cornstarch slurry correctly. Mix 1 tablespoon of cornstarch with 2 tablespoons of cold water, then whisk it into the simmering sauce. Let it cook for another 1-2 minutes, continuing to stir until it coats the back of a spoon. This should give you the perfect glaze!
Is Baked Teriyaki Chicken a healthy option?
Absolutely! This dish boasts a lovely balance of protein and carbohydrates. You can also make it lighter by using skinless chicken breasts instead of thighs and serving it with steamed veggies or cauliflower rice to reduce calories while still enjoying the flavor.
Can I make teriyaki sauce in advance?
Yes, indeed! You can prepare the teriyaki sauce ahead of time and store it in an airtight container in the refrigerator for up to one week. When you’re ready to cook, simply warm it up in a saucepan before using. This makes dinner prep even quicker!
Savory Baked Teriyaki Chicken – Your New Weeknight Favorite
Ingredients
Equipment
Method
- Preheat your oven to 400°F (200°C) and prepare your baking dish by lightly greasing it or lining it with parchment paper.
- In a saucepan over medium heat, combine soy sauce, mirin, brown sugar, honey, rice vinegar, sesame oil, minced garlic, and freshly grated ginger. Stir until sugar dissolves and let it simmer for about 5 minutes.
- Create a cornstarch slurry by mixing cornstarch with a little water, whisk into the simmering sauce, and continue to cook for another 1-2 minutes until it thickens.
- Pat dry the chicken thighs and arrange them in the prepared baking dish. Spoon teriyaki sauce over each piece, reserving some to baste later.
- Bake the chicken for 25-30 minutes. Baste with reserved sauce halfway through.
- Once cooked, let the chicken rest for 5 minutes. Serve over rice, garnished with green onions and sesame seeds.
Leave a Reply