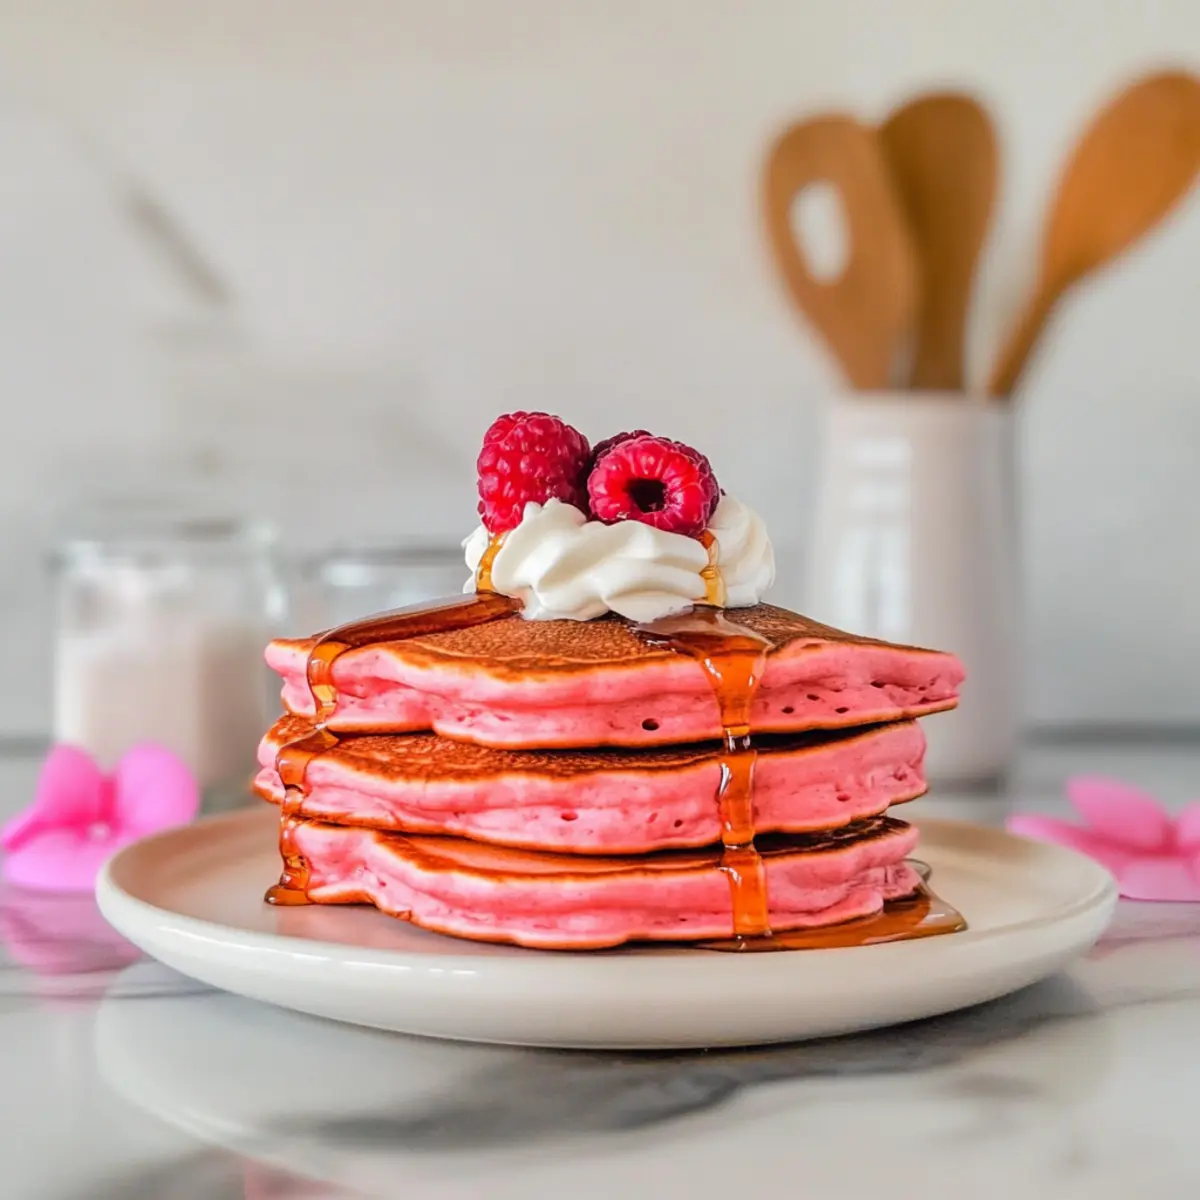
As the kitchen fills with the sweet scent of sizzling batter, it’s hard not to feel that little spark of joy—especially when flipping these fluffy Pink Pancakes! They’re not just a breakfast; they’re a delightful treat that turns any ordinary morning into a celebration. With only 20 minutes from prep to plate, this easy breakfast is perfect for special occasions like Valentine’s Day or simply bringing a splash of color to a Sunday brunch. Plus, these pancakes invite endless creativity, allowing you to customize with flavors or toppings that suit your mood. What will you add to your stack?
Why Are These Pancakes So Special?
Fluffy, these Pink Pancakes boast an irresistible texture that feels light and airy on the fork. Visually striking, their pastel pink hue brightens up any breakfast plate, instantly elevating your dining experience. Quick and easy, they come together in just 20 minutes, making them the perfect solution for last-minute celebrations or lazy Sunday mornings. Versatile, you can mix in chocolate chips or swap out the milk for buttermilk to create your desired flavor. And for a festive touch, don’t forget to top with whipped cream or fresh berries! If you love creative breakfast ideas, check out these Christmas Pancakes Holiday for a different holiday flair!
Pink Pancakes Ingredients
• Get ready to whip up a colorful breakfast delight!
For the Pancake Batter
• All-Purpose Flour – Provides structure and stability; consider gluten-free flour for a gluten-free version.
• Baking Powder – This leavening agent helps pancakes rise, so ensure it’s fresh for best results.
• Baking Soda – Serves as an additional leavening; it reacts with acids to create fluffiness.
• Sugar – Adds sweetness and promotes browning; you can reduce the amount for a less sweet pancake.
• Egg – Contributes moisture and structure; replace it with 3 tablespoons of aquafaba for a vegan option.
• Vanilla Extract – Enhances the flavor; almond extract can be a delightful alternative.
• Milk – Adds necessary moisture; buttermilk can introduce a lovely tang, while non-dairy milk works for a vegan recipe.
• Canola Oil – Keeps pancakes moist; you can substitute it with melted butter or coconut oil for a different flavor.
• Pink or Red Food Coloring – Gives these pancakes their vibrant color; consider using beet juice as a natural alternative.
Embrace the joy of making Pink Pancakes and let the festivities begin!
Step‑by‑Step Instructions for Fluffy Pink Pancakes
Step 1: Prepare the Dry Ingredients
In a small mixing bowl, whisk together 1 cup of all-purpose flour, 2 teaspoons of baking powder, 1/2 teaspoon of baking soda, and 2 tablespoons of sugar until well combined. This mixture provides the structure for your fluffy Pink Pancakes. Set it aside to keep it fresh and airy while you prepare the wet ingredients.
Step 2: Combine the Wet Ingredients
In a large bowl, pour in 1 cup of milk, add 1 teaspoon of vanilla extract, crack in 1 egg, and mix in 2 tablespoons of canola oil. Whisk these ingredients together until smooth and well-blended. The mixture should appear creamy and homogenous, setting the stage for the delightful pink batter that will follow.
Step 3: Mix the Batter Together
Gently fold the dry ingredients into the wet mixture using a spatula or wooden spoon until just combined; remember, small lumps are perfectly fine! This careful mixing preserves the air bubbles, ensuring your Pink Pancakes will be light and fluffy. Avoid over-mixing to promote optimal fluffiness.
Step 4: Add Color
Gradually add a few drops of pink or red food coloring to the batter, stirring gently until you achieve the desired shade of pink. Keep in mind that the color will lighten a bit during cooking, so be bold with your coloring! This step will give your fluffy Pink Pancakes their festive appeal for any occasion.
Step 5: Heat the Skillet
Place a skillet or griddle over medium heat and add a drizzle of oil to prevent sticking. To check if it’s ready, drop a few water droplets into the pan; if they sizzle and evaporate quickly, you’re good to go! A properly heated skillet is key to achieving that delightful golden crust on your pancakes.
Step 6: Cook the Pancakes
Pour 1/4 cup of batter onto the heated skillet for each pancake, and cook for about 2 minutes. Watch for small bubbles forming on the surface, indicating that it’s time to flip. The edges should look slightly set and dry. This ensures your pancakes are perfectly fluffy and cooked through.
Step 7: Flip and Finish Cooking
Carefully flip each pancake using a spatula and cook for another 2 minutes on the other side until golden brown and firm. You’ll know they are ready when they easily release from the skillet without sticking. Repeat the process until you’ve used all the batter, adding more oil to the skillet as necessary.
Step 8: Serve with Love
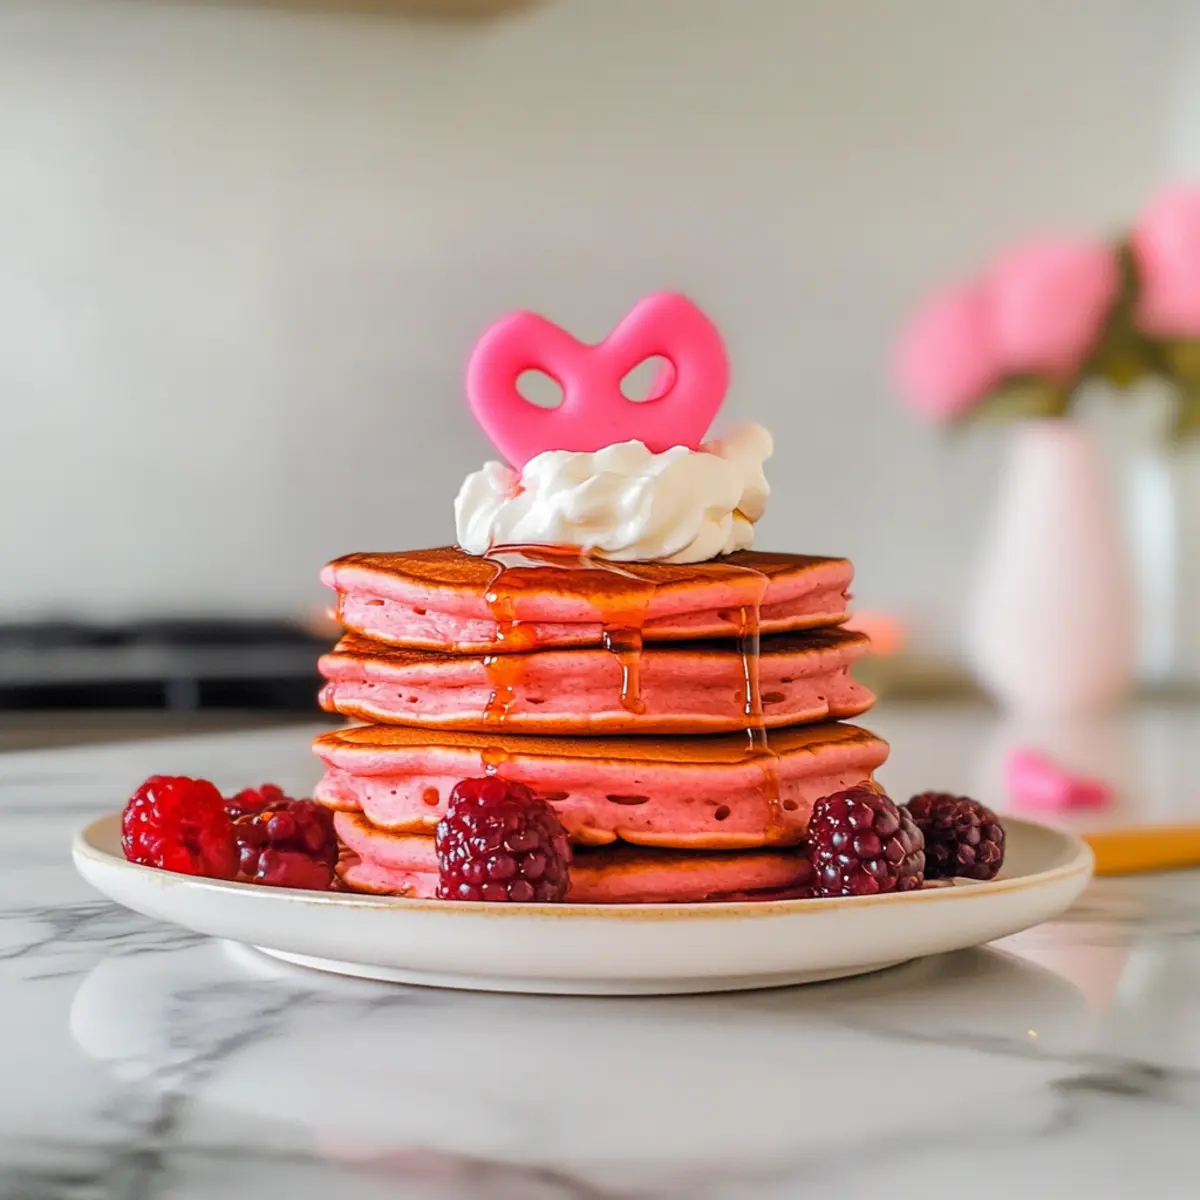
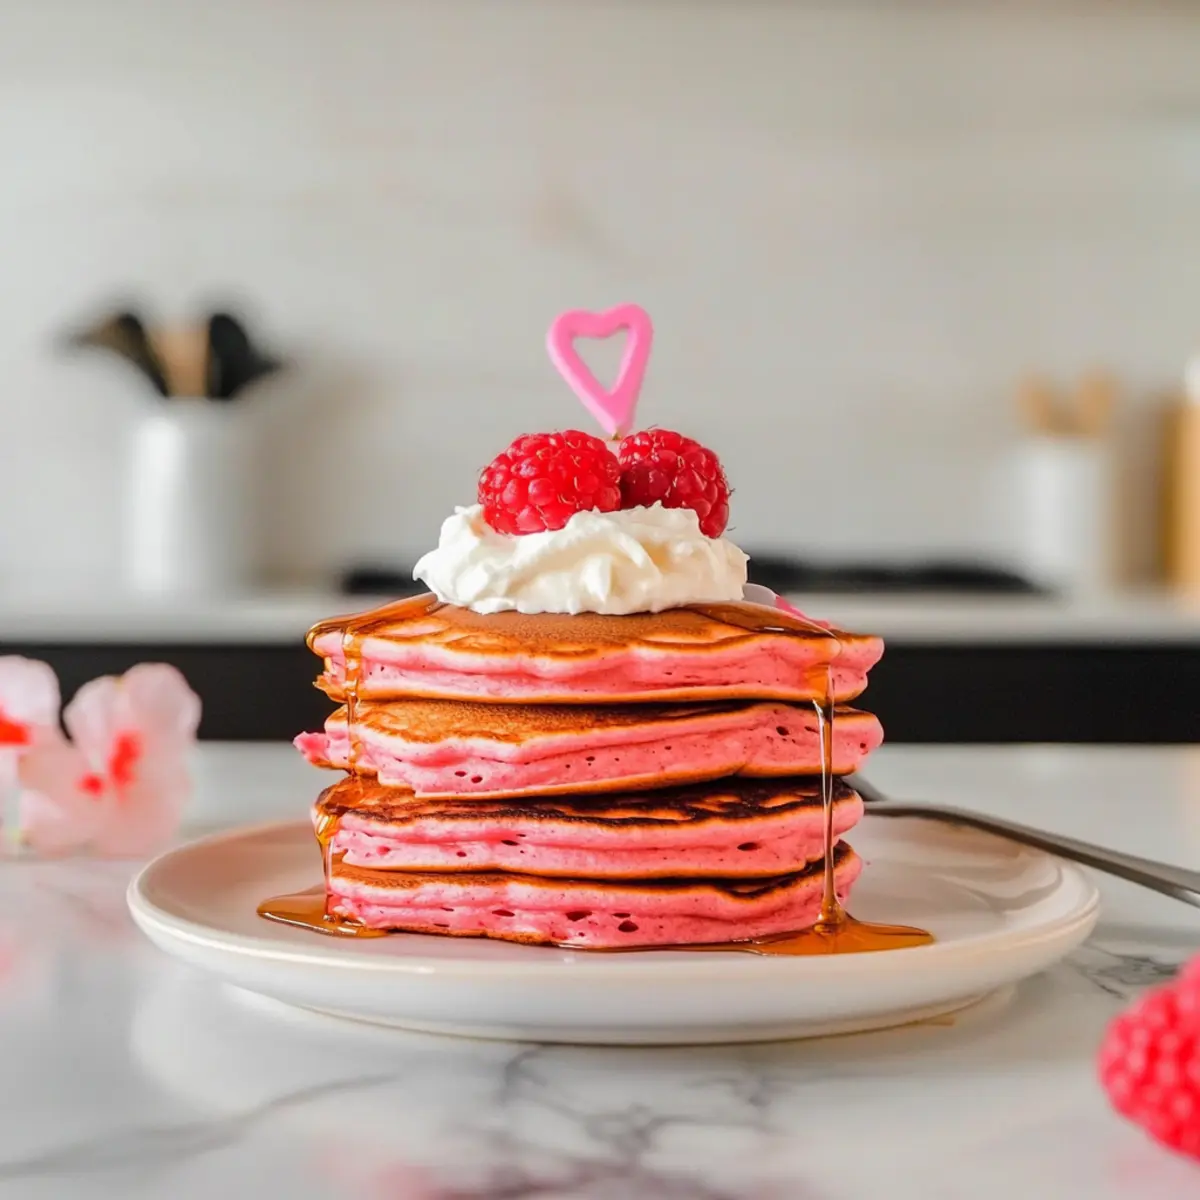
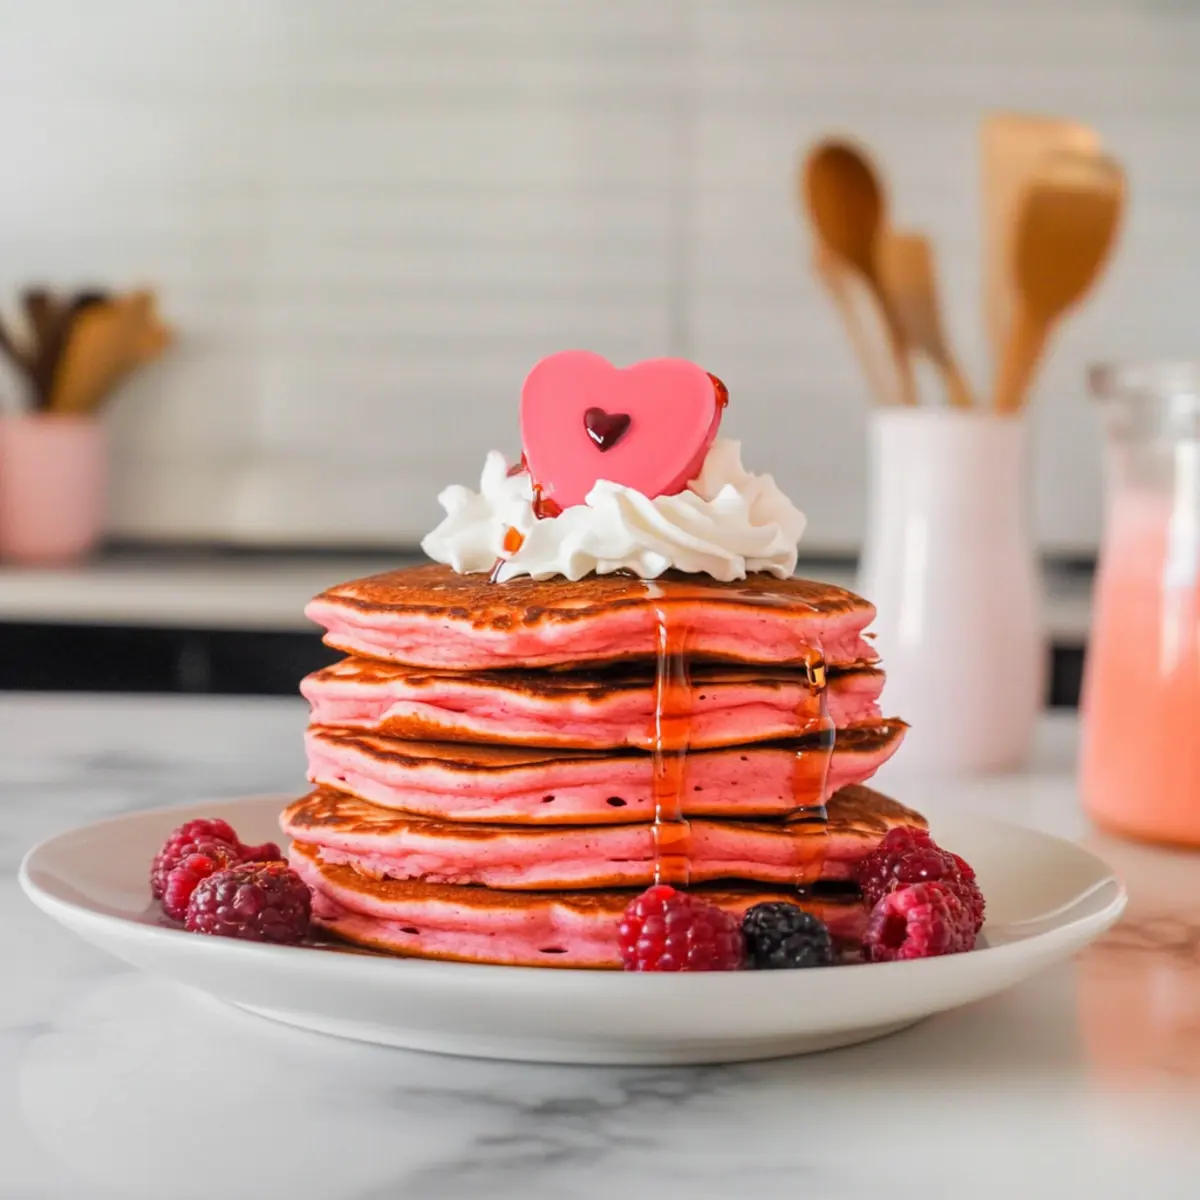
Serve your delicious fluffy Pink Pancakes immediately, topped with your favorite maple syrup, a dollop of whipped cream, or fresh berries for an extra festive touch. These pancakes not only taste wonderful but will also add a cheerful pop of color to your breakfast table, making every morning a reason to celebrate!
Pink Pancakes: Variations & Substitutions
Customize your Pink Pancakes to make them uniquely yours, adding flavors and twists that delight your taste buds!
- Gluten-Free: Substitute all-purpose flour with a 1:1 gluten-free flour blend for a deliciously fluffy alternative.
- Dairy-Free: Use non-dairy milk like almond or oat milk instead of regular milk for a vegan-friendly pancake.
- Extra Flavor: Swap vanilla extract with almond extract to give your pancakes a nutty twist that’s truly delightful.
- Berry Burst: Fold in fresh or frozen berries for a fruity explosion with every fluffy bite; they add both flavor and color!
- Chocolate Lover: Mix in chocolate chips or cocoa powder for a decadent twist that pairs wonderfully with the sweetness of the pancakes.
- Tangy Twist: Use buttermilk instead of regular milk for an extra tang that elevates the flavor profile beautifully.
- Colorful Fun: Instead of traditional food coloring, try using beet juice for a natural, earthy hue with added health benefits.
- Spiced Up: Add a sprinkle of cinnamon or nutmeg into the dry ingredients for a warm, cozy aroma that enhances every bite.
With these variations, your Pink Pancakes can be transformed into a breakfast delight that suits any occasion! For even more inspiration, check out these festive Christmas Pancakes Holiday or try the unique flavors of Sourdough Discard Pancakes for a twist on a classic breakfast!
What to Serve with Fluffy Pink Pancakes
Indulging in these delightful pancakes is just the beginning of a magical breakfast experience that invites sweet pairings!
- Fresh Berries: Sweet strawberries and blueberries add a burst of flavor and a vibrant color contrast that enhances the breakfast spread.
- Whipped Cream: A dollop of light, fluffy whipped cream elevates the richness of your pancakes, making every bite feel like a treat.
- Maple Syrup: Drizzling warm maple syrup unlocks a symphony of sweetness that perfectly complements the fluffy texture of your Pink Pancakes.
- Chocolate Chips: Add chocolate chips into the batter before cooking, infusing your pancakes with decadent chocolaty goodness that makes mornings extra special.
- Crispy Bacon: The savory crunch of crispy bacon balances the sweetness of the pancakes, creating a delightful contrast that makes for a satisfying meal.
- Greek Yogurt: Serve with a side of creamy Greek yogurt for a protein-packed option that adds a tangy twist and helps cut the sweetness.
- Mimosa: For an adult twist, pair your pancakes with a refreshing mimosa; the citrusy sparkle elevates any brunch celebration beautifully.
- Nutella Drizzle: A drizzle of Nutella adds indulgent chocolate-hazelnut flavor, making for a truly luxurious pancake experience to savor.
- Powdered Sugar: A sprinkle of powdered sugar garnishes your pancakes with a touch of sweetness and elegance, visually enhancing the festive appeal.
Make Ahead Options
These fluffy Pink Pancakes are a fantastic option for meal prep enthusiasts! You can prepare the batter up to 24 hours in advance, storing it in the refrigerator to maintain freshness. Simply mix all dry ingredients and wet ingredients separately, keeping the wet mixture covered until you’re ready to cook. When the time comes to serve, just gently mix in the food coloring, heat the skillet, and pour! This method not only saves you crucial time in the morning but also guarantees that your pancakes will be just as delicious and fluffy as if you had made them from scratch that day. Enjoy the ease of breakfast that brings a smile!
Storage Tips for Pink Pancakes
Airtight Container: After cooling completely, store leftover Pink Pancakes in an airtight container for up to 3 days to maintain freshness and prevent sogginess.
Refrigeration: Place the pancakes in the fridge if you don’t plan to eat them the same day; they will stay good for up to 3 days.
Freezing: For longer storage, freeze the pancakes in a single layer on a baking sheet before transferring them to a freezer bag. They can be kept for up to 2 months.
Reheating: To reheat, microwave pancakes with a damp paper towel on top to retain moisture, or pop them in the toaster for a crisp finish.
Expert Tips for Fluffy Pink Pancakes
- Fresh Ingredients: Ensure your baking powder and baking soda are fresh for maximum fluffiness. Expired leavening agents can lead to flat pancakes.
- Mix Gently: Avoid over-mixing the batter; it’s okay to have small lumps. Over-mixing develops gluten, resulting in dense pancakes instead of light and fluffy Pink Pancakes.
- Right Temperature: Preheat your skillet properly. If it’s too hot, the pancakes may cook too quickly on the outside but remain raw inside; if too cool, they’ll spread.
- Colorful Fun: Don’t hesitate to adjust the food coloring! Remember, the color lightens while cooking, so use a tad more if desired.
- Immediate Cooking: For the fluffiest pancakes, cook the batter right after mixing; the leavening agents become active as soon as they contact liquid.
- Storage Savvy: Keep leftover pancakes in an airtight container for up to three days. Reheat in the toaster or microwave, placing a damp paper towel on top to maintain moisture.
Pink Pancakes Recipe FAQs
How do I choose the right ingredients for my Pink Pancakes?
Absolutely! When selecting your ingredients, always opt for fresh baking powder and baking soda for the best rise. For the flour, all-purpose flour works great, but consider using gluten-free flour if you need a gluten-free alternative. Keep an eye out for high-quality eggs and vanilla extract as well; the better the ingredient, the better your pancakes will taste!
What is the best way to store leftover Pink Pancakes?
After letting your pancakes cool completely, store them in an airtight container in the refrigerator for up to 3 days. This prevents any sogginess and keeps them fresh for your next indulgence! If you want to save them for a longer time, they can be frozen. Just place them in a single layer on a baking sheet to freeze them first, then transfer to a freezer bag for up to 2 months.
Can I freeze Pink Pancakes? How do I do it?
Absolutely! To freeze your Pink Pancakes, simply allow them to cool fully on a wire rack to prevent moisture from building up. Then, place them in a single layer on a baking sheet and freeze until solid (about 1-2 hours). Once frozen, stack them neatly in a freezer bag, separating layers with parchment paper if desired. This method helps prevent them from sticking together and preserves their fluffy texture for up to 2 months.
What can I do if my pancake batter is too thick or too thin?
Very! If your batter is too thick, you can gradually add a little more milk, a tablespoon at a time, until it reaches your desired consistency. On the other hand, if it’s too thin, whisk in a small amount of flour (about a tablespoon) at a time until it thickens. Just remember to mix gently to maintain those lovely air bubbles!
Are Pink Pancakes safe for my kids or guests with allergies?
Yes, very much! For dietary considerations, you can easily tweak this recipe to accommodate various allergies. Substitute eggs with 3 tablespoons of aquafaba for a vegan option; use almond milk or coconut milk instead of regular milk to suit lactose intolerance. Be sure to inform your guests of any food coloring used; opting for natural alternatives like beet juice can be a safe choice for those with dye sensitivities.
How can I add more flavor to my Pink Pancakes?
The more the merrier! Consider adding mix-ins such as chocolate chips, fresh berries, or even a dash of cinnamon to your batter for extra flavor. You could also experiment with almond extract instead of vanilla for a delightful twist. Toppings can elevate your pancake experience further—think whipped cream, fruit compote, or a drizzle of chocolate syrup!
Make Every Morning Special with Pink Pancakes Delight
Ingredients
Equipment
Method
- In a small mixing bowl, whisk together 1 cup of all-purpose flour, 2 teaspoons of baking powder, 1/2 teaspoon of baking soda, and 2 tablespoons of sugar until well combined.
- In a large bowl, pour in 1 cup of milk, add 1 teaspoon of vanilla extract, crack in 1 egg, and mix in 2 tablespoons of canola oil. Whisk until smooth.
- Gently fold the dry ingredients into the wet mixture, ensuring not to over-mix.
- Gradually add a few drops of pink or red food coloring to achieve the desired shade.
- Place a skillet or griddle over medium heat and add a drizzle of oil.
- Pour 1/4 cup of batter onto the skillet for each pancake and cook for about 2 minutes.
- Carefully flip each pancake and cook for another 2 minutes until golden brown.
- Serve immediately with toppings of choice such as maple syrup, whipped cream, or fresh berries.
Leave a Reply