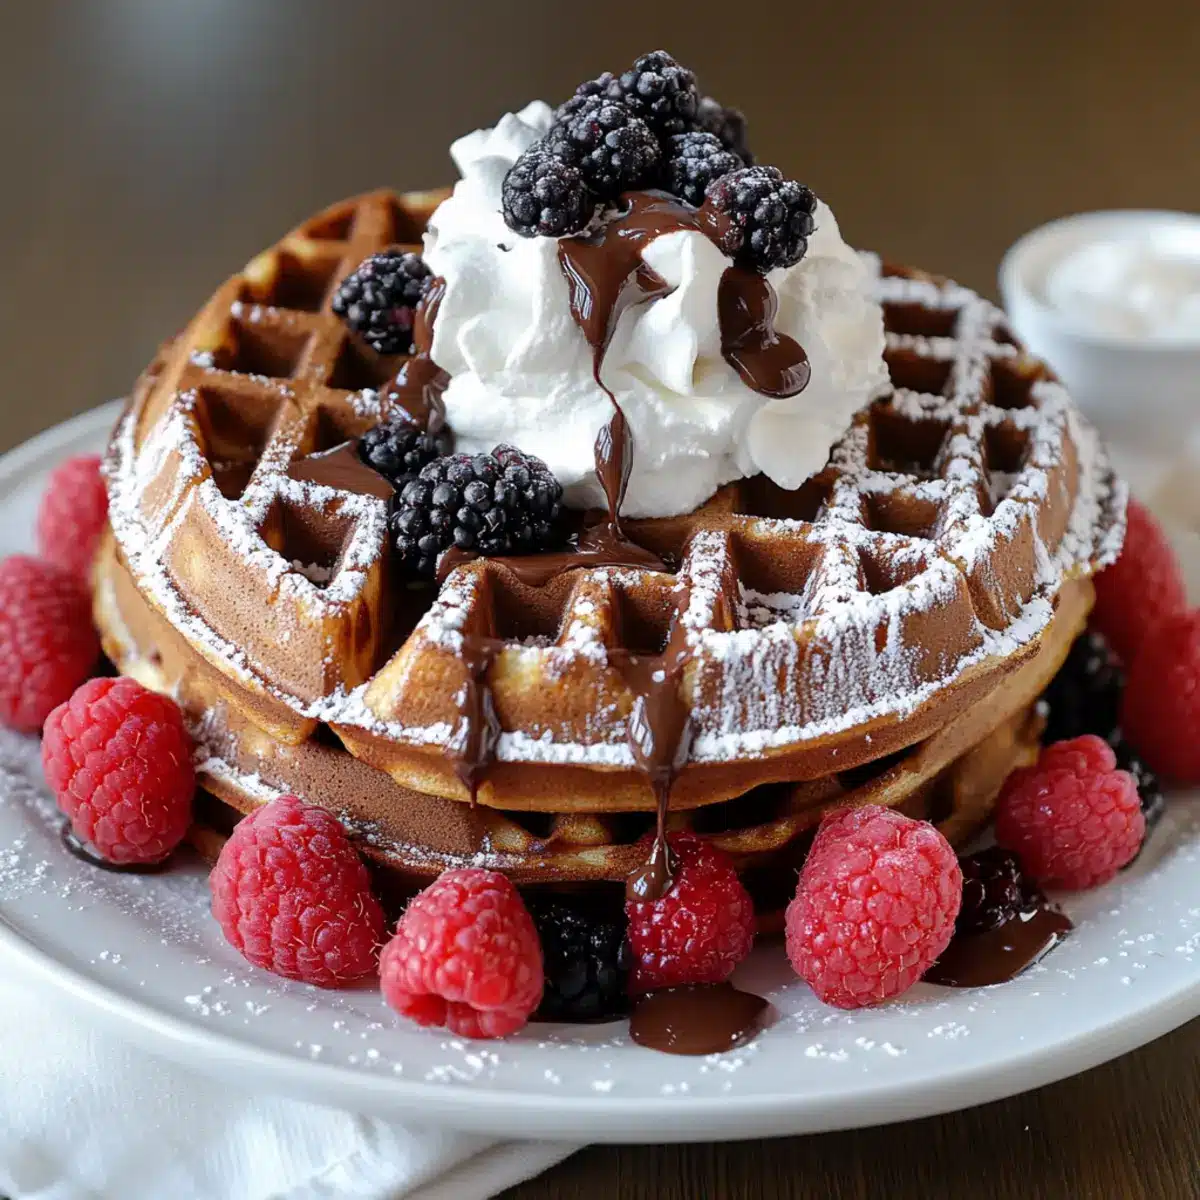
On a sleepy Sunday morning, a lovely scent filled the air, coaxing me out of bed and into the kitchen. That’s when I discovered the magic of Fluffy Chocolate Waffles, a delightful spin on our usual breakfast routine. This recipe not only whips up in no time, but it also transforms totally mundane mornings into a special occasion. Imagine the joy of serving light, airy waffles that satisfy your chocolate cravings while giving you that comforting start to your day. Whether you’re treating yourself or hosting a relaxed weekend brunch, these decadent waffles are sure to please everyone at the table. Curious to learn how to make this scrumptious treat? Let’s dive in!
Why will you love these waffles?
Decadent Delight: The rich chocolate flavor makes breakfast feel indulgent while still being easy to whip up.
Effortless Cooking: This recipe requires minimal prep time, allowing you to enjoy more time relaxing with loved ones.
Irresistible Texture: Fluffy on the inside with a crispy exterior, every bite offers a blissful experience everyone will crave.
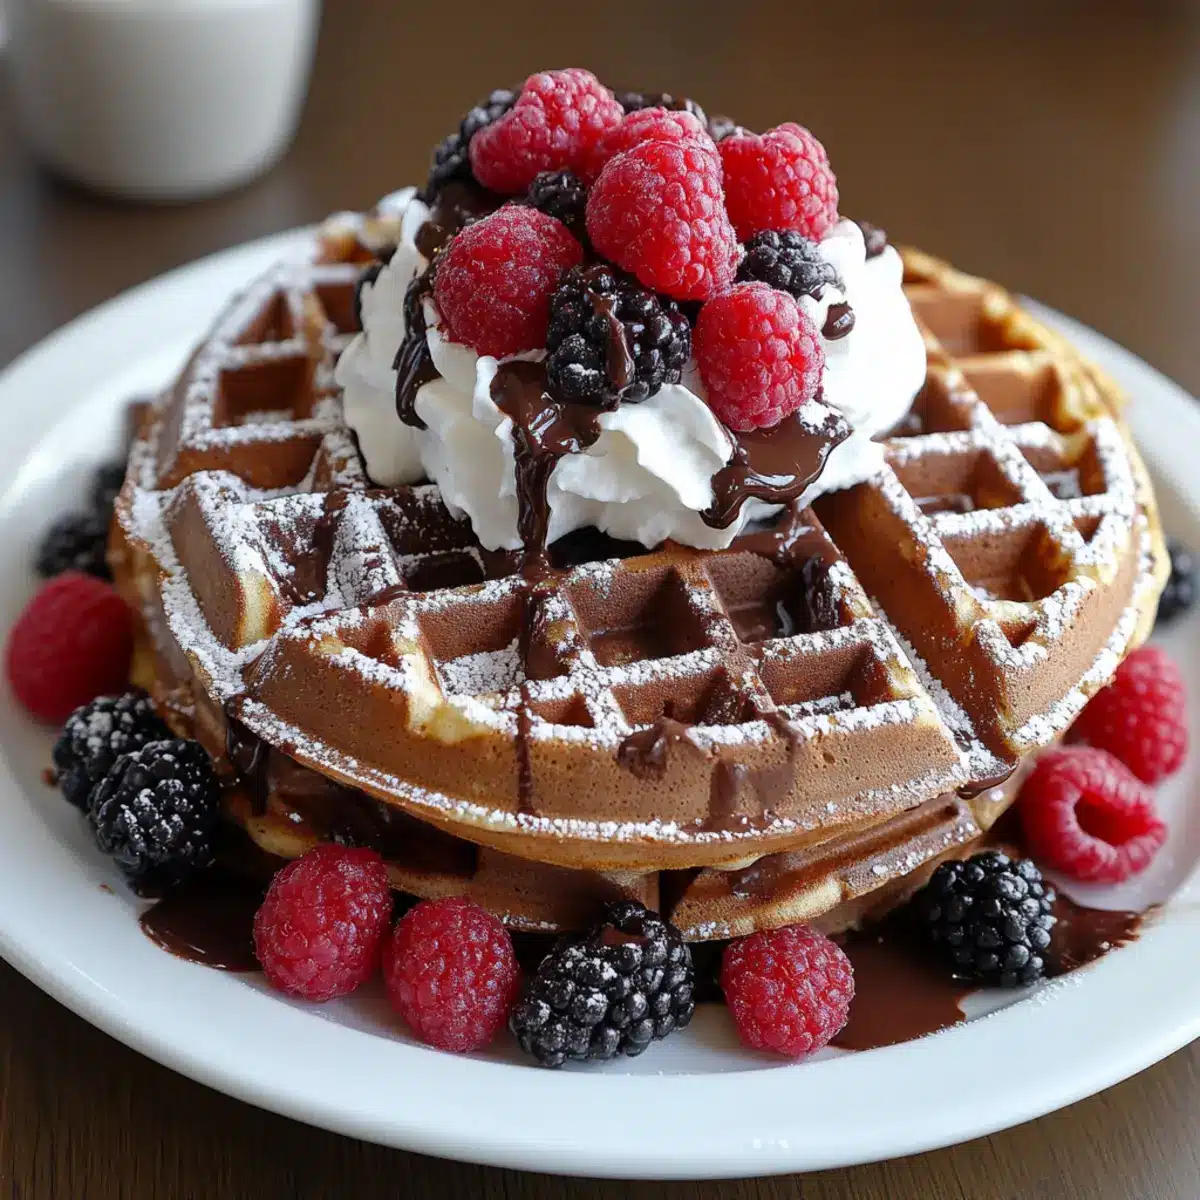
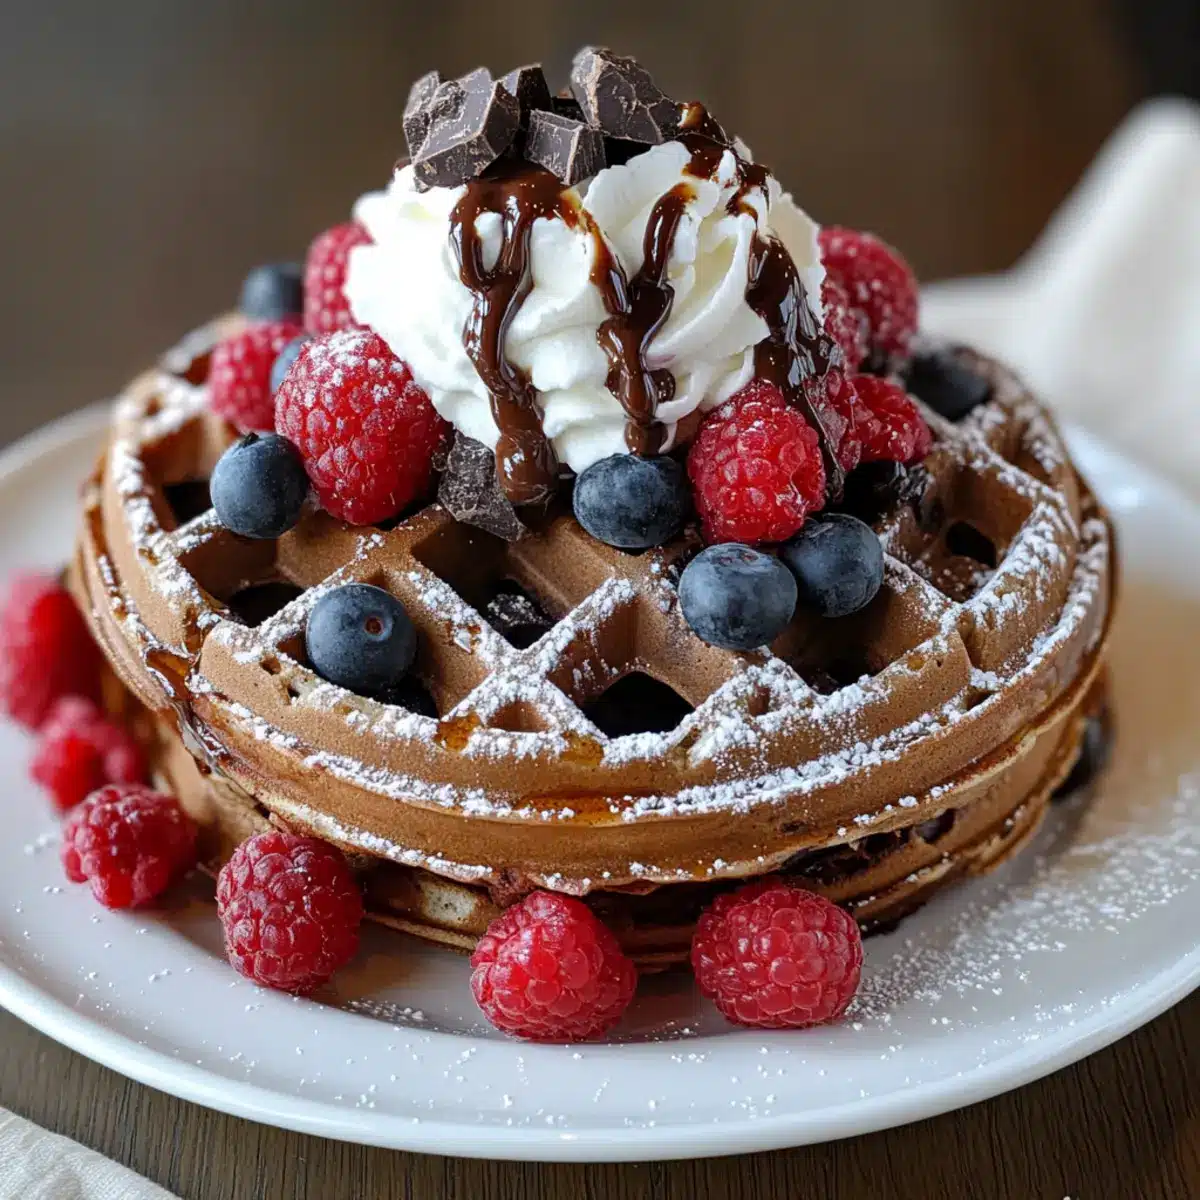
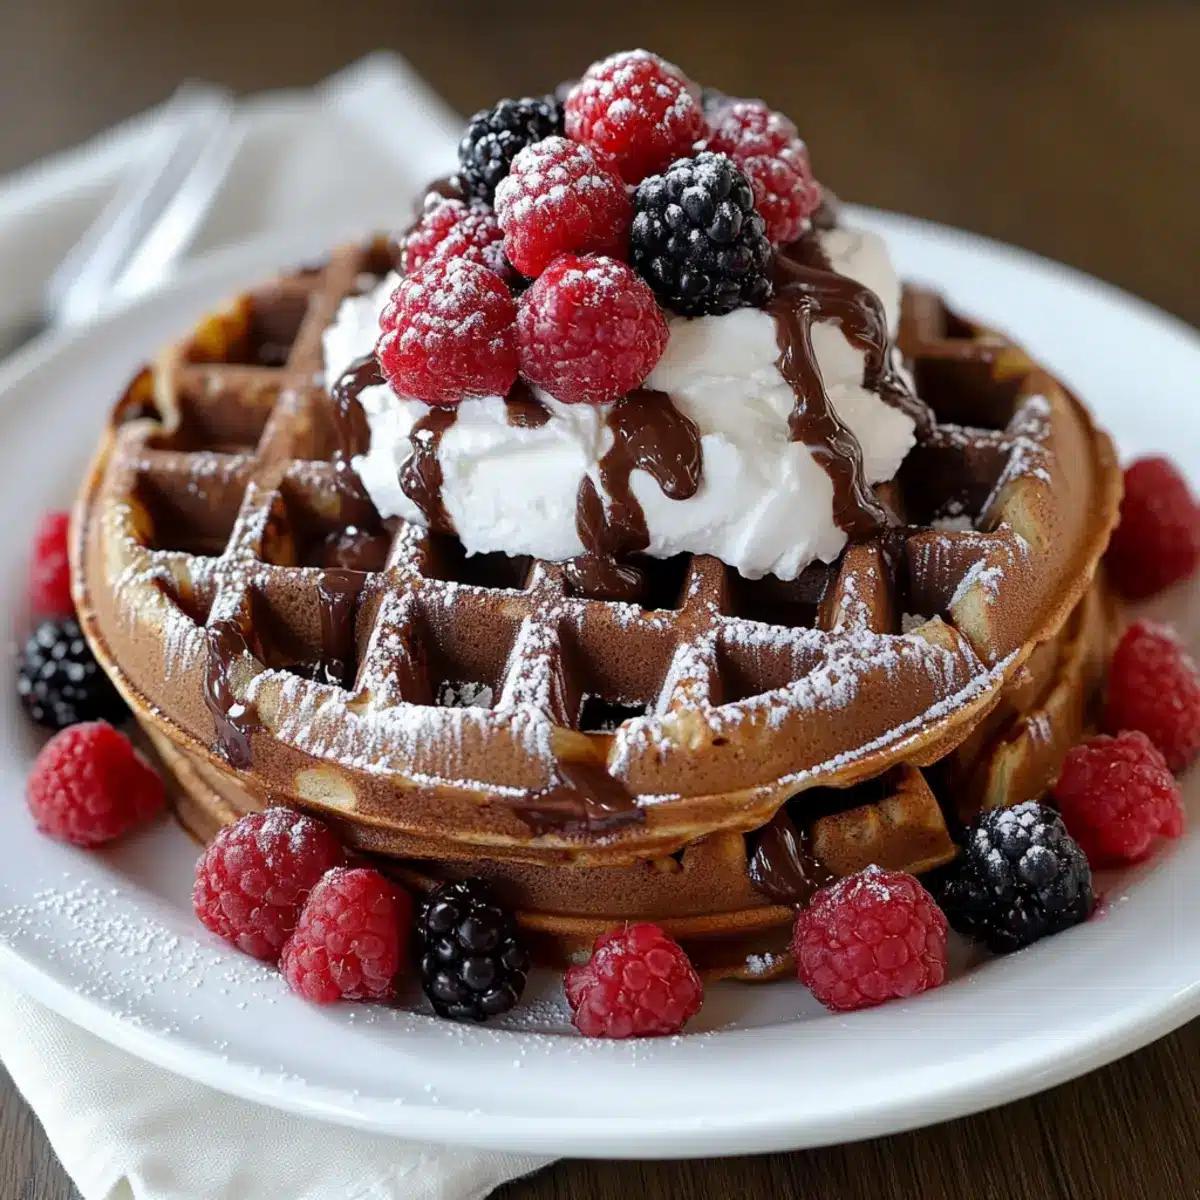
Versatile Toppings: Customize your waffles with fresh fruit, whipped cream, or a drizzle of maple syrup for added flair.
Perfect for Gatherings: These Fluffy Chocolate Waffles are a guaranteed crowd-pleaser, ideal for leisurely brunches or special occasions! If you’re looking for something to pair them with, consider trying them alongside some delicious Greek yogurt or even a fun berry compote.
2. Ingredients
Fluffy Chocolate Waffles Ingredients
For the Batter
- All-Purpose Flour – Provides structure to the waffles; substitute with almond flour for a gluten-free option.
- Cocoa Powder – Adds a rich chocolate flavor and dark color; use Dutch-process for a milder taste.
- Sugar – Sweetens the batter and helps with browning; coconut sugar can be substituted for a more natural sweetener.
- Baking Powder – Acts as the leavening agent to create fluffiness; ensure it’s fresh for optimal rise.
- Salt – Enhances flavor; no substitute, but can be omitted for reduced sodium.
- Eggs – Serves as a binding agent and adds richness; for a vegan option, use flax eggs.
- Milk – Hydrates the batter and creates a tender texture; substitute with almond milk for a dairy-free version.
- Butter – Adds moisture and flavor; use melted coconut oil for a dairy-free alternative.
- Vanilla Extract – Enhances the overall flavor; opt for pure vanilla for best results.
Step‑by‑Step Instructions for Fluffy Chocolate Waffles
Step 1: Combine Dry Ingredients
In a large mixing bowl, whisk together 1 ½ cups of all-purpose flour, ½ cup of unsweetened cocoa powder, ⅓ cup of sugar, 2 teaspoons of baking powder, and a pinch of salt. This creates the dry base for your Fluffy Chocolate Waffles. Ensure there are no lumps in the cocoa powder for an even chocolate flavor, and set the bowl aside while you prep the wet ingredients.
Step 2: Whisk Wet Ingredients
In a separate bowl, crack 2 eggs and whisk them until they are slightly frothy. Add 1 ½ cups of milk, ¼ cup of melted butter, and 1 teaspoon of vanilla extract. Mix until well combined. The wet mixture should be smooth and cohesive, adding a rich moisture that will make the Fluffy Chocolate Waffles delightfully tender.
Step 3: Combine Wet and Dry Mixtures
Pour the wet mixture into the bowl of dry ingredients and gently stir using a rubber spatula or wooden spoon. Be careful not to overmix; it’s okay if there are a few small lumps—this helps keep the waffles airy. The batter will be thick and chocolatey, preparing it to create fluffy delights when cooked.
Step 4: Preheat the Waffle Iron
Preheat your waffle iron according to the manufacturer’s instructions—this typically takes about 5 minutes. For best results, set your iron to a medium heat setting to ensure the Fluffy Chocolate Waffles cook evenly and develop that perfect crispy exterior while remaining soft inside.
Step 5: Prepare the Waffle Iron
Once your waffle iron is fully preheated, lightly grease it with non-stick spray or a small bit of melted butter on a paper towel. This will prevent the waffles from sticking and help achieve a golden, crispy finish.
Step 6: Cook the Waffles
Pour about ¾ cup of the batter onto the center of the preheated waffle iron, spreading it slightly towards the edges. Close the lid and cook for about 4-5 minutes, or until the waffles are golden brown and crispy. You can peek through the steam vent to check for doneness—steam is normal and will diminish as they cook.
Step 7: Serve Warm
Carefully remove the waffles from the iron using a fork or tongs, and place them on a plate. Serve the Fluffy Chocolate Waffles immediately, or keep them warm in a low oven (about 200°F) if creating a larger batch. Enjoy these decadent waffles with toppings of your choice!
Fluffy Chocolate Waffles: Delicious Variations
Feel free to get creative with your Fluffy Chocolate Waffles and make them uniquely yours with these fun variations!
- Gluten-Free: Substitute all-purpose flour with almond flour for a deliciously nutty twist.
- Vegan: Swap eggs with flax eggs (1 tbsp flaxseed meal + 3 tbsp water) and use plant-based milk for a dairy-free option.
- Extra Chocolatey: Mix in ½ cup of chocolate chips into the batter for added gooey goodness in every bite.
- Nutty Delight: Incorporate crushed walnuts or pecans into the batter for a delightful crunch and added flavor.
- Spicy Kick: Sprinkle in a bit of cayenne pepper for a surprising warmth that perfectly balances the sweetness!
- Cocoa Swirl: After pouring the batter, add dollops of Nutella on top and swirl it through just before cooking for a marbled delight.
- Decadent Toppings: Serve with a drizzle of homemade chocolate sauce or a dollop of whipped coconut cream to elevate your breakfast experience.
- Berry Burst: Top with a vibrant mix of fresh berries and a sprinkle of powdered sugar for a fruity, refreshing contrast to the rich chocolate.
For a delightful twist on your breakfast experience, consider pairing your waffles with some lovely Greek yogurt for an extra creamy touch! Happy cooking!
How to Store and Freeze Fluffy Chocolate Waffles
Fridge: Store leftover Fluffy Chocolate Waffles in an airtight container in the fridge for up to 3 days. Reheat them in the toaster or a warm oven for the best texture.
Freezer: Allow the waffles to cool completely before placing them in a single layer on a baking sheet. Once frozen, transfer them to a freezer-safe bag or container for up to 2 months.
Reheating: For quick serving, reheat frozen waffles directly in the toaster until warm and crisp. Alternatively, you can warm them up in the oven at 350°F for about 10 minutes.
Enjoy Later: Take advantage of these storage tips to always have Fluffy Chocolate Waffles ready to brighten your mornings, even on the busiest days!
Make Ahead Options
These Fluffy Chocolate Waffles are perfect for meal prep enthusiasts! You can prepare the batter up to 24 hours in advance by mixing the dry and wet ingredients separately, then combine them just before cooking to ensure maximum fluffiness. Alternatively, cook the waffles ahead of time, allow them to cool completely, and store them in an airtight container in the refrigerator for up to 3 days. For best quality, reheat them in a toaster or oven instead of a microwave, as this helps retain their crispiness. When ready to serve, simply add your favorite toppings, and you’ll enjoy delicious, homemade waffles with minimal effort during those busy mornings!
Expert Tips for Fluffy Chocolate Waffles
-
Separate Eggs: For ultra-fluffy waffles, separate the egg whites and beat them until soft peaks form before folding them into the batter.
-
Non-Stick Success: Use a non-stick waffle iron or ensure you grease it well to prevent sticking and ensure perfect, intact waffles every time.
-
Avoid Overmixing: Stir the wet and dry ingredients until just combined; overmixing can lead to dense waffles instead of the light, airy Fluffy Chocolate Waffles you desire.
-
Temperature Check: Regularly check the waffle iron’s doneness; different brands may vary in temperature, affecting cooking times.
-
Creative Add-ins: Don’t hesitate to add mini chocolate chips into the batter for an extra chocolaty punch that enhances your homemade experience!
What to Serve with Fluffy Chocolate Waffles?
Elevate your breakfast experience with scrumptious pairings that add delicious layers to your waffle feast.
-
Fresh Berries: The tartness of strawberries, blueberries, or raspberries cuts through the sweetness, balancing each bite beautifully. Their vibrant color also adds a pop to your plate!
-
Whipped Cream: A dollop of whipped cream adds a luscious creaminess that complements the fluffy chocolate texture. It makes an irresistible indulgence for special weekends!
-
Maple Syrup: The warm, sweet syrup drizzled over your waffles creates a classic combination that enchants the taste buds, infusing each bite with extra sweetness.
-
Greek Yogurt: Rich in protein, Greek yogurt provides a tangy contrast that enhances the richness of the waffles. Top with some honey for a delightful mix of sweet and creamy.
-
Chocolate Sauce: For the ultimate chocolate lover, a drizzle of warm chocolate sauce creates an indulgent experience. It’s a treat that will leave everyone eagerly coming back for seconds!
-
Coconut Flakes: Sprinkle toasted coconut flakes for a tropical twist. Their chewy texture and subtle sweetness beautifully enhance the chocolaty charm of your waffles.
-
Coffee or Latte: Sip on a steaming cup of coffee or a velvety latte to balance the sweetness of your waffles. This classic pairing is perfect for a cozy Sunday brunch atmosphere.
Fluffy Chocolate Waffles Recipe FAQs
How do I choose the best cocoa powder for my waffles?
Absolutely! For a truly rich chocolate flavor, I recommend using Dutch-process cocoa powder. It has a smoother taste and deeper color compared to natural cocoa. If you prefer a more intense chocolate flavor, go for unsweetened natural cocoa powder instead, but be mindful of the slight acidity—it pairs wonderfully with baking powder.
What’s the best way to store leftover waffles?
Very! To store leftover Fluffy Chocolate Waffles, place them in an airtight container in the fridge for up to 3 days. When you’re ready to enjoy them, reheat using a toaster for a crispy finish or warm them in a low oven (around 200°F) for about 10 minutes. It keeps them delicious and fresh!
Can I freeze Fluffy Chocolate Waffles?
Absolutely! To freeze your waffles, first, let them cool completely. Arrange them in a single layer on a baking sheet and pop them in the freezer until frozen solid (about 1-2 hours). Then transfer them to a freezer-safe bag, and they can be stored for up to 2 months. Just reheat them in the toaster or oven when you’re ready for a quick breakfast!
What if my waffles turn out too dense?
Don’t worry; it happens to the best of us! If your waffles are dense, the most common culprit is overmixing the batter. Always mix just until combined—small lumps are perfectly okay! Additionally, it’s crucial to ensure your baking powder is fresh; it’s the key to lift and fluffiness. Consider separating the egg whites and whipping them before folding them in; this will help achieve that ultra-fluffy texture!
Are these waffles suitable for those with dietary restrictions?
Definitely! For a gluten-free option, substitute all-purpose flour with almond flour or a gluten-free blend. Want them dairy-free? Use almond milk and melted coconut oil instead of milk and butter. For a vegan version, try using flax eggs (1 tbsp flaxseed meal mixed with 3 tbsp water per egg). These adjustments can help accommodate various dietary needs without sacrificing flavor!
Fluffy Chocolate Waffles for a Decadent Weekend Treat
Ingredients
Equipment
Method
- In a large mixing bowl, whisk together 1 ½ cups of all-purpose flour, ½ cup of unsweetened cocoa powder, ⅓ cup of sugar, 2 teaspoons of baking powder, and a pinch of salt.
- In a separate bowl, crack 2 eggs and whisk them until slightly frothy. Add 1 ½ cups of milk, ¼ cup of melted butter, and 1 teaspoon of vanilla extract and mix until well combined.
- Pour the wet mixture into the bowl of dry ingredients and gently stir using a rubber spatula or wooden spoon.
- Preheat your waffle iron according to the manufacturer's instructions, which typically takes about 5 minutes.
- Lightly grease the waffle iron with non-stick spray or a small bit of melted butter on a paper towel.
- Pour about ¾ cup of batter onto the center of the preheated waffle iron and cook for about 4-5 minutes, or until golden brown.
- Carefully remove the waffles and serve warm, or keep them warm in a low oven if creating a larger batch.
Leave a Reply