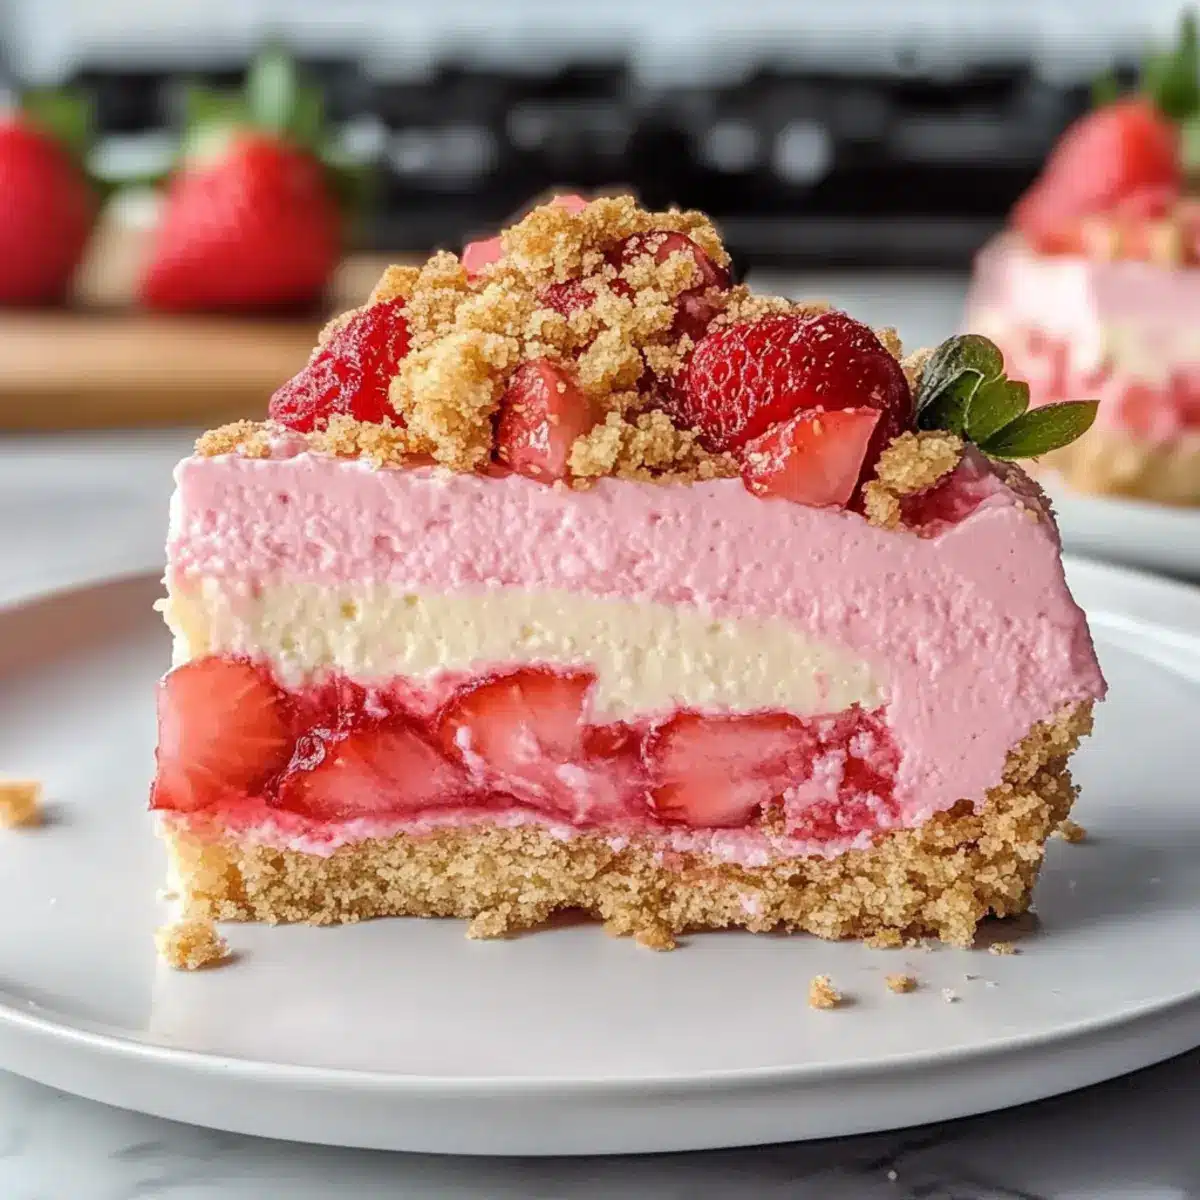
The aroma of fresh strawberries wafting through the air brings me back to sun-drenched summer days, where dessert was a celebration of color and flavor. That’s exactly what you’ll experience with my Strawberry Cheesecake Crunch—a delightful fusion that transforms a simple boxed cake mix into a mouthwatering masterpiece. Not only is this vegetarian dessert a breeze to prepare, but it also impresses guests with its stunning layers and delectable crunch, making it a standout at gatherings and birthdays alike. Between the fluffy strawberry cake and creamy cheesecake center, there’s something undeniably satisfying about each bite. Are you ready to join me on this journey to create a dessert that will surely become a cherished favorite?
Why Is Strawberry Cheesecake Crunch So Loved?
Simplicity: With just a boxed cake mix and a few simple ingredients, this recipe makes baking a breeze for everyone, from beginners to experienced chefs.
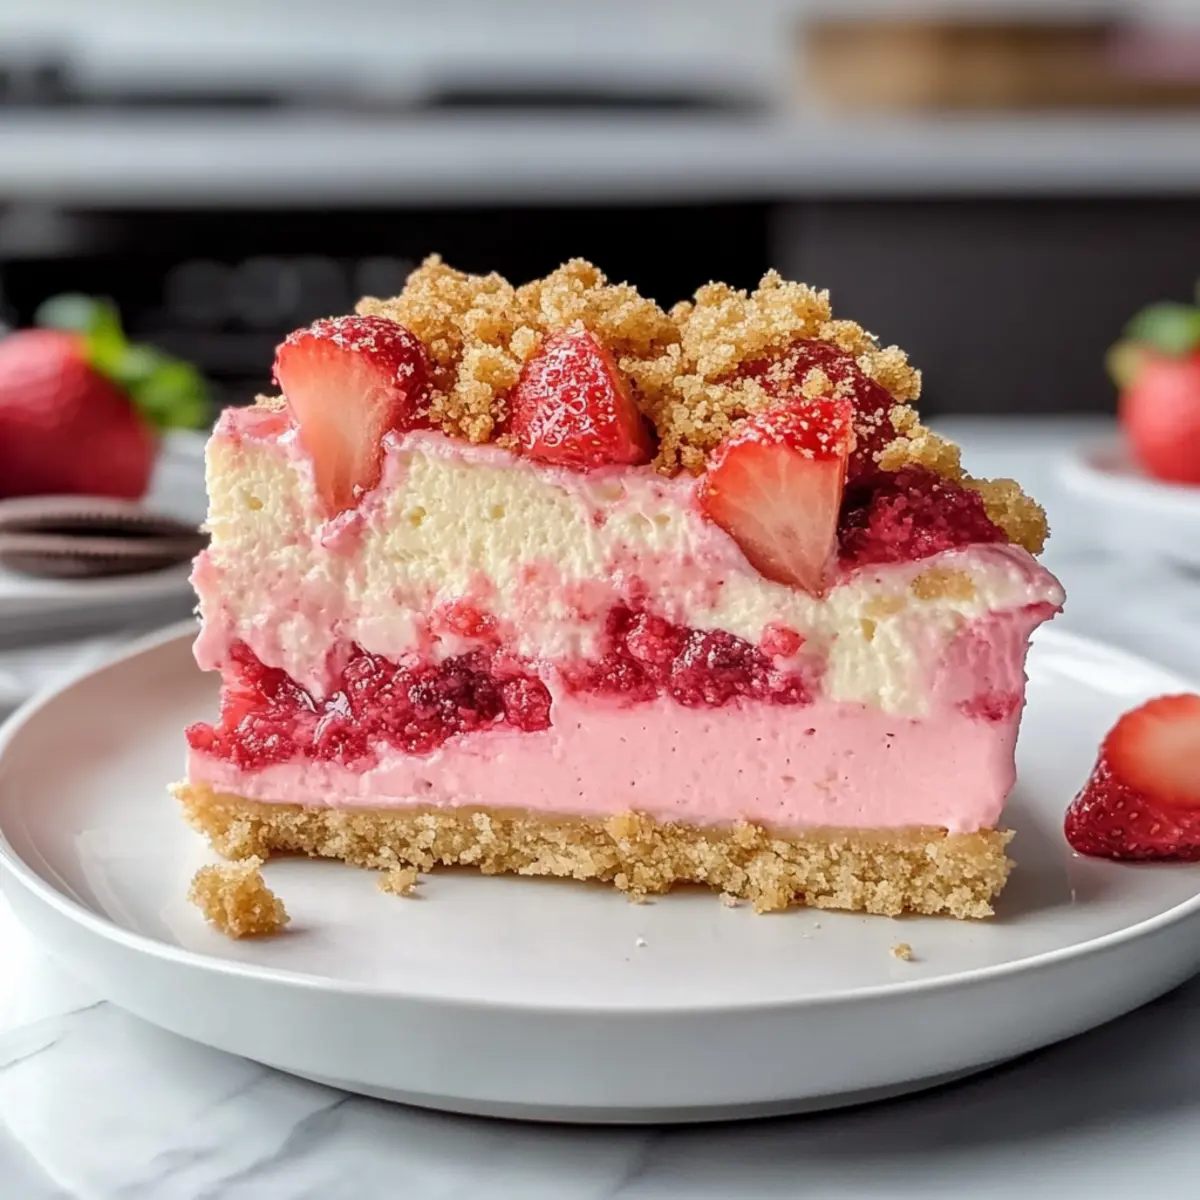
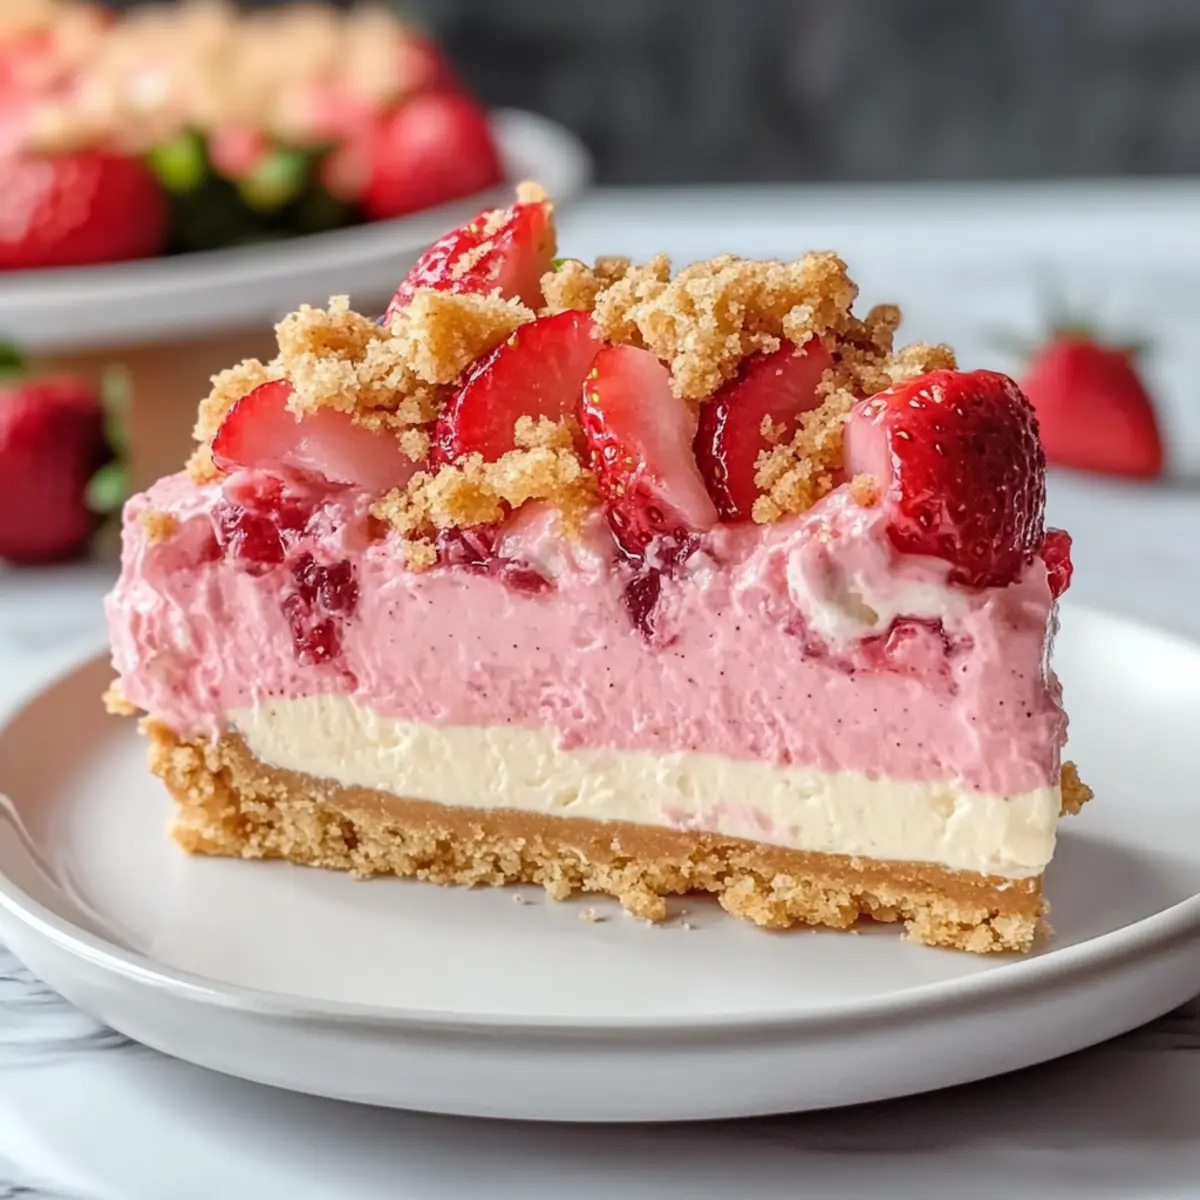
Decadent Layers: The vibrant pink strawberry cake pairs beautifully with a creamy cheesecake layer, appealing not only to the taste buds but to the eyes as well.
Crunchy Texture: The Golden Oreos and freeze-dried strawberries create a delightful crunch, adding a fun twist to each slice that feels indulgent yet satisfying.
Versatile Serving Options: Whether served at summer parties or family birthdays, this dessert offers a festive touch that will impress guests. Pair it with fresh berries or a dollop of whipped cream for a truly unforgettable treat!
Crowd-Pleaser: Everyone loves cheesecake, and the added strawberry flavor in this dessert ensures it becomes a new favorite among family and friends. If you’re a fan of strawberries, don’t miss out on trying this or our Fried Strawberry Cheesecake!
Strawberry Cheesecake Crunch Ingredients
For the Cake
• Strawberry Cake Mix – This provides the base and flavor, and you can enhance it with 1 tbsp of strawberry gelatin for deeper flavor.
• Eggs (5 total) – Essential for leavening and structure in both the cake and cheesecake layers.
• Vegetable Oil (1/2 cup) – Ensures moisture in the cake; consider using melted butter for added richness.
• Water (1 cup) – Hydrates the cake mix for optimal texture.
For the Cheesecake Filling
• Cream Cheese (16 oz) – The star ingredient delivering creaminess; full-fat is best for a rich texture.
• Granulated Sugar (1/2 cup) – Sweetens the cheesecake perfectly.
• Vanilla Extract (1 tsp) – Adds a delightful depth to the flavor.
For the Crunch Topping
• Golden Oreos (20) – Adds crunchy texture to the topping; feel free to swap for any cookie with a similar crunch.
• Freeze-Dried Strawberries (1 cup) – Enhances the strawberry flavor; you can use crushed graham crackers for a different taste.
• Melted Butter (1/4 cup) – Binds the topping together; coconut oil is a great alternative.
Remember to gather these ingredients for your Strawberry Cheesecake Crunch, and prepare for a delightful baking adventure!
Step‑by‑Step Instructions for Strawberry Cheesecake Crunch
Step 1: Prepare the Strawberry Cake
Begin by preheating your oven to 350°F (175°C). In a large mixing bowl, combine the strawberry cake mix, 5 eggs, 1/2 cup of vegetable oil, and 1 cup of water. Mix until fully combined and smooth, then divide the batter evenly between two 8-inch round cake pans. Bake for 25-30 minutes or until a toothpick inserted in the center comes out clean. Allow the cakes to cool completely in the pans.
Step 2: Make the Cheesecake Filling
While the cakes cool, prepare the cheesecake filling. In a large mixing bowl, beat 16 oz of cream cheese and 1/2 cup of granulated sugar until creamy and smooth. Add in 2 eggs and 1 tsp of vanilla extract, blending until well incorporated. Pour the cheesecake mixture into a springform pan. Set the springform pan in a larger baking dish filled with water to create a water bath, and bake at 325°F (163°C) for about 50-60 minutes, or until the edges are set and the center is slightly jiggly. Chill completely in the refrigerator.
Step 3: Create Strawberry Crunch Topping
As the cheesecake cools, it’s time to prepare the strawberry crunch topping. In a food processor, blend 20 Golden Oreos and 1 cup of freeze-dried strawberries until finely crushed. Transfer the mixture to a medium bowl and mix in 1/4 cup of melted butter until it resembles wet sand. Set this delightful crunch aside while you prepare to assemble your Strawberry Cheesecake Crunch.
Step 4: Assemble the Cake
To assemble your Strawberry Cheesecake Crunch, start by placing one cooled cake layer on a serving plate. Gently spread the cooled cheesecake filling on top of this layer, smoothing it out with a spatula. Carefully place the second cake layer on top of the cheesecake layer, pressing down lightly to secure.
Step 5: Add the Crunch Topping
Once your layers are stacked, it’s time to dress up your cake. Lightly frost the outside with whipped cream or buttercream for a polished finish. Then, generously press the strawberry crunch topping onto the frosted sides and top of the cake, ensuring it adheres well for maximum crunch in every bite.
Step 6: Chill Before Serving
To ensure every slice is perfect, refrigerate your assembled Strawberry Cheesecake Crunch for at least 1 hour. This chilling time allows the layers to set properly, making it easier to slice and serve. When ready, use a sharp knife dipped in warm water to cut neat slices and enjoy the delicious layers you’ve created!
Strawberry Cheesecake Crunch Variations
Feel free to get creative with your Strawberry Cheesecake Crunch—the possibilities are as delightful as the dessert itself!
-
Dairy-Free: Substitute cream cheese with a plant-based cream cheese alternative and use coconut milk in place of eggs for a vegan-friendly spin.
Enjoy the same luscious texture while catering to dietary preferences! -
Chocolate Cake Mix: Swap out the strawberry cake mix for a rich chocolate cake mix for an indulgent chocolate-strawberry fusion.
The combination of flavors is sure to be a hit for any chocolate lover! -
Crunchy Nut Topping: Add chopped pecans or walnuts to the Golden Oreo topping for an extra nutty crunch.
This will enhance the texture and add another layer of flavor, making each bite even more satisfying. -
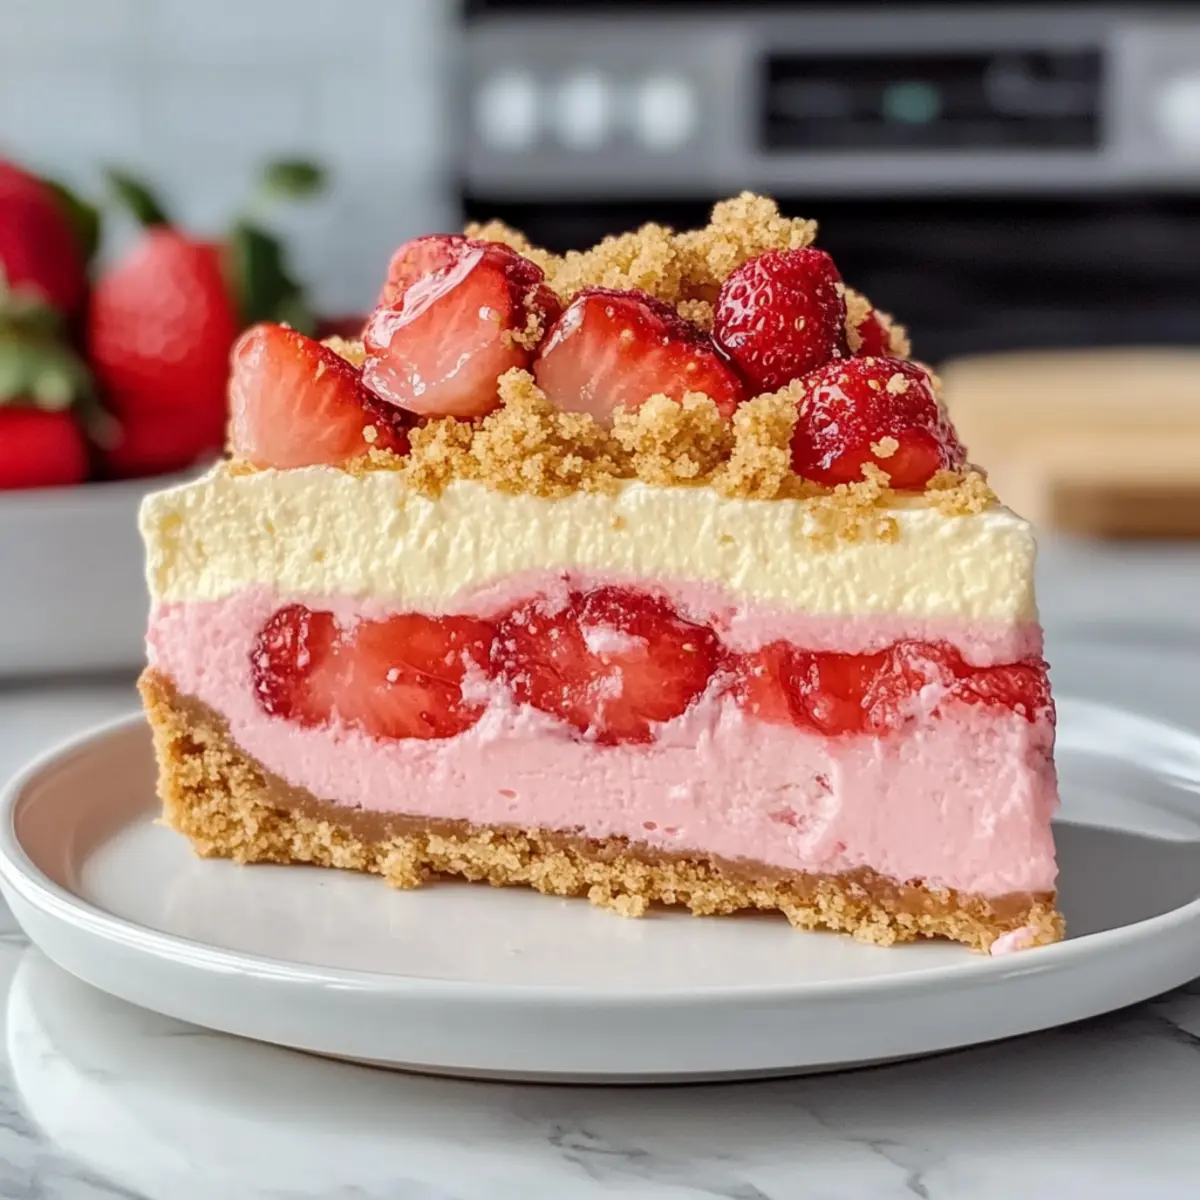
Fruit Twists: Layer fresh strawberries or raspberries between the cake and cheesecake for a fresh burst of flavor.
It adds a beautiful visual element while making it fruitier and more vibrant. -
Zesty Lemon Kick: Blend in lemon zest and juice into the cheesecake mixture for a refreshing citrus twist.
This brightens up the flavors and offers a wonderful contrast to the sweet strawberry notes. -
Spicy Kick: For those who love a little heat, sprinkle a pinch of cayenne pepper into the cheesecake batter.
It’s a surprising twist that enhances the dessert’s flavor profile while giving it an unexpected kick. -
Frozen Layer: Try freezing the cheesecake layer for a fun, ice cream-like texture on hot days.
Serve the slices straight from the freezer for a refreshing treat that’s great for summer picnics! -
Alternative Crunch: If you want to switch things up, substitute Golden Oreos with crushed graham crackers or even chocolate wafer cookies.
Each different cookie gives a unique taste and enhances the overall crunch of the dessert.
As you experiment with these variations, don’t forget to check out other delicacies like our Strawberry Cheesecake Protein and a cherished favorite, the Pumpkin Cheesecake Cozy. Whether you stick to the original or mix it up, each creation will surely be a wonderful addition to any gathering!
Make Ahead Options
These Strawberry Cheesecake Crunch slices are perfect for meal prep enthusiasts looking to save time during busy weeknights! You can prepare the strawberry cake layers up to 24 hours in advance; simply bake them, let them cool, and then store them, tightly wrapped, in the refrigerator. The cheesecake filling can also be made a day ahead (remember to chill it completely) for optimal texture. On the day of serving, assemble the cake with the strawberry crunch topping, which can be made up to 3 days ahead and stored in an airtight container to maintain its crunch. Just a quick assembly before serving will yield a deliciously impressive dessert that tastes just as fresh!
What to Serve with Strawberry Cheesecake Crunch
Indulging in a slice of Strawberry Cheesecake Crunch is a treat on its own, but pairing it with the right accompaniments can elevate your dessert experience to new heights.
- Fresh Berries: A medley of strawberries, raspberries, and blueberries enhances the fruity flavors, adding a refreshing burst to each bite.
- Whipped Cream: A fluffy dollop brings a creamy balance that smooths out the dessert’s textures, enhancing its richness with a light touch.
- Vanilla Ice Cream: The cool, creamy ice cream contrasts perfectly with the dense cake, creating a delightful temperature play in every mouthful.
- Mint Leaves: A sprig of fresh mint adds a pop of color and an aromatic freshness that brightens the entire dessert experience.
- Lemon Zest: Sprinkling some lemon zest on the plate brings a zesty brightness that cuts through the sweetness and refreshes the palate.
- Sparkling Water with Lime: A citrus-infused bubbly drink cleanses the palate beautifully between bites, complementing the cake’s rich flavors perfectly.
- Chocolate Sauce Drizzle: A light drizzle of warm chocolate sauce adds an unexpected affair between strawberries and chocolate, creating an indulgent twist.
Each of these pairings brings its own personality to the table, ensuring that your Strawberry Cheesecake Crunch isn’t just a dessert, but a delightful experience.
How to Store and Freeze Strawberry Cheesecake Crunch
Fridge: Store your Strawberry Cheesecake Crunch in the refrigerator, covered, for up to 5 days. The flavors will continue to meld beautifully as it sits.
Freezer: To freeze, wrap individual slices tightly in plastic wrap and aluminum foil. They can be frozen for up to 2 months without losing flavor.
Thawing: For best results, thaw your frozen slices overnight in the refrigerator before serving, ensuring they taste fresh and delicious.
Reheating: If you prefer warm cheesecake, gently reheat in the microwave for 10-15 seconds—just enough to warm without melting the structure!
Expert Tips for Strawberry Cheesecake Crunch
-
Chill Your Cheesecake: Always chill the cheesecake completely before assembling the cake. This ensures the layers stay neat and don’t slide apart when sliced.
-
Use a Warm Knife: For beautiful, clean slices, use a sharp knife dipped in warm water. This helps the cheesecake and cake layers maintain their shape without crumbling.
-
Add Gelatin for Flavor: Boost the strawberry flavor by mixing in 1 tablespoon of strawberry gelatin into the cake batter. This simple addition elevates your Strawberry Cheesecake Crunch!
-
Cake Overmixing Warning: Be careful not to overmix the cake batter; just mix until combined for a light and fluffy texture. Overmixing can lead to a dense cake.
-
Alternative Toppings: If you want a different crunch, feel free to swap Golden Oreos with any cookie that has a similar texture. Experiment with flavors to find your favorite!
Strawberry Cheesecake Crunch Recipe FAQs
What should I look for when choosing a strawberry cake mix?
When selecting a strawberry cake mix, look for brands that list real strawberry puree or natural flavors in the ingredients. I often recommend choosing one with a lighter pink hue, as it usually indicates a fresher flavor. Additionally, check the expiration date to ensure maximum freshness for your baking adventure!
How should I store leftover Strawberry Cheesecake Crunch?
Absolutely! After enjoying your delicious dessert, store any leftovers in an airtight container in the refrigerator for up to 5 days. Make sure it’s covered to prevent it from absorbing any odors from other foods. This way, the flavors will meld beautifully, making each bite just as delightful as the first!
Can I freeze Strawberry Cheesecake Crunch? If so, how?
Yes, you can freeze your Strawberry Cheesecake Crunch! First, wrap individual slices tightly in plastic wrap, followed by aluminum foil to prevent freezer burn. This method keeps it fresh for up to 2 months. When you’re ready to enjoy, just thaw the slices overnight in the refrigerator for the best results.
What can I do if my cheesecake layer is cracking?
If your cheesecake layer cracks, don’t fret! It often means the cheesecake was overbaked or the oven temperature was too high. To minimize cracking in the future, be sure to bake your cheesecake in a water bath and monitor the baking time closely. When it’s done, it should still have a slight jiggle in the center. Also, chilling it thoroughly in the refrigerator before serving can help keep those beautiful layers intact!
Are there any dietary considerations for Strawberry Cheesecake Crunch?
This dessert contains gluten, dairy, and eggs, so if you’re serving guests with allergies or dietary restrictions, consider alternative ingredients. You can use gluten-free cake mix as a base and substitute dairy ingredients with vegan cream cheese and egg replacer. I often experiment with these swaps and find they work quite well, creating a delicious dessert for everyone to enjoy!
Irresistible Strawberry Cheesecake Crunch You'll Love
Ingredients
Equipment
Method
- Preheat your oven to 350°F (175°C). Combine the strawberry cake mix, eggs, vegetable oil, and water in a large mixing bowl. Mix until smooth and divide evenly between two cake pans.
- Bake for 25-30 minutes or until a toothpick inserted comes out clean. Allow cooling completely in the pans.
- In another bowl, beat together cream cheese and sugar until smooth. Add eggs and vanilla and mix until incorporated. Pour into a springform pan and bake at 325°F (163°C) for 50-60 minutes. Chill in the refrigerator once done.
- Blend Golden Oreos and freeze-dried strawberries until finely crushed. Mix with melted butter until it resembles wet sand.
- To assemble, place one cooled cake layer on a serving plate, spread cheesecake filling on top, and layer the second cake on top.
- Frost with whipped cream or buttercream, and press the strawberry crunch topping onto the sides and top.
- Refrigerate for at least 1 hour before serving to allow it to set for neat slices.
Leave a Reply