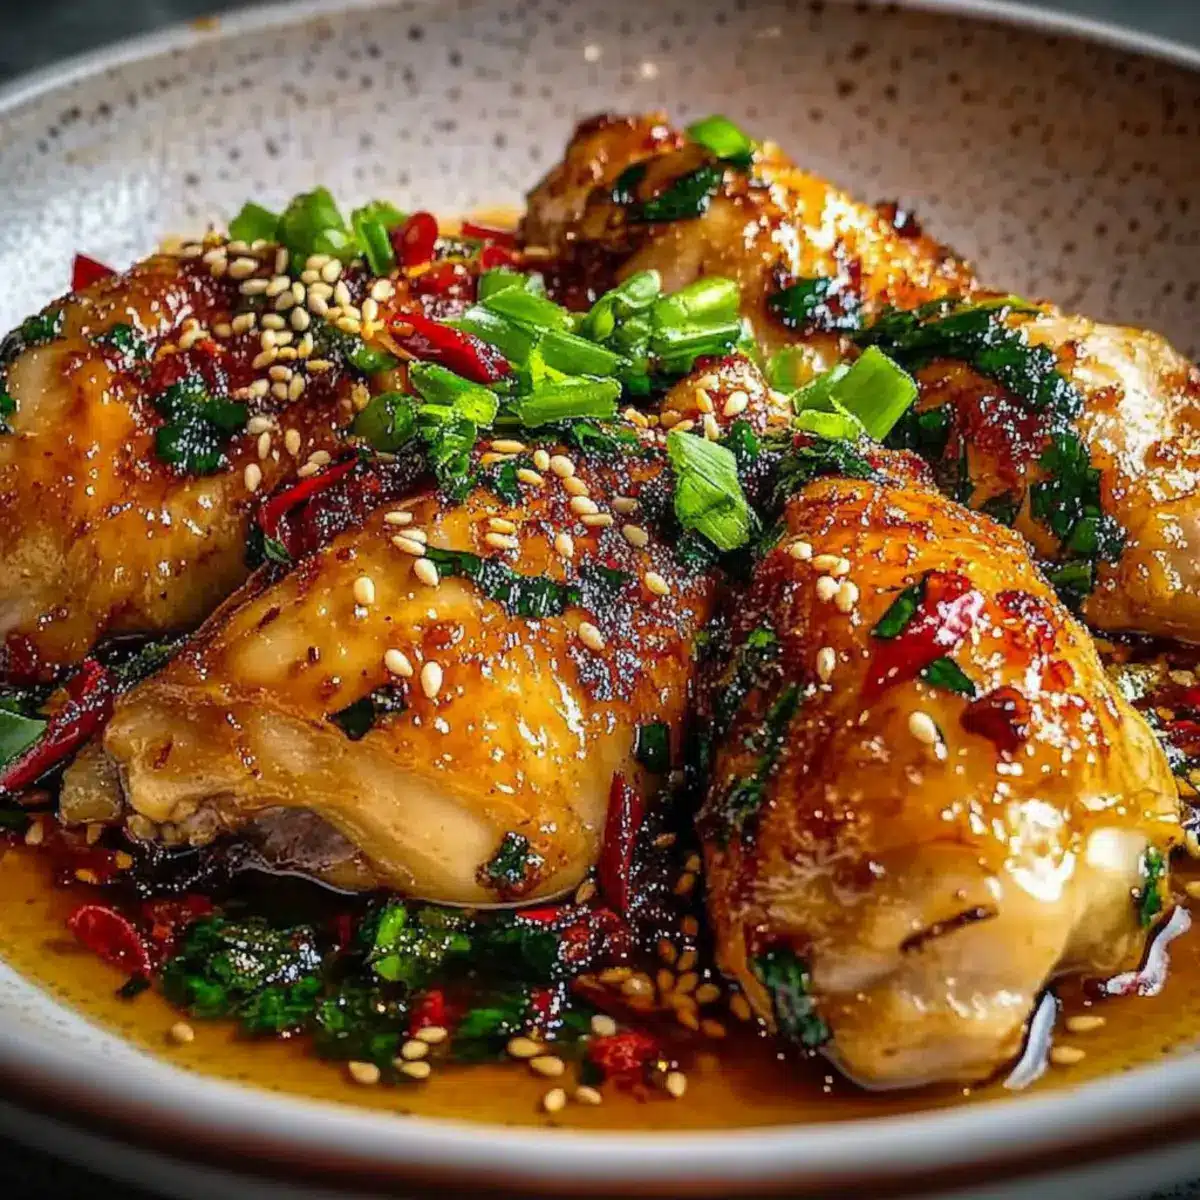
Every time I make Garlic Ginger Chicken, I’m transported to the bustling streets of Asia, where the aroma of savory, sweet sauces fills the air. This quick-cooking dish combines tender chicken thighs with a luscious sauce that’s not only easy to whip up but also satisfies both my busy weeknight cravings and those dinner party expectations. The unique blend of garlic and ginger brings an irresistible zing that complements the meal perfectly. Bonus? This Garlic Ginger Chicken recipe can be adapted to meet various dietary preferences—think gluten-free or healthier swaps—without sacrificing flavor. Whether you’re aiming for comfort food or an impressive feast, this dish fits the bill effortlessly. Ready to transform your dinner routine with this vibrant culinary gem? Let’s dive in!
Why Is This Recipe a Must-Try?
Simplicity at its Best: This Garlic Ginger Chicken recipe requires minimal prep, making it accessible for both novice cooks and seasoned chefs.
Rich, Flavorful Sauce: The combination of garlic, ginger, and soy sauce creates a mouthwatering glaze that’s both savory and sweet.
Meal Flexibility: Whether you want to serve it over rice, in lettuce cups, or alongside stir-fried veggies, this dish adapts beautifully to your dinner plans.
Time-Saving Option: On a busy night? This dish is ready in under 30 minutes, making it your go-to for quick weeknight meals.
Diet-Friendly Variations: Don’t hesitate to experiment! Swap ingredients for gluten-free options or incorporate veggies to suit your dietary needs—like with Chicken Alfredo Garlic or Chicken Spaghetti Cozy.
Crowd-Pleasing Flavor: Guaranteed to impress your family or guests, this Garlic Ginger Chicken is the perfect centerpiece for casual gatherings or cozy nights in.
Garlic Ginger Chicken Ingredients
• Dive into this delightful Garlic Ginger Chicken recipe with essential ingredients that promise a burst of flavor!
For the Chicken
- Chicken Thighs – Tender and juicy, they provide the perfect base for your dish.
- Cornstarch – Helps achieve a crispy coating; optional for those preferring a lighter texture.
- Egg – Binds the cornstarch to the chicken; can be omitted for a simpler preparation.
For the Sauce
- White Wine Vinegar – Adds acidity and depth; lemon juice is a great substitute for a non-alcoholic option.
- Sesame Oil – Infuses a nutty aroma; feel free to swap with avocado oil for a milder taste.
- Fresh Ginger – Packs a fragrant punch; ground ginger can be used, though it’s less potent.
- Garlic – Essential for a robust flavor; fresh garlic is best but powdered can work in a pinch.
- Onion – Enhances the overall flavor; shallots can be a subtle alternative.
- Brown Sugar – Balances the sauce’s seasoning; honey or maple syrup can serve in its place.
- Soy Sauce – Delivers that wonderful umami flavor; gluten-free tamari is perfect for gluten sensitivity.
- Water – Adjusts the sauce’s consistency; using broth can amplify the flavor.
Optional Garnish
- Green Onions – Adds a fresh, crisp element as a final touch.
- Sesame Seeds – Sprinkled on top for a nutty crunch that elevates the dish.
Let this Garlic Ginger Chicken recipe inspire your culinary creativity and satisfy your cravings!
Step‑by‑Step Instructions for Garlic Ginger Chicken Recipe
Step 1: Prepare the Sauce
In a medium saucepan, whisk together ¼ cup white wine vinegar, 2 tablespoons sesame oil, 1 tablespoon freshly grated ginger, 4 minced garlic cloves, ½ chopped onion, 2 tablespoons brown sugar, ¼ cup soy sauce, and ½ cup water. Heat over medium-high, bringing it to a simmer. Keep stirring occasionally until the sauce thickens, about 10 minutes. You want it glossy and slightly syrupy.
Step 2: Coat the Chicken
Take 1 pound of chicken thighs and place them in a large bowl. Toss the chicken pieces in ¼ cup cornstarch until fully coated for a crispy texture. In a separate bowl, whisk 1 egg and gently mix it with the coated chicken until every piece is well covered. This step ensures a delicious crispy exterior once fried.
Step 3: Fry the Chicken
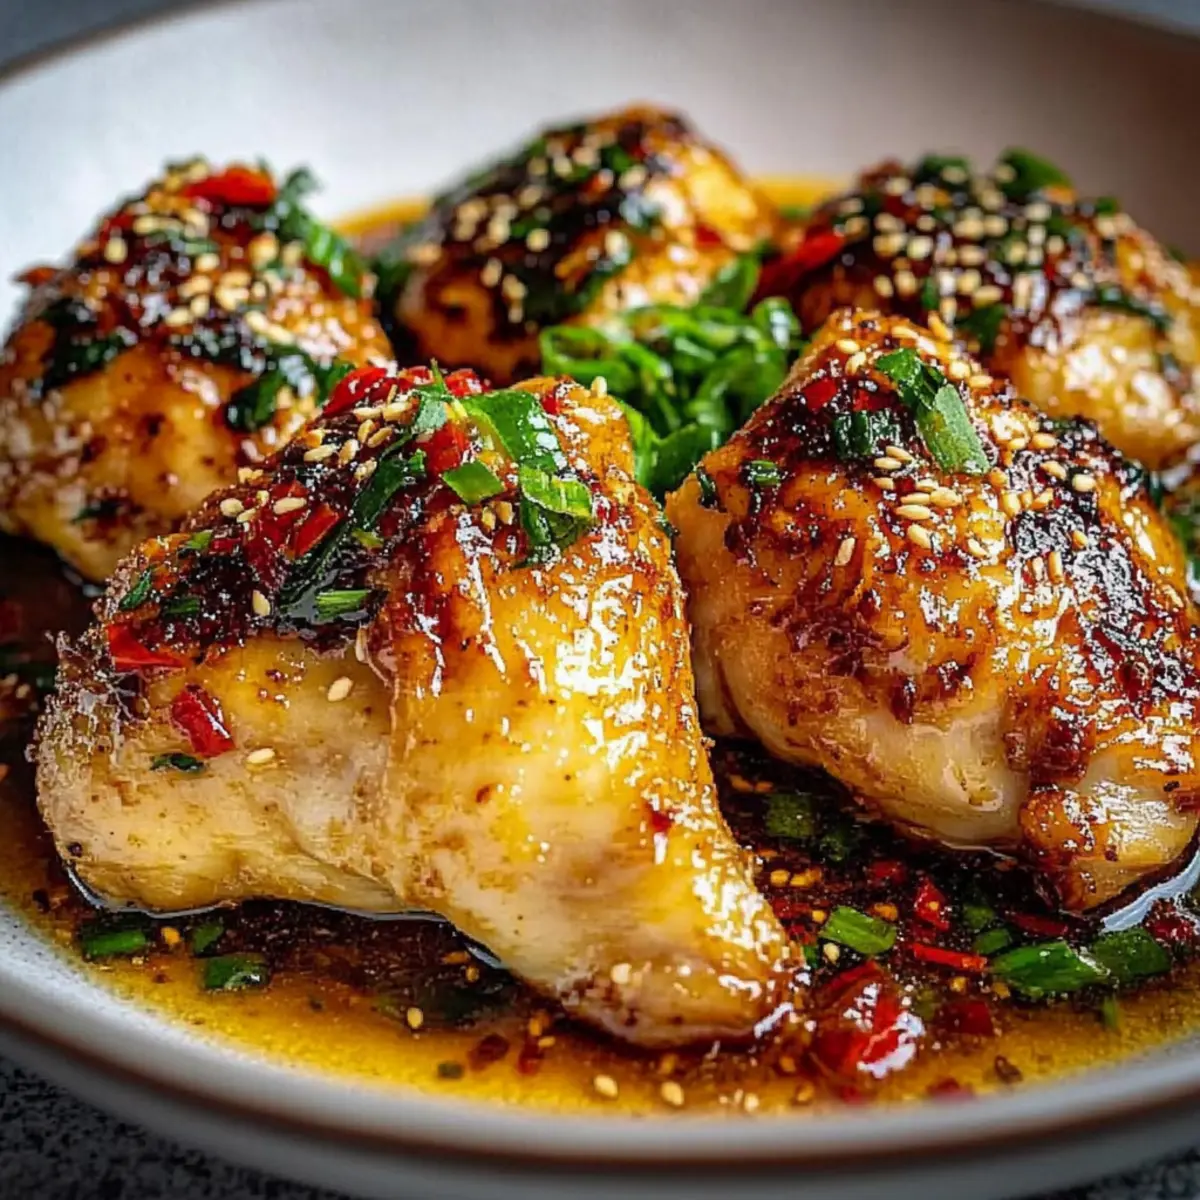
In a skillet, heat 2 tablespoons of avocado oil over medium heat until shimmering. Carefully add the chicken thighs, ensuring they don’t overlap. Fry undisturbed for 5-7 minutes until the bottom side is beautifully golden. Flip the chicken and continue to cook for another 10 minutes or until the internal temperature reaches 165°F (75°C) and the chicken is fully cooked.
Step 4: Combine Chicken and Sauce
Once the chicken is cooked through, drain any excess oil from the skillet. Increase the heat to medium-high and pour the prepared sauce over the chicken. Stir well to coat each piece evenly with the savory mixture. Allow it to cook together for 3-4 minutes, helping the flavors meld and the sauce adhere to the chicken.
Step 5: Garnish and Serve
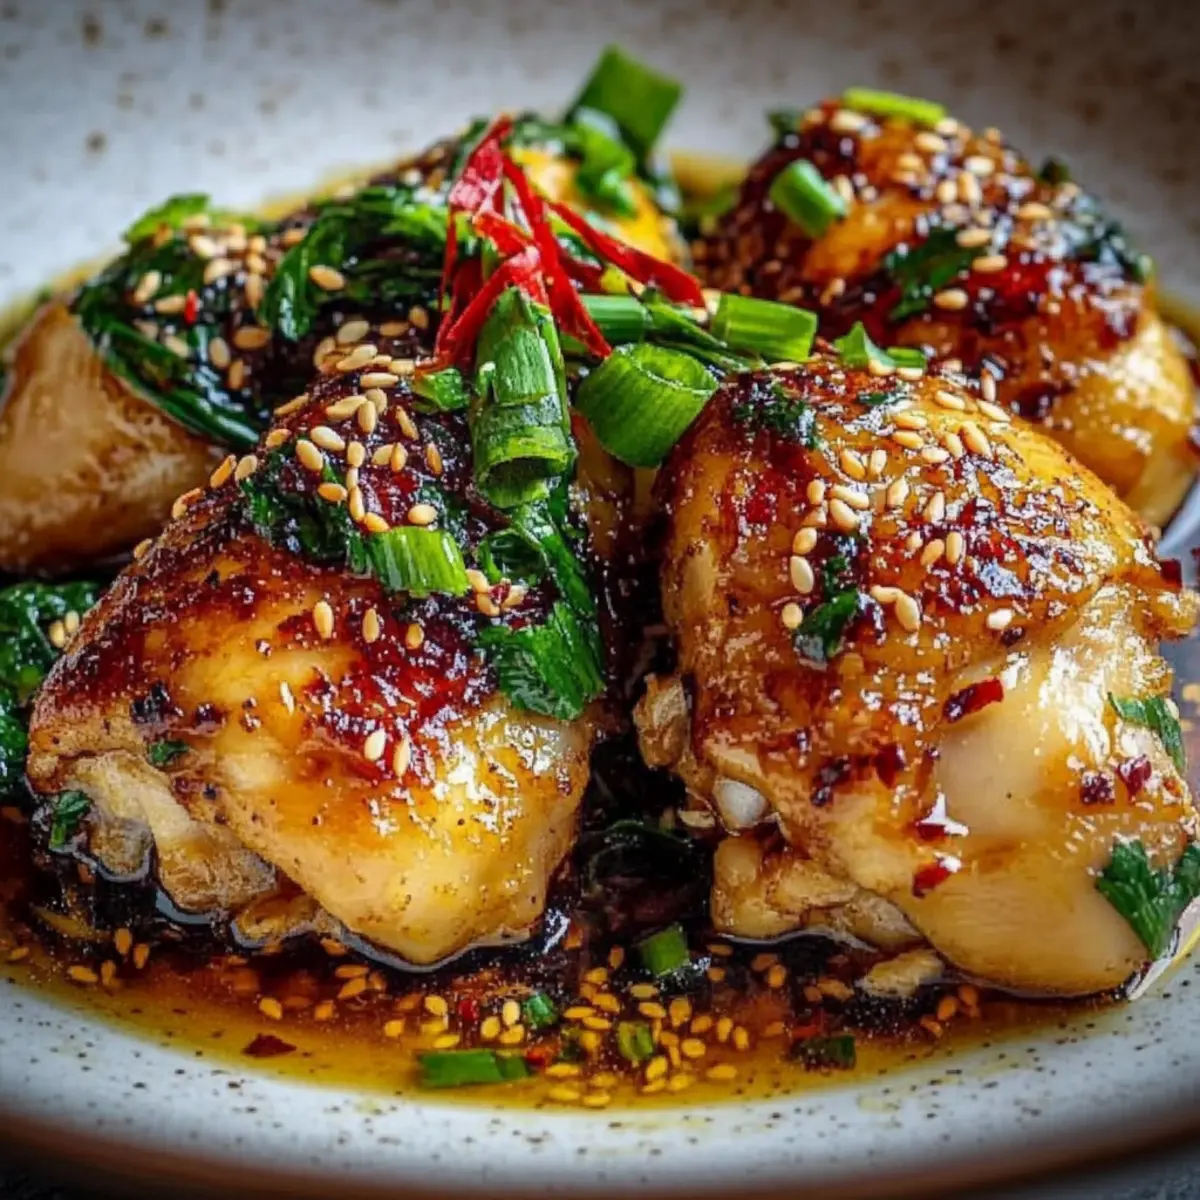
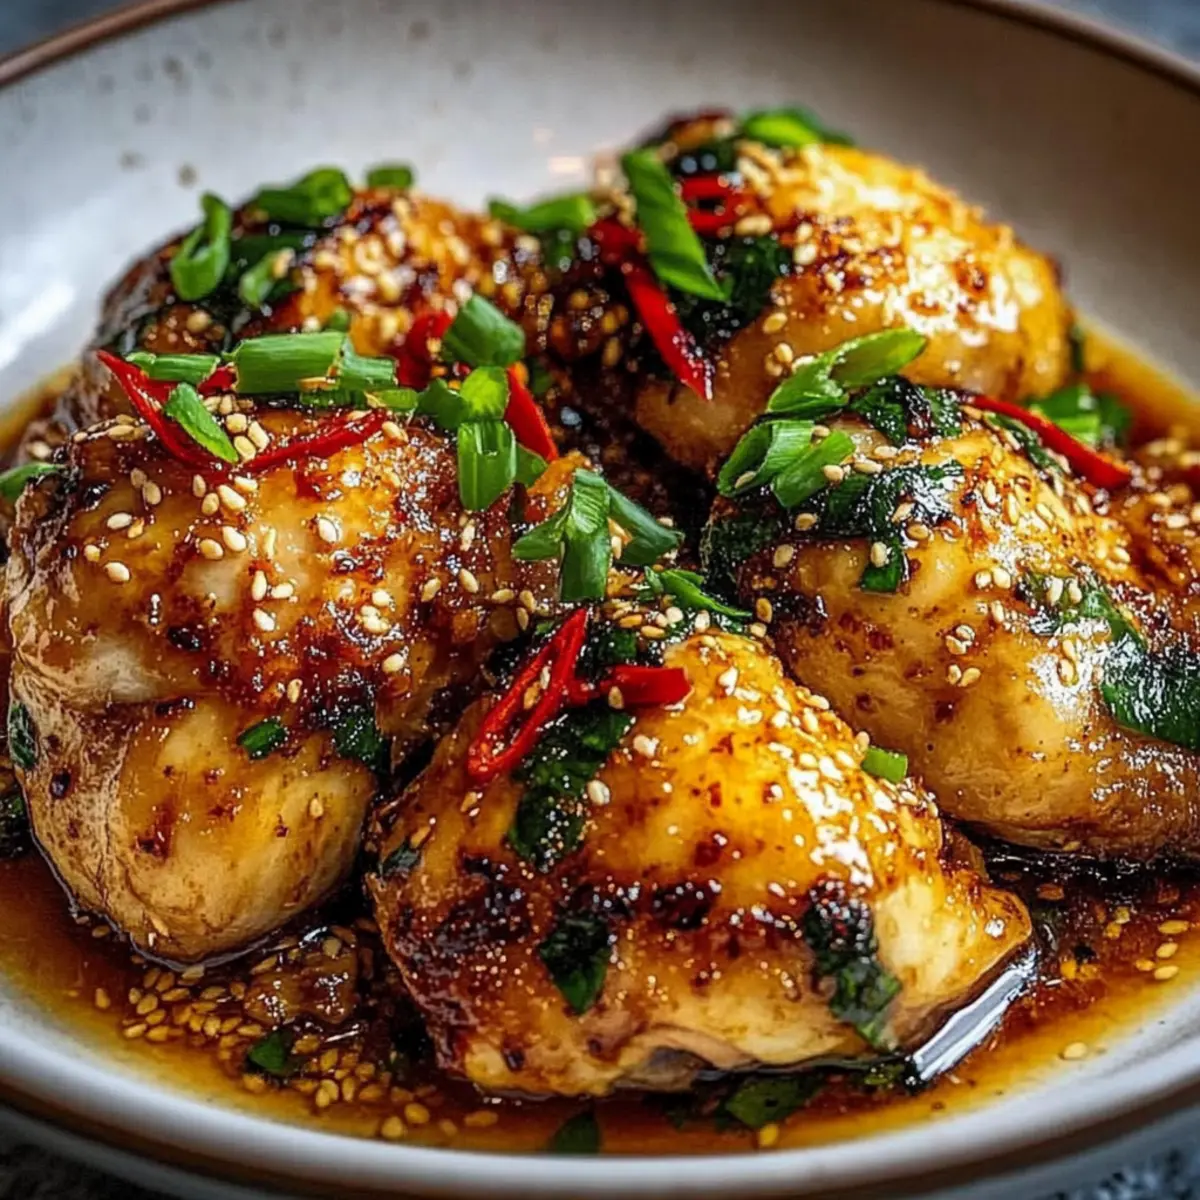
Remove the skillet from heat, and transfer the Garlic Ginger Chicken to a serving platter. Garnish generously with chopped green onions and a sprinkle of sesame seeds for added crunch. This savory dish pairs beautifully with steamed rice or stir-fried vegetables, making it a vibrant centerpiece for your table.
Expert Tips for Garlic Ginger Chicken
-
Hot Oil Essential: Make sure the oil is scorching before adding the chicken. This ensures a crispy texture and prevents sticking.
-
Don’t Rush Cooking: Allow the chicken to cook undisturbed for the first few minutes. This helps to achieve a beautiful sear and prevents a soggy batter.
-
Thick Sauce: For a glossier sauce, feel free to simmer it longer until it reaches your desired thickness. Just be careful not to let it burn.
-
Adjusting Spice: Want some heat? Add chili flakes or sliced chilies to the sauce for an invigorating kick without overwhelming the garlic and ginger flavors.
-
Storage Made Easy: Leftovers? Store them in an airtight container, and they will stay fresh in the fridge for up to 3 days, making it easy to enjoy this delicious Garlic Ginger Chicken again!
What to Serve with Garlic Ginger Chicken
Elevate your meal experience with delicious accompaniments that balance flavor and texture.
- Steamed Jasmine Rice: The fluffy rice absorbs the savory sauce beautifully, making each bite a delight.
- Stir-Fried Vegetables: A vibrant mix of snap peas, bell peppers, and carrots adds crunch and fresh flavors, complementing the rich chicken.
- Garlic Fried Rice: Infused with subtle garlic notes, this dish is a perfect way to soak up the luscious sauce while adding an aromatic twist.
- Crispy Spring Rolls: Crispy on the outside and filled with fresh vegetables, these add a satisfying crunch to your dinner.
- Sesame Noodles: Tossed in soy sauce and sesame oil, they bring a slightly nutty flavor that harmonizes with the chicken.
- Asian Cucumber Salad: A refreshing side with a zesty dressing that cuts through the richness of the chicken, providing a delightful contrast.
- Chilled Sake: This smooth drink enhances the overall dining experience, countering the savory notes of the chicken with its subtle sweetness.
- Coconut Lychee Sorbet: For dessert, this chilled treat offers a light and fruity finish, perfect after the savory main course.
How to Store and Freeze Garlic Ginger Chicken
Fridge: Store leftover Garlic Ginger Chicken in an airtight container for up to 3 days. Reheat gently on the stovetop, adding a splash of water to restore moisture.
Freezer: For longer storage, freeze the chicken in a freezer-safe container for up to 2 months. Thaw in the fridge overnight before reheating.
Reheating: When ready to enjoy, reheat the chicken on medium heat in a skillet. Add a little water or broth to the sauce to maintain its delicious consistency.
Avoid Excess Moisture: Ensure the chicken is cooled completely before refrigerating or freezing to prevent condensation and maintain flavor.
Make Ahead Options
These Garlic Ginger Chicken recipe components are perfect for meal prep, making your busy weeknights a breeze! You can prepare the sauce up to 3 days in advance; simply store it in an airtight container in the refrigerator. For the chicken, you can coat the thighs in cornstarch and refrigerate them for up to 24 hours to save on assembly time. When you’re ready to serve, just fry the chicken as directed and pour the pre-made sauce over it. This way, you’ll achieve that restaurant-quality flavor with minimal effort, keeping your family satisfied and your schedule on track!
Garlic Ginger Chicken Recipe Variations
Feel free to get creative with this Garlic Ginger Chicken recipe to suit your taste buds and dietary needs!
-
Gluten-Free: Substitute soy sauce with gluten-free tamari for that same delightful umami flavor without the gluten.
-
Low-Carb: Serve the chicken in lettuce cups instead of rice for a refreshing, crunchy alternative that’s perfect for a lighter meal.
-
Lean Protein: Swap chicken thighs for chicken breast to reduce fat. Just remember to marinate it longer to keep it juicy and flavorful.
-
Mixed Veggies: Enhance nutrition by adding stir-fried vegetables like bell peppers, broccoli, or snap peas. They add vibrant colors and textures!
-
Sweetness Boost: Don’t be afraid to adjust the sweetness! Use honey or maple syrup instead of brown sugar for a different flavor profile.
-
Extra Spicy: Amp up the heat by mixing in chili flakes or fresh sliced chilies with the sauce. It’s a quick way to give it a fiery twist!
-
Citrus Flair: Want a zesty kick? Add a splash of fresh lime or lemon juice into the sauce right before serving for a bright finish.
This dish allows for plenty of experimentation, similar to how I enjoy preparing Chicken Bacon Ranch or trying out a comforting Mexican Rice Chicken. Let your culinary creativity shine through!
Garlic Ginger Chicken Recipe FAQs
What is the best way to select chicken thighs for this recipe?
Absolutely! Look for chicken thighs that are plump, moist, and with a nice pink color. Avoid any with dark spots or an off odor, as these can indicate spoilage. Fresh chicken should feel firm to the touch. I often choose thighs with the skin on for added flavor, but boneless, skinless ones work just as well!
How should I store leftover Garlic Ginger Chicken?
Store your leftover Garlic Ginger Chicken in an airtight container in the fridge for up to 3 days. Make sure it cools to room temperature before sealing it up. When you’re ready to enjoy, gently reheat it on the stovetop, adding a splash of water to keep that flavorful sauce moist and lively!
Can I freeze Garlic Ginger Chicken?
Yes, you can! To freeze, allow the chicken to cool completely, then place it in a freezer-safe container or resealable bag, ensuring as much air as possible is removed. It can be frozen for up to 2 months. When you’re ready to eat, thaw it in the fridge overnight and reheat on medium heat in a skillet, adding a little water for consistency.
What if I accidentally overcooked the chicken?
No worries at all! If you find your chicken is dry, try adding a bit of chicken broth or water to the pan while reheating. Stir it gently to help moisten it up. You can also slice the chicken and mix it with extra sauce before serving for added moisture and flavor.
Are there any dietary substitutions I can make for this Garlic Ginger Chicken recipe?
Very! For a gluten-free option, simply use gluten-free tamari in place of soy sauce. You can also swap out the brown sugar for honey or maple syrup if you prefer a different sweetness. For those avoiding carbs, try serving the chicken in lettuce wraps or over quinoa instead of rice. The more the merrier when it comes to flavor adjustments!
Can I give Garlic Ginger Chicken to my pet?
It’s best to avoid sharing Garlic Ginger Chicken with your pets. Ingredients like garlic can be toxic to dogs and cats. If you want to treat your furry friend, consider making a plain, boiled chicken thigh (no seasoning) just for them!
Savory Garlic Ginger Chicken Recipe for a Cozy Night In
Ingredients
Equipment
Method
- In a medium saucepan, whisk together ¼ cup white wine vinegar, 2 tablespoons sesame oil, 1 tablespoon freshly grated ginger, 4 minced garlic cloves, ½ chopped onion, 2 tablespoons brown sugar, ¼ cup soy sauce, and ½ cup water. Heat over medium-high until simmering, stirring occasionally until thickened, about 10 minutes.
- In a large bowl, coat 1 pound of chicken thighs with ¼ cup cornstarch. Whisk 1 egg in a separate bowl and mix it with the cornstarch-coated chicken.
- Heat 2 tablespoons of avocado oil in a skillet over medium heat. Fry the chicken thighs for 5-7 minutes undisturbed until golden, then flip and cook for another 10 minutes until fully cooked.
- Drain excess oil and increase heat. Pour the prepared sauce over the chicken and stir to coat evenly for 3-4 minutes.
- Transfer the chicken to a platter and garnish with green onions and sesame seeds. Serve with rice or stir-fried vegetables.
Leave a Reply