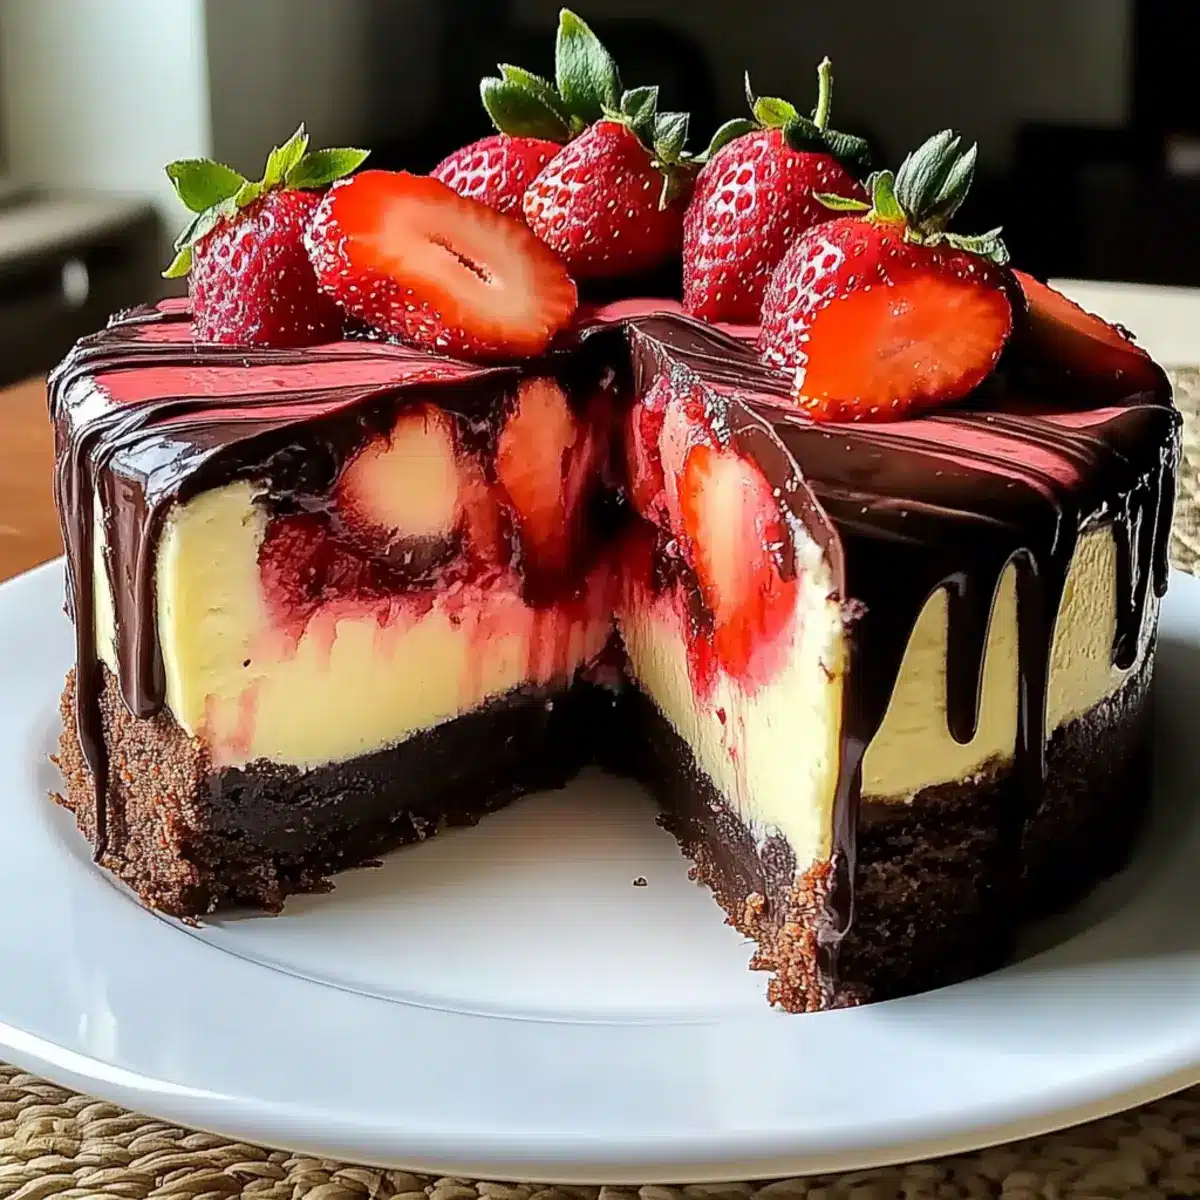
As I lifted the lid on my springform pan, the stunning swirls of chocolate and strawberry danced before my eyes, stealing my breath away. This Chocolate Strawberry Swirl Cheesecake brings joy to every bite, encapsulating the sweet essence of summertime with a delightful burst of flavors. Whether you’re a gluten-free guru, a vegan explorer, or a keto enthusiast, this recipe is remarkably customizable, ensuring that everyone at your table can indulge. Not only is it easy to whip up—perfect for those spontaneous gatherings—but it also tastes even better the next day, allowing for an irresistible treat that lingers in your heart. Ready to impress your loved ones or treat yourself to something special? Let’s dive into this luscious creation together!
Why is This Cheesecake So Special?
Versatile Delight: Whether you prefer gluten-free, vegan, or keto options, this cheesecake effortlessly adapts to every dietary need, ensuring everyone can savor it.
Decadent Flavors: The rich chocolate and fresh strawberry blend create a luscious taste that is simply irresistible!
Easy Preparation: With straightforward steps, you’ll impress guests without the stress—perfect for both beginner cooks and culinary pros.
Make Ahead: This dessert tastes even better the next day, making it a fantastic choice for meal prep or last-minute celebrations.
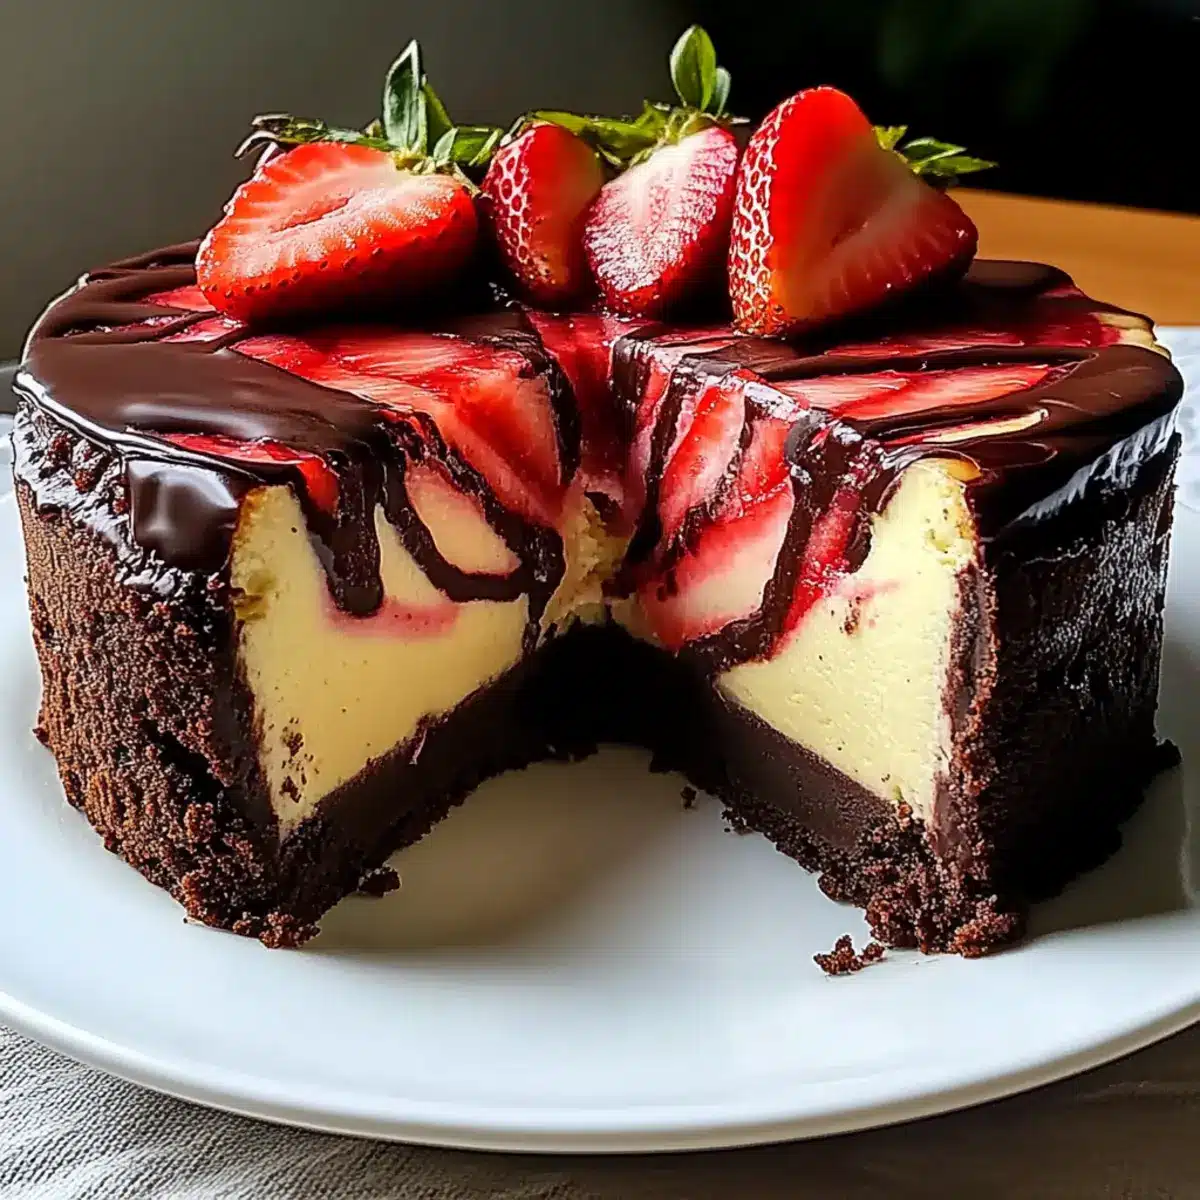
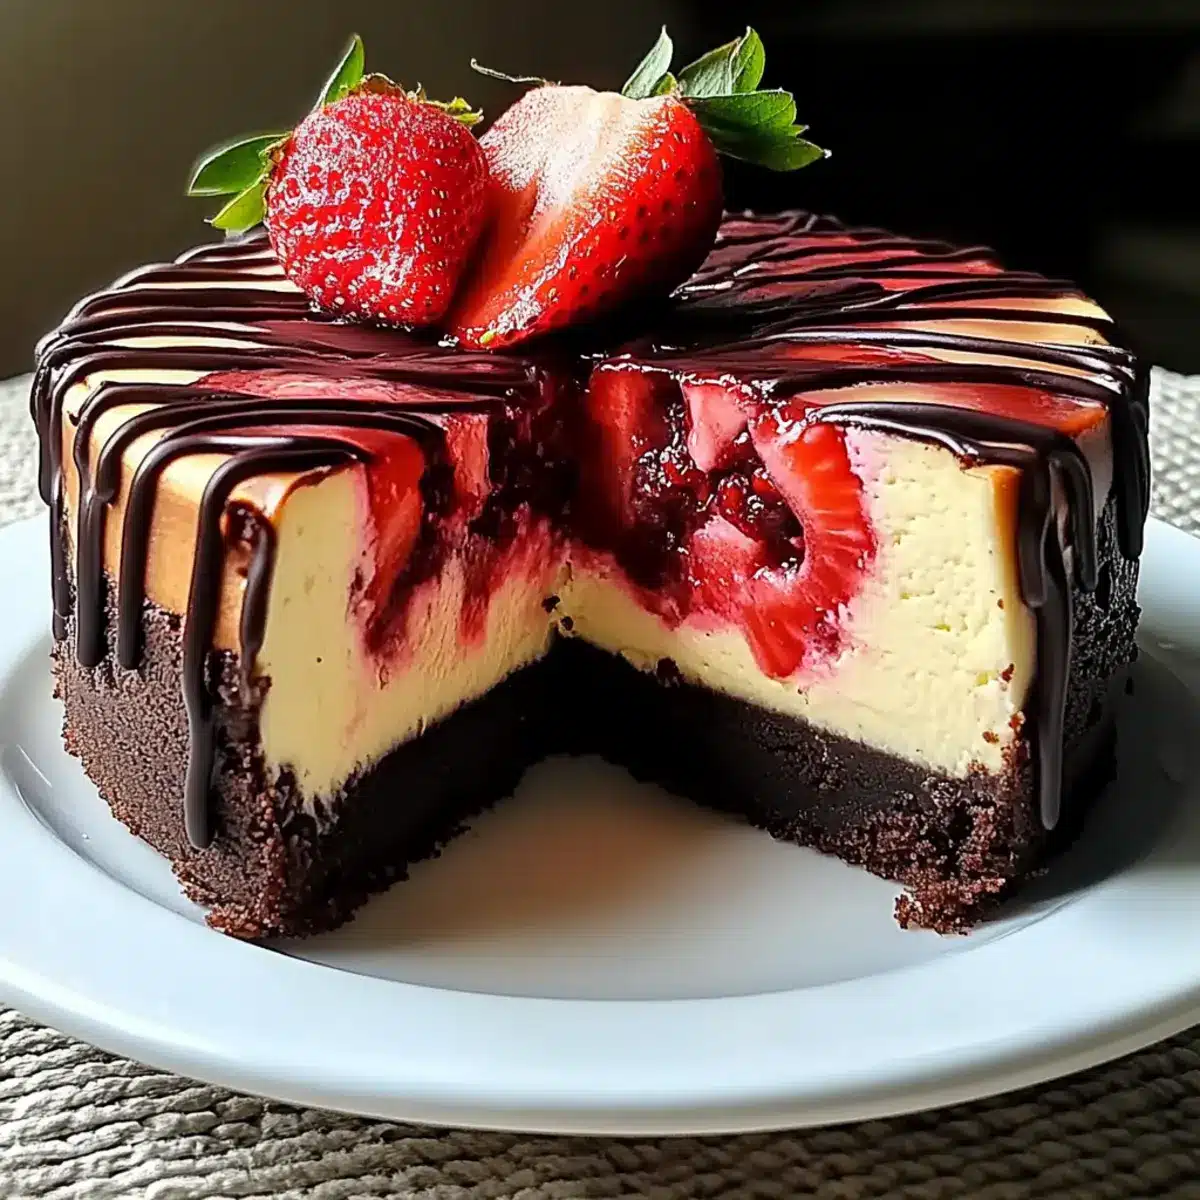
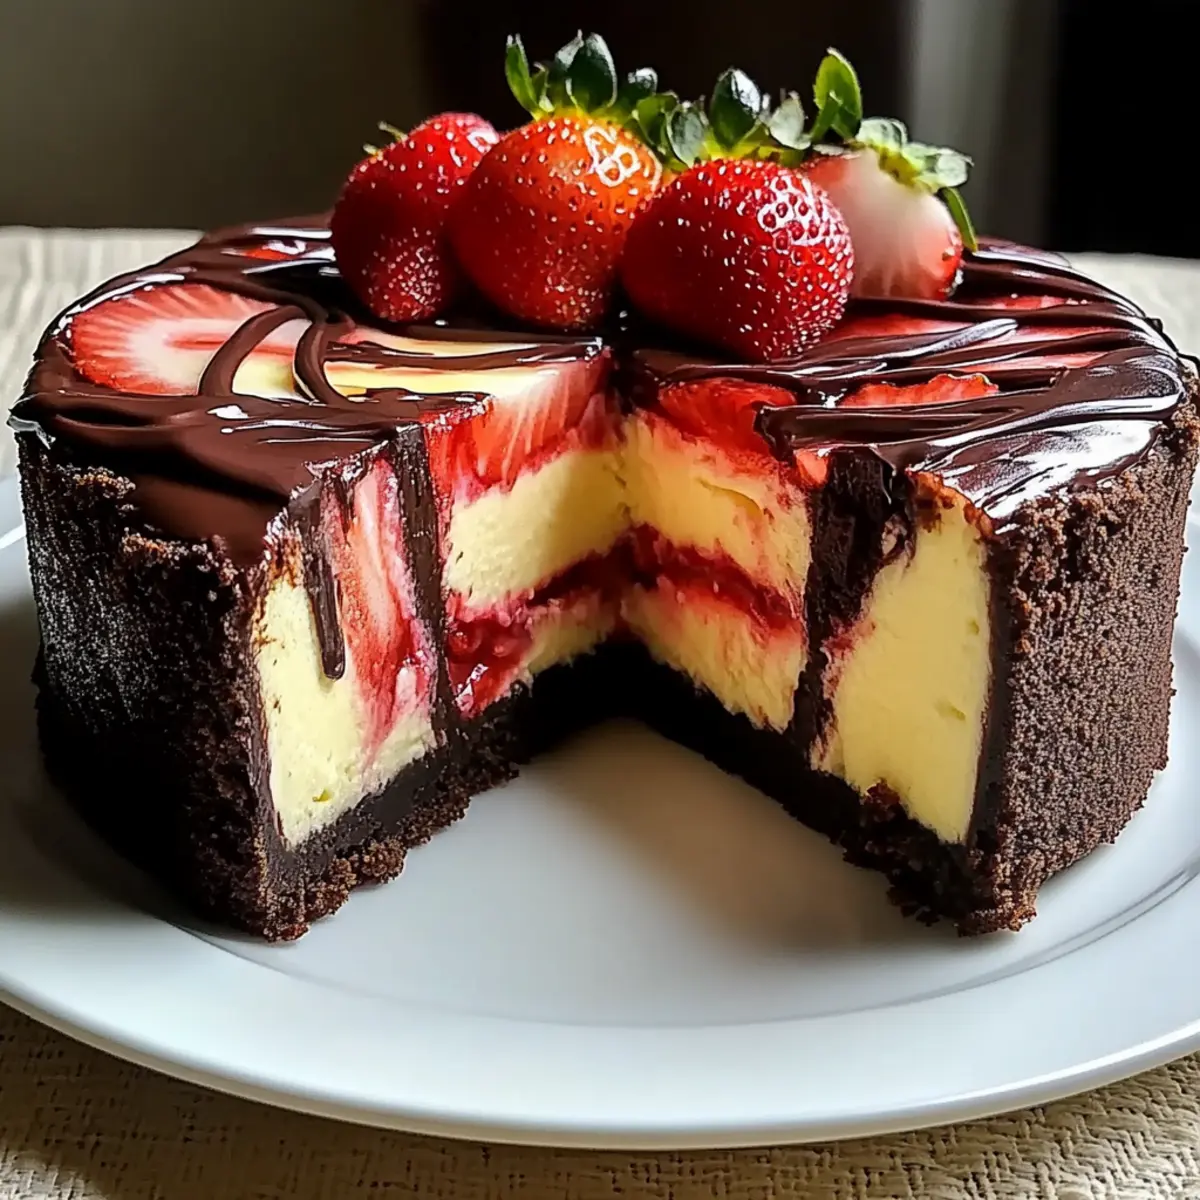
Visual Appeal: The beautiful marbling elevates your dessert presentation, turning any occasion into a memorable feast!
For more delightful treats that celebrate flavor and creativity, check out my Healthy Strawberry Cream or consider a fruity variation with Cheesecake Pumpkin Swirl.
Chocolate Strawberry Swirl Cheesecake Ingredients
Unlock the joy of baking with these heavenly components!
For the Crust
- Chocolate Cookie Crumbs – Provides the base crust; substitute gluten-free chocolate sandwich cookies for a gluten-free option.
- Melted Unsalted Butter – Binds the crust ingredients together.
- Granulated Sugar (for Crust) – Sweetens the crust; consider using sugar alternatives for a lower-calorie option.
For the Filling
- Cream Cheese – Essential for that creamy texture; opt for dairy-free cream cheese for a vegan choice.
- Granulated Sugar (for Filling) – Sweetens the cheesecake layer perfectly.
- Eggs – Provides structure; for vegan, replace with flaxseed meal or a suitable egg substitute.
- Vanilla Extract – Enhances the depth of flavor beautifully.
- Sour Cream – Adds creamy richness; Greek yogurt works as a lighter alternative.
- Melted Chocolate – Enriches the cheesecake’s flavor; choose semi-sweet or dark chocolate.
For the Strawberry Swirl
- Fresh Strawberry Puree – Adds vibrant color and fruity flavor; feel free to substitute other berries if desired.
- Granulated Sugar (for Strawberry Swirl) – Balances the tartness of the puree perfectly.
- Lemon Juice – Brightens the strawberry flavor for added freshness.
Each bite of this Chocolate Strawberry Swirl Cheesecake brings joy, making it a delightful centerpiece for any occasion!
Step‑by‑Step Instructions for Chocolate Strawberry Swirl Cheesecake that Brings Joy to Every Bite
Step 1: Preheat Oven and Prepare Crust
Preheat your oven to 350°F (175°C). In a mixing bowl, combine chocolate cookie crumbs, melted unsalted butter, and granulated sugar, stirring until fully incorporated. Press this mixture firmly into the bottom of a springform pan, creating an even layer. Bake the crust for 10 minutes, or until set and fragrant, then let it cool while you prepare the cheesecake filling.
Step 2: Make Cheesecake Filling
In a large mixing bowl, beat the cream cheese until it’s creamy and smooth, about 2 minutes. Gradually add granulated sugar, mixing well. Incorporate eggs one at a time, blending until fully combined. Then add in the vanilla extract, sour cream, and melted chocolate, mixing until you achieve a silky consistency. This decadent filling will be the heart of your Chocolate Strawberry Swirl Cheesecake.
Step 3: Prepare Strawberry Swirl
In a separate bowl, mix the fresh strawberry puree, granulated sugar, and lemon juice. Stir gently until the sugar is fully dissolved and the mixture is smooth. This vibrant strawberry swirl will add a burst of color and flavor to your cheesecake, making it an irresistible treat. Set the mixture aside while you assemble the cake.
Step 4: Assemble Cheesecake
Pour the silky chocolate filling over the cooled crust in the springform pan, spreading it evenly. Next, dollop spoonfuls of the strawberry puree across the top of the chocolate filling. Using a knife or a skewer, gently swirl the two mixtures together to create a beautiful marbled effect, ensuring each bite of your Chocolate Strawberry Swirl Cheesecake will bring joy.
Step 5: Bake Cheesecake
Carefully place the assembled cheesecake in the preheated oven and bake for 50-60 minutes. Keep an eye out for the edges to set while the center remains slightly jiggly—this indicates it is perfectly baked. When finished, turn off the oven and let the cheesecake cool inside for about 1 hour, allowing the flavors to meld.
Step 6: Cool and Refrigerate
Once cooled, carefully cover the cheesecake with plastic wrap and refrigerate for at least 4 hours, but preferably overnight. This chilling period will enhance the flavors and allow the cheesecake to set up nicely. Patience is key; the wait will be worth it as you build anticipation for your delightful Chocolate Strawberry Swirl Cheesecake.
Step 7: Serve Cheesecake
When ready to serve, gently release the sides of the springform pan. For clean slices, dip a knife in hot water and wipe it dry before cutting through the cheesecake. Serve chilled, capturing the beautiful swirls of chocolate and strawberry in each slice. Your Chocolate Strawberry Swirl Cheesecake is now ready to delight everyone at the table!
Make Ahead Options
These Chocolate Strawberry Swirl Cheesecakes are perfect for busy home cooks looking to save time while still delivering an impressive dessert! You can prepare the crust and filling up to 24 hours in advance. Simply make the crust and let it cool before covering it tightly and refrigerating. The cheesecake filling can also be prepared and stored in an airtight container until you’re ready to assemble. After pouring the filling into the crust and swirling in the strawberry puree, bake and cool as directed. For optimal flavor, refrigerate the assembled cheesecake for at least 4 hours (or overnight) before serving. This way, you’ll enjoy a creamy, rich dessert that tastes just as delicious and is ready to wow your guests!
What to Serve with Chocolate Strawberry Swirl Cheesecake
Creating the perfect meal means pairing your dessert with delightful accompaniments that elevate every bite.
- Whipped Cream: A dollop of fresh whipped cream adds a light, fluffy texture that beautifully balances the rich cheesecake.
- Fresh Berries: Enhance the fruity flavor with a side of mixed fresh berries—think raspberries or blueberries—to brighten up the plate.
- Chocolate Ganache: Drizzle warm chocolate ganache over the cheesecake for an extra layer of indulgence that complements the chocolate.
- Mint Leaves: A sprig of fresh mint can elevate the presentation and introduce a refreshing contrast to the sweetness of your dessert.
Consider serving with contrasting textures and vibrant flavors for an unforgettable dining experience. Your Chocolate Strawberry Swirl Cheesecake is bound to impress!
Chocolate Strawberry Swirl Cheesecake Variations
Feel free to customize this delectable cheesecake to suit your tastes or dietary needs!
-
Dairy-Free: Use plant-based cream cheese to keep it creamy without dairy.
-
Gluten-Free: Substitute chocolate cookie crust with gluten-free options for everyone to enjoy without worry.
-
Vegan: Replace the eggs with flaxseed meal and swap dairy for coconut yogurt to create a luscious vegan delight. Imagine the joy of indulging without any animal products!
-
Nutty Crunch: Layer crushed nuts or drizzle nut butter between the crust and cheesecake for a satisfying texture that elevates each bite. The added crunch beautifully contrasts with the creaminess of the filling.
-
Berry Bonanza: Instead of strawberry puree, swap in raspberry or blueberry puree for an exciting twist that adds vibrant flavors and colors. Each slice becomes a stunning masterpiece on your dessert table!
-
Mocha Flavor: Mix in espresso powder into the chocolate filling to give your cheesecake an extra depth and complexity that coffee lovers will adore.
-
Keto-Friendly: Use low-carb sweeteners and a nut-based crust for a diet-friendly version that still satisfies your sweet cravings. Treat yourself without breaking your diet!
-
Extra Chocolate: Add chocolate chips into the filling for extra richness, making every bite a dreamy experience. Nothing says indulgence like a burst of chocolate in a chocolate cheesecake!
For even more delightful dessert inspiration, check out my scrumptious Fried Strawberry Cheesecake or the light and refreshing Orange Pineapple Swirl!
Expert Tips for Chocolate Strawberry Swirl Cheesecake
-
Room Temperature Ingredients: Ensure all your ingredients, especially cream cheese and eggs, are at room temperature to create a smoother filling and avoid lumps.
-
Avoid Overmixing: Gently combine ingredients to prevent incorporating too much air, which can lead to cracks in your cheesecake.
-
Water Bath Method: For a creamier texture and to minimize cracks, consider baking your cheesecake in a water bath. This helps regulate the temperature and moisture.
-
Cooling Technique: Let your cheesecake cool gradually in the oven after baking to prevent sudden temperature changes that could cause cracks.
-
Slicing Tips: For beautiful, clean cuts, dip your knife in hot water, wipe it dry, and slice your Chocolate Strawberry Swirl Cheesecake with ease.
How to Store and Freeze Chocolate Strawberry Swirl Cheesecake
Fridge: Keep your cheesecake tightly covered in the refrigerator for up to 5 days. This helps maintain its creamy texture and flavor.
Freezer: For longer storage, wrap the cheesecake well in plastic wrap and aluminum foil. It can be frozen for up to 3 months without losing quality.
Thawing: When you’re ready to enjoy your frozen Chocolate Strawberry Swirl Cheesecake, thaw it overnight in the fridge for the best texture.
Reheating: This cheesecake is best served cold. If needed, allow it to sit at room temperature for about 30 minutes before slicing for a more enjoyable experience.
Chocolate Strawberry Swirl Cheesecake Recipe FAQs
What type of strawberries should I use for the puree?
Absolutely! Fresh strawberries are ideal for the puree, as they provide the best flavor and vibrant color. Look for ripe strawberries free of dark spots or bruising. They should be bright red and slightly fragrant, indicating sweetness. If strawberries aren’t in season, feel free to use frozen ones; just thaw and drain excess moisture before blending.
How should I store leftovers?
Store any leftover Chocolate Strawberry Swirl Cheesecake tightly covered in the refrigerator for up to 5 days. Make sure to use plastic wrap or an airtight container to protect the creamy texture. Proper storage ensures every slice remains delicious and fresh for you to enjoy!
Can I freeze the cheesecake for later?
Yes, you can freeze your Chocolate Strawberry Swirl Cheesecake for up to 3 months! To do this, wrap the cheesecake securely in plastic wrap and then in aluminum foil to prevent freezer burn. When you’re ready to enjoy it, thaw it in the refrigerator overnight for the best texture.
What if my cheesecake cracks while baking?
No worries! If you find cracks in your cheesecake, it happens to the best of us. To prevent this in the future, ensure you’re not overmixing the batter and consider using a water bath while baking. If cracks do appear, they can easily be camouflaged with fresh strawberry puree or whipped cream when serving!
Is this cheesecake safe for people with allergies?
Fantastic question! This Chocolate Strawberry Swirl Cheesecake recipe can be made allergy-friendly. For gluten-free options, use gluten-free chocolate sandwich cookies for the crust. And for those with dairy allergies, simply swap regular cream cheese with a dairy-free alternative. Always check your ingredients if you have specific allergies to ensure a safe and enjoyable dessert for everyone.
Can I adjust the sweetness of the cheesecake?
Very much so! If you prefer a less sweet cheesecake, simply reduce the amount of sugar in both the filling and the strawberry swirl. Alternatively, you can use sugar substitutes like stevia or erythritol for a lower-calorie option without compromising flavor. Adjust to your taste, and enjoy your customized Chocolate Strawberry Swirl Cheesecake!
Chocolate Strawberry Swirl Cheesecake that Delights Every Bite
Ingredients
Equipment
Method
- Preheat your oven to 350°F (175°C). In a mixing bowl, combine chocolate cookie crumbs, melted unsalted butter, and granulated sugar, stirring until fully incorporated. Press this mixture firmly into the bottom of a springform pan, creating an even layer. Bake the crust for 10 minutes, or until set and fragrant, then let it cool while you prepare the cheesecake filling.
- In a large mixing bowl, beat the cream cheese until it’s creamy and smooth, about 2 minutes. Gradually add granulated sugar, mixing well. Incorporate eggs one at a time, blending until fully combined. Then add in the vanilla extract, sour cream, and melted chocolate, mixing until you achieve a silky consistency.
- In a separate bowl, mix the fresh strawberry puree, granulated sugar, and lemon juice. Stir gently until the sugar is fully dissolved and the mixture is smooth. Set the mixture aside while you assemble the cake.
- Pour the silky chocolate filling over the cooled crust in the springform pan, spreading it evenly. Next, dollop spoonfuls of the strawberry puree across the top of the chocolate filling. Using a knife or a skewer, gently swirl the two mixtures together to create a beautiful marbled effect.
- Carefully place the assembled cheesecake in the preheated oven and bake for 50-60 minutes. Keep an eye out for the edges to set while the center remains slightly jiggly. When finished, turn off the oven and let the cheesecake cool inside for about 1 hour.
- Once cooled, carefully cover the cheesecake with plastic wrap and refrigerate for at least 4 hours, but preferably overnight.
- When ready to serve, gently release the sides of the springform pan. For clean slices, dip a knife in hot water and wipe it dry before cutting through the cheesecake. Serve chilled.
Leave a Reply